How to prevent the computer screen from turning off on a laptop & PC
Preventing the computer screen from turning off is done similarly to setting the screen timeout or putting the computer to sleep. However, instead of setting a specific time for the screen to turn off, you set the time to Never. This means that the computer screen will remain on.
So, how do you do this on Windows 10 and Windows 11? Check out the content of this article for guidance. You will also learn some useful computer tips and tricks.
Guide to keeping the computer screen on in Windows 11 and Windows 10 Basically, the process is the same for both operating systems. However, to make it easier for you to understand, Buffcom.net still divides it into 2 cases for you to refer to.
How to keep the computer screen on in Windows 11
Windows 11 is the latest Windows operating system officially released in October 2021. To keep the screen on, follow these steps:
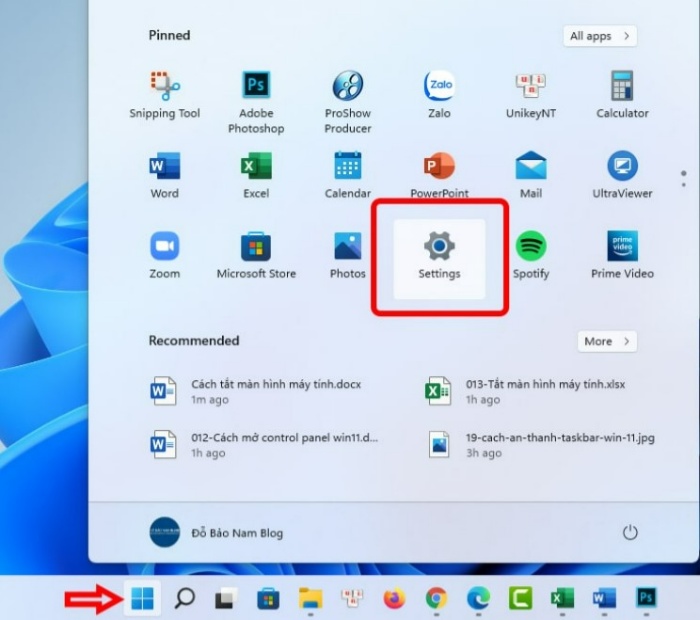
- Click the Windows 11 Start button and select Settings.
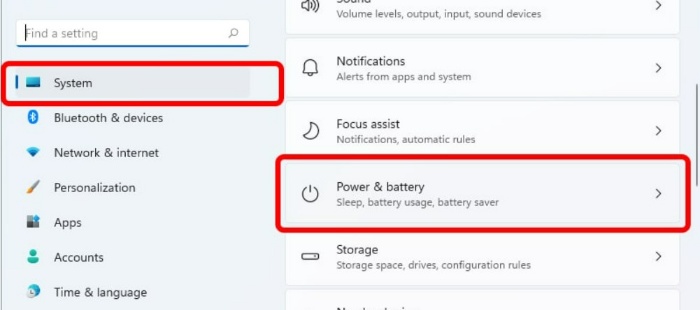
- Select Power & battery from the System menu.
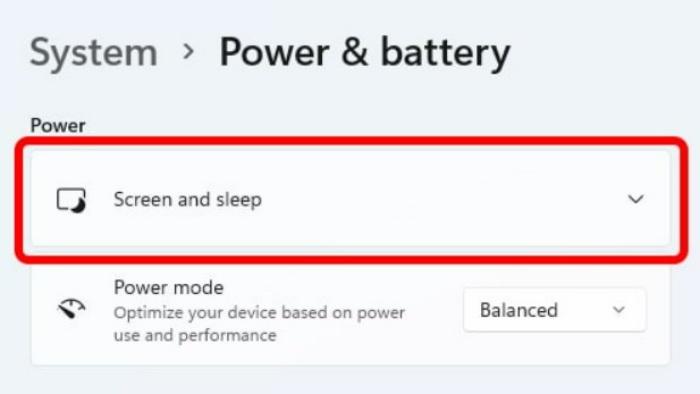
- Select Screen and sleep to set the computer screen from turning off.

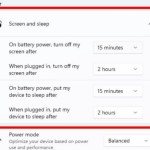
- At this step, select all options as Never as shown in the image.

How to keep the computer screen on in Windows 10 laptop and PC
This process is quite similar to Windows 11. Specifically, the steps to set it up are as follows:
- Go to Windows Settings in Windows 10. Then, click on System.
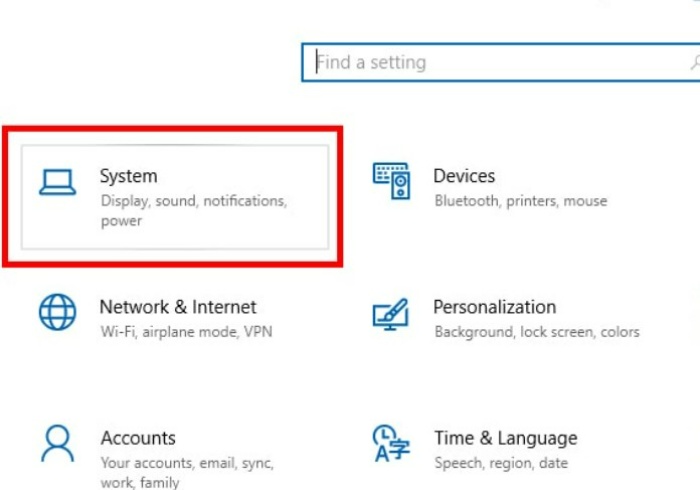
- Select Power & sleep from the left menu. Then, set all options to Never to keep the computer screen on. In this screenshot, the setup is done on a desktop computer. Therefore, you will only see one option, “When plugged in,” without an option for “On battery power.”
And that’s how Buffcom.net shares with you the complete guide to keeping the computer screen from turning off on Windows 10 and Windows 11. The process is exactly the same for laptops and desktop computers. The only difference is that on a laptop, you have an additional option to set when using the battery. In any case, select Never to set the screen from turning off.

