How To use Live Share with Visual Studio Code

Live Share is a powerful extension for Visual Studio Code that facilitates real-time collaboration between developers. It allows users to share their coding sessions, enabling others to edit code, share servers, and even participate in debugging sessions simultaneously.
This guide demonstrates how to effectively use Live Share with Visual Studio Code. For clarity, the person initiating the session will be referred to as the inviter, while the one joining the session will be the invitee.
Step 1: Installing the Live Share Extension
Note: Modern versions of Visual Studio Code include Live Share by default. However, if you need the Live Share Audio extension, you can install the Live Share Extension Pack.
-
- Open Visual Studio Code.
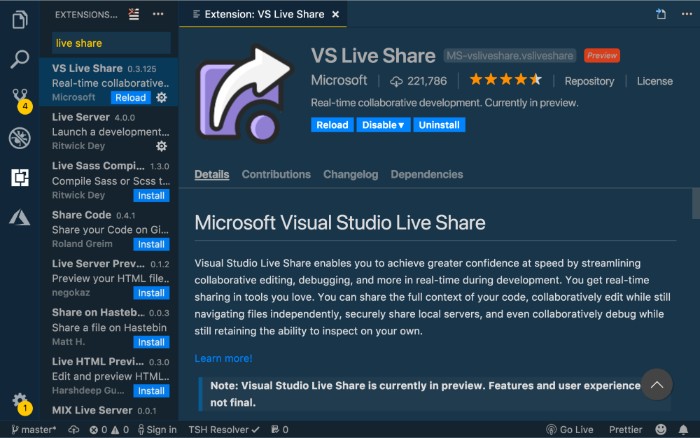
- Go to the Extensions tab.
- Search for Live Share and click Install.
- After installation, reload Visual Studio Code if prompted.
- Sign in using your Microsoft or GitHub account by clicking the Sign In button in the bottom status bar.

Step 2: Starting and Joining a Live Share Session
For the Inviter:
- Ensure you’re signed in.
- Click your username in the bottom status bar.
- Select Start Collaboration Session from the menu. Alternatively, open the Command Palette (CTRL+SHIFT+P on Windows or CMD+SHIFT+P on Mac) and type Start Collaboration Session.
- A notification will inform you that the invite link has been copied to your clipboard. Share this link with the invitee.
 For the Invitee:
- Click your username in the bottom status bar.
- Select Join Collaboration Session. Alternatively, use the Command Palette and type Join Collaboration Session.
- Enter the invite link provided by the inviter and join the session.
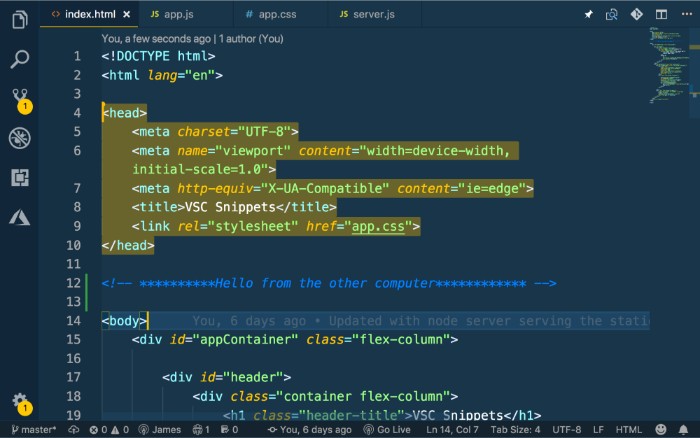
By default, the invitee’s view will follow the inviter’s navigation. The invitee can start navigating independently at any time.
Step 3: Controlling Access to Files
Live Share allows you to control what files your collaborators can view or edit. By default, all workspace files are accessible, but you can limit this by creating a .vsls.json file in your workspace.
Here’s an example configuration:
.vsls.json

{

"$schema": "http://json.schemastore.org/vsls",

"gitignore": "none",

"excludeFiles": ["secret.txt"],

"hideFiles": ["hiddenFolder"]

}
- excludeFiles: Prevents collaborators from accessing specific files.
- hideFiles: Hides files from view, but they can be made visible under certain conditions.
Step 4: Sharing a Server
When working on a local application, sharing a running server with collaborators can be challenging. Live Share simplifies this:
- Start your server locally as usual.
- Click your username in the bottom status bar and select Share Server. Alternatively, open the Command Palette and type Share Server.
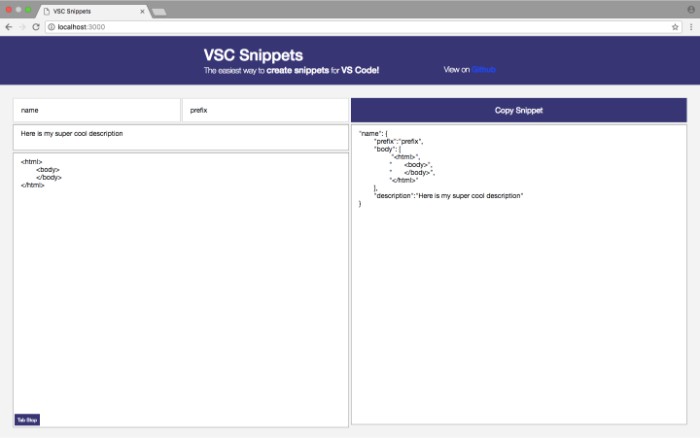
- The invitee can then access the server by navigating to
localhoston the designated port.
Step 5: Sharing a Terminal
If you need to demonstrate terminal commands, Live Share allows you to share your terminal with collaborators:
-
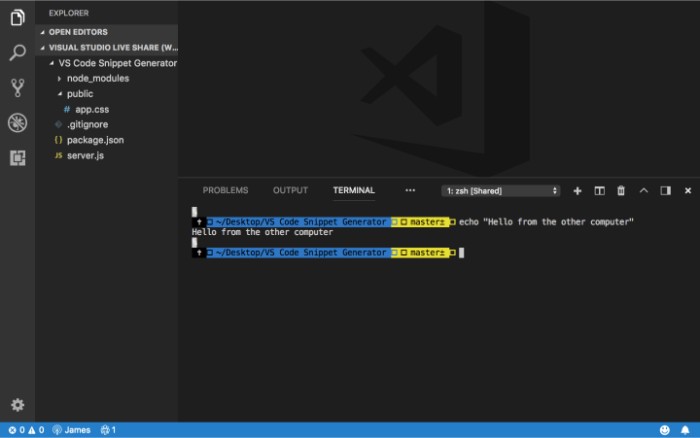
- Click your username and choose Share Terminal from the menu.
- Select whether the terminal should be read-only or read/write.
- Once shared, collaborators can view or interact with the terminal depending on the permissions granted.

How To use Live Share with Visual Studio Code
This feature is particularly useful for teaching or guiding someone through terminal-based tasks.
Conclusion
Live Share in Visual Studio Code is an invaluable tool for developers, enabling seamless collaboration, teaching, mentoring, and debugging. Its array of features allows teams to work together effectively, regardless of their physical location. With the ability to share code, servers, and even terminal sessions, Live Share transforms how developers collaborate on projects.


