Installation and Configuration Guide for Windows Essentials 2012
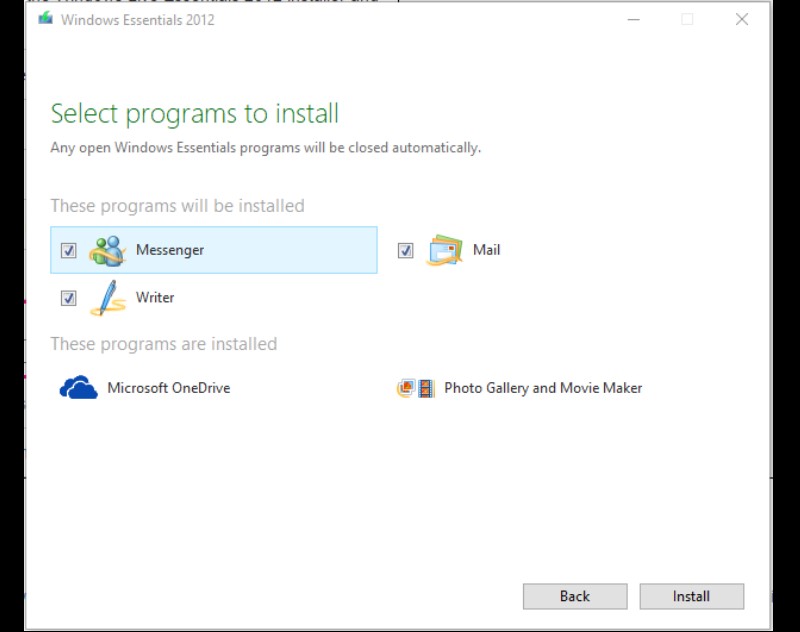
This guide offers a detailed process for installing and setting up Windows Essentials 2012, including applications like Windows Live Mail, Movie Maker, Photo Gallery, Messenger, and Writer. It remains useful despite the end of official support, guiding users through each step from download to configuration.
Windows Essentials 2012 Installation and Configuration Guide
Step 1: Download Windows Essentials 2012
Visit the official Microsoft website or a reliable source to download the Windows Essentials 2012 setup file.
Choose the version compatible with your operating system (32-bit or 64-bit).
Step 2: Install Windows Essentials 2012
Open the downloaded setup file.
Select “Install all Windows Essentials products” for a full installation, or “Choose the programs you want to install” for specific components.
Follow the on-screen instructions to complete the installation process.
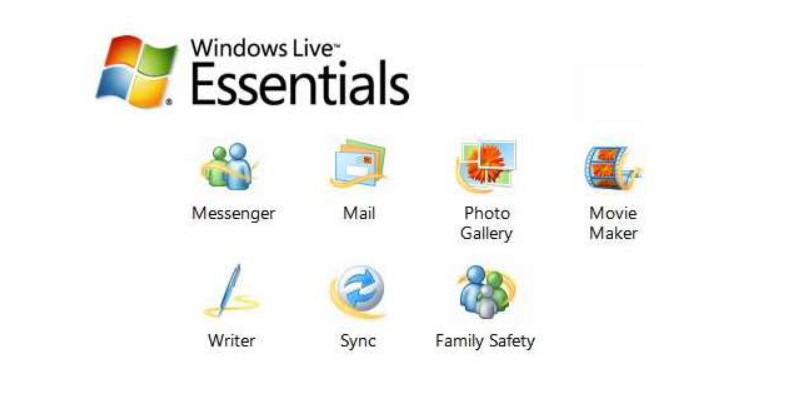
Install Windows Essentials 2012
Step 3: Configure the Applications
Windows Live Mail: Configure your email account by entering details such as email address, password, and server information.
Movie Maker and Photo Gallery: These applications do not require special configuration and can be used immediately after installation.
Messenger: Log in using your Microsoft account.
Writer: Configure by linking to your blog using your account and password.
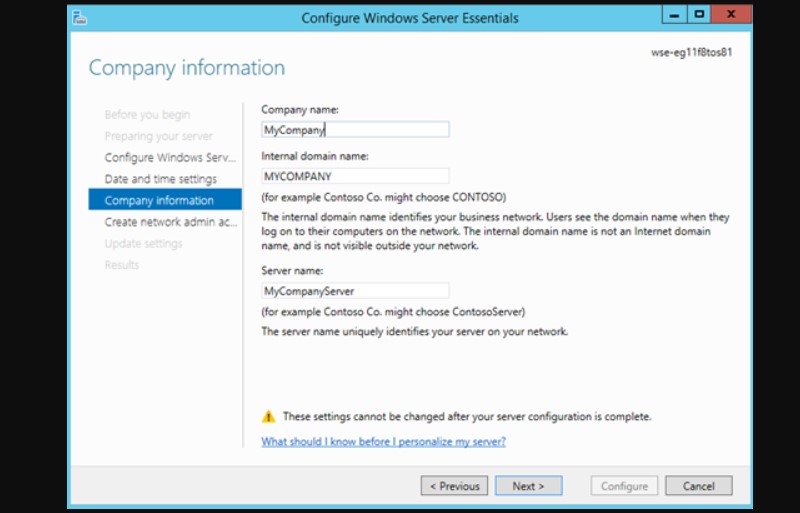
Configure the Applications Windows Essentials 2012
Step 4: Update and Security
Check for updates through Windows Update.
Use antivirus software and a firewall for system protection.
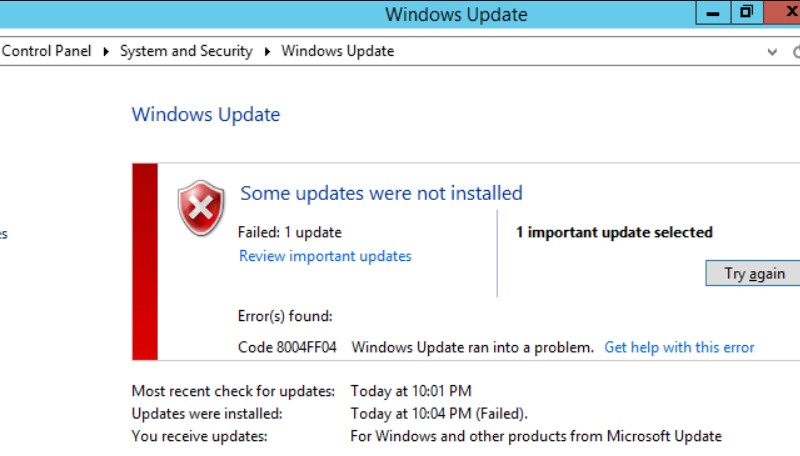
Update and Security Windows Essentials 2012
Step 5: Usage and Exploration
Explore the features of each application.
Look for detailed user guides online or in the Microsoft support community.
Notes
Since support has been discontinued, some features might not work perfectly.
Be cautious when downloading and installing software from unofficial sources to avoid viruses and malware.
I hope this guide is helpful for your installation and use of Windows Essentials 2012.

