Troubleshooting Common Issues in VMware with Windows 11
When attempting to install VMware with Windows 11 Workstation as a guest operating system, you may face various errors, one common message being “This PC cannot run Windows 11.”
Despite Windows 11 being a free upgrade for Windows 10 users, it has specific hardware requirements, often causing issues with the installation. The primary culprit is usually the Trusted Platform Module (TPM), but there’s a workaround involving registry or VMX file modifications.
We will later address VMware crashes and their solutions, but let’s first tackle the prevalent VMware errors during Windows 11 installation.
Why Does the VMware Workstation Error Occur in Windows 11?
To successfully install Windows 11, your system must meet TPM 2.0 and secure boot standards. However, VMware Workstation doesn’t support these features by default, leading to installation errors.
You can bypass these limitations by altering the Windows Registry or the VMX file in the virtual machine’s working directory.
How to Resolve the Windows 11 VMware Workstation Error:
Modify the VMX File for VTPM:
Open VMware Workstation. If necessary, create a new VM or power off any active VMs.
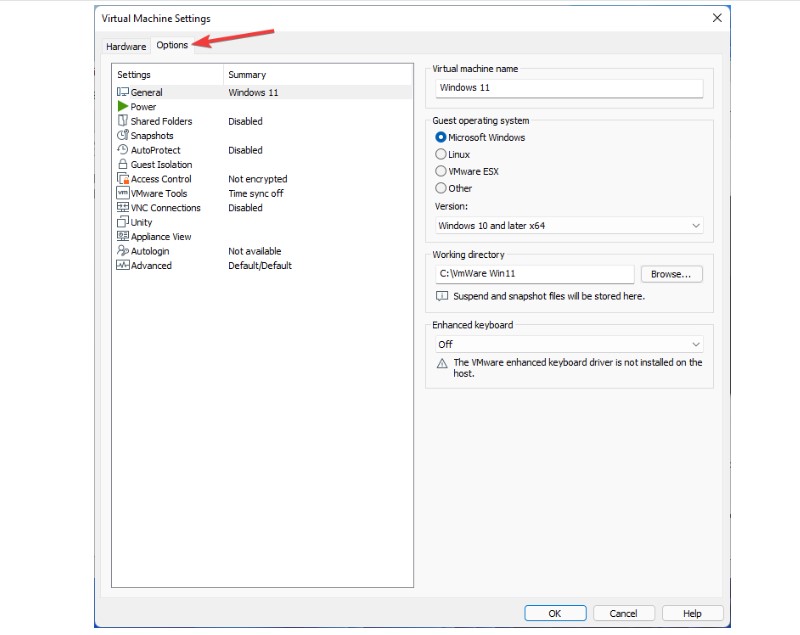
Right-click your VM and choose ‘Settings’.

Troubleshooting Common Issues in VMware with Windows 11
In ‘Settings’, go to the ‘Options’ tab and find the ‘Working directory’.

Troubleshooting Common Issues in VMware with Windows 11
Copy the path of the working directory.
Close ‘Settings’, open File Explorer with ‘Windows + E’, paste the copied path in the address bar, and hit ‘Enter’.

Troubleshooting Common Issues in VMware with Windows 11

Troubleshooting Common Issues in VMware with Windows 11
If file extensions are hidden, enable them via ‘View’ options.

Troubleshooting Common Issues in VMware with Windows 11
Locate and open the .vmx file in Notepad.

Troubleshooting Common Issues in VMware with Windows 11
Add managedVM.autoAddVTPM = “software” to the file’s end.

Troubleshooting Common Issues in VMware with Windows 11
Save the file and restart VMware Workstation.
Proceed with Windows 11 installation, bypassing the TPM check.
Enable TPM 2.0 in VMware Workstation Pro:
Open VMware Workstation Pro and create a new VM if necessary.

Troubleshooting Common Issues in VMware with Windows 11
Right-click your VM, select ‘Settings’, and go to the ‘Options’ tab.
Troubleshooting Common Issues in VMware with Windows 11
Choose ‘Access Control’, then encrypt your VM by clicking ‘Encrypt’ and setting a password.

Troubleshooting Common Issues in VMware with Windows 11
Troubleshooting Common Issues in VMware with Windows 11

Troubleshooting Common Issues in VMware with Windows 11
After encryption, go to ‘Settings’ and select ‘Add’ under the ‘Hardware’ tab.

Choose ‘Trusted Platform Module’, click ‘Finish’, and save the changes.

By editing the .VMX file to include VTPM, or encrypting your VM to add a virtual TPM, you can address the Windows 11 installation errors on VMware Workstation, compatible across versions including Pro, Player, and Fusion.