3 Simple Steps to Draw Dotted Lines in Microsoft Word
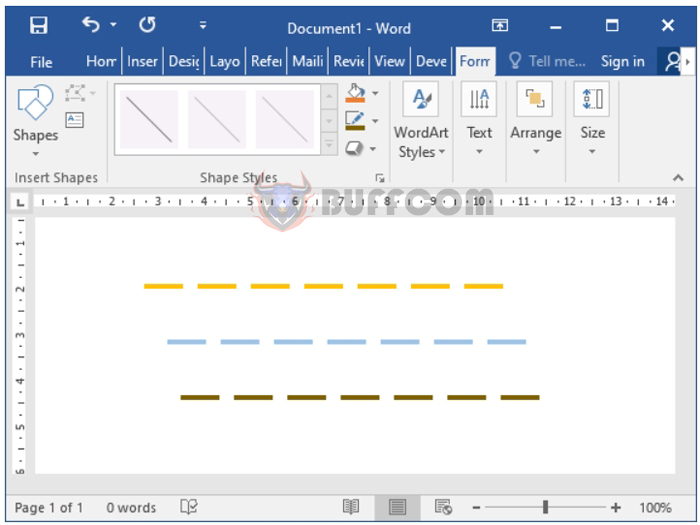
3 Simple Steps to Draw Dotted Lines in Microsoft Word: Dotted lines are frequently used when creating cover pages in Word or often appear at the end of document pages. So, how do you create dotted lines in Word? This article will guide you through the process of drawing dotted lines in Word with just a few simple steps.
Step 1: Draw a Straight Line
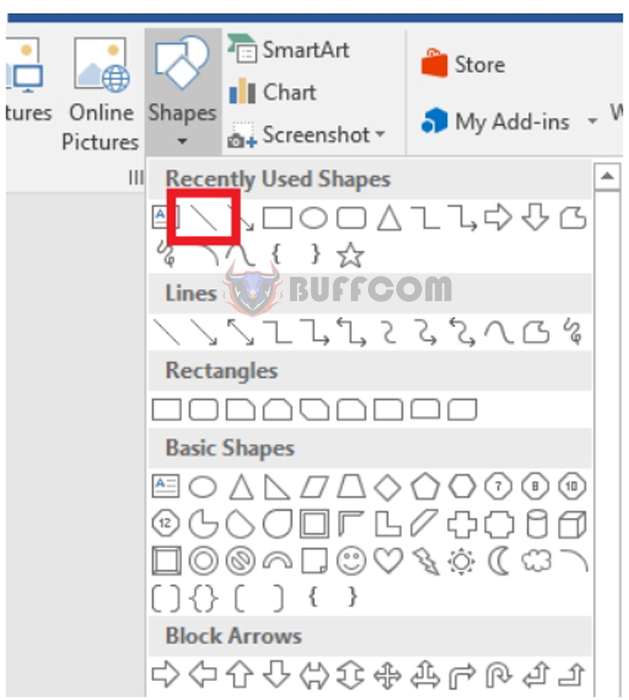
First, open the Microsoft Word interface. On the toolbar, select the Insert tab. Within the Insert tab, click on the Shapes option to display a list of different drawing shapes.
 In the list of drawing shapes, choose the Line (straight line) style with an icon like the one shown below.
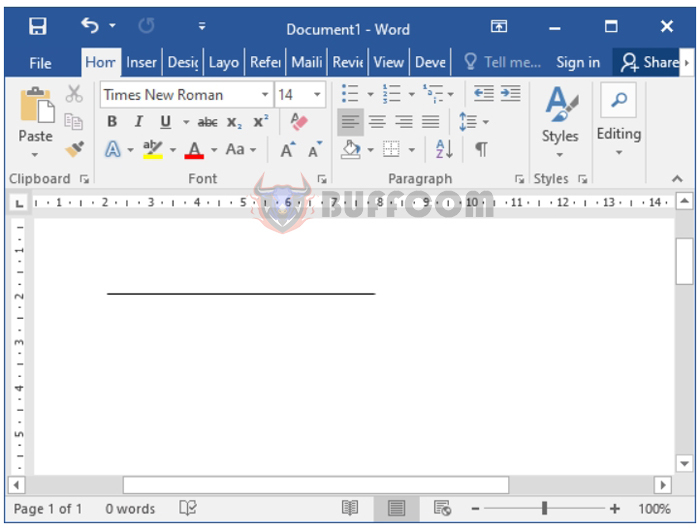
 Next, click at the position within the text where you want to draw the dotted line. While clicking, hold down the mouse button and drag to draw the straight line. The result will be a straight line with the desired length.
 Step 2: Draw the Dotted Line
After creating the straight line, proceed to turn it into a dotted line. Follow these steps:
Click on the straight line. The Format tab will appear on the toolbar. Within the Format tab, choose Shape Outline. In the dropdown list, click on Dashes to select the style of dotted line. Word offers various options for different dotted line styles, allowing you to choose according to your preference.
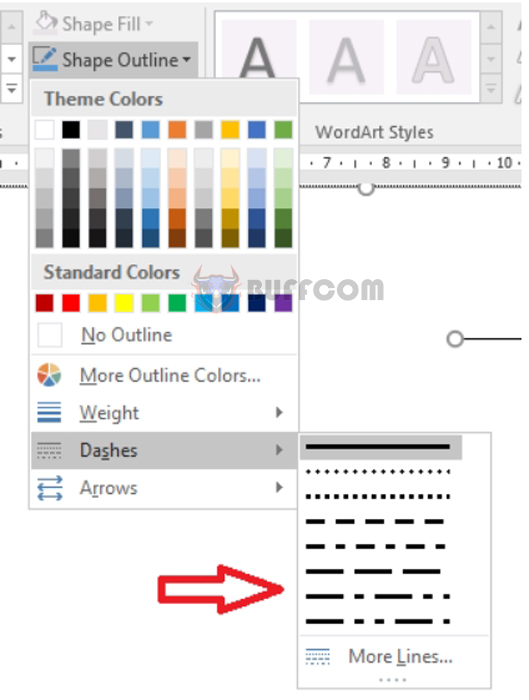 After selecting the desired dotted line style, Word will display the dotted line you’ve chosen.
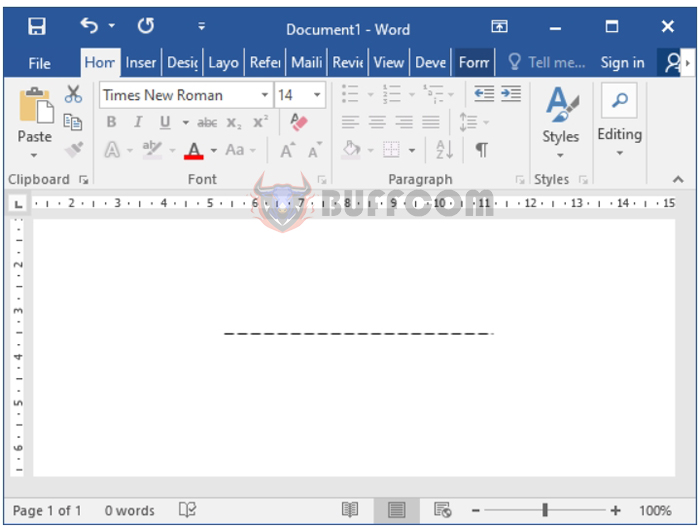 Step 3: Adjust the Dotted Line
After creating the dotted line, you can adjust its color, thickness, or position.
To change the thickness of the line, follow these steps: still within the Format tab, choose Shape Outline. Then, click on Weight to select the line’s thickness level.
 After selection, the dotted line will change in thickness based on the style you chose above.
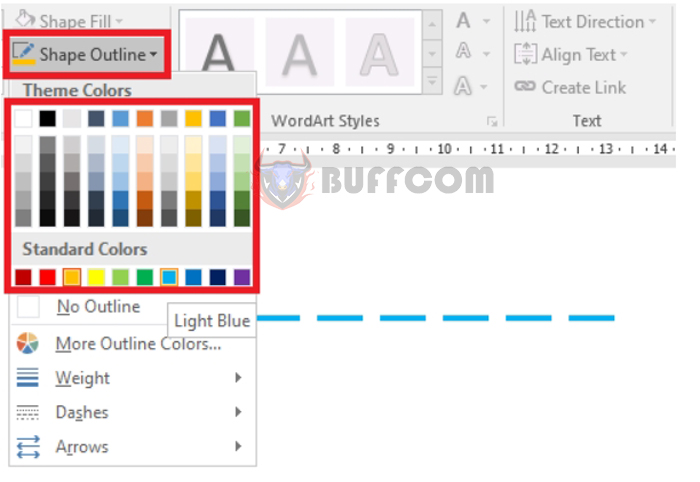
To change the color of the dotted line, follow these steps: still within the Format tab, choose Shape Outline. Then, select the color you want from the color palette, as illustrated below. Changing the color of the line will make your document more attractive and eye-catching.
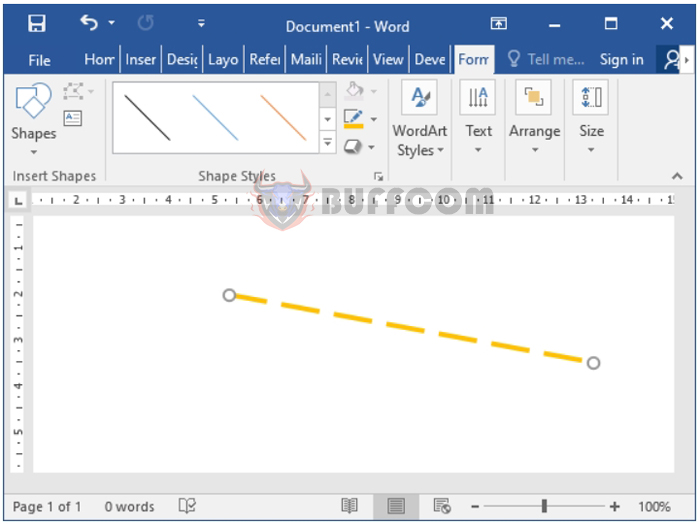
Once you’ve finished creating the dotted line, you can change its direction by clicking on one of the two circular endpoints of the line and dragging it in the direction you want.
3 Simple Steps to Draw Dotted Lines in Microsoft Word
These are the three steps to help you draw dotted lines in Microsoft Word. Feel free to reference and apply these steps. Best of luck with your work!


