How to create a diagonal line to divide an Excel cell into two triangular cells
How to create a diagonal line to divide an Excel cell into two triangular cells: Creating a diagonal line to divide an Excel cell into two triangular cells is a basic operation that is most commonly used in Excel spreadsheets. This operation is often used when dividing columns clearly by content in different categories, but if you want to save space, dividing one cell into two small triangular cells is necessary. In this article, Buffcom.net will guide you on how to do it in detail.
How to create a diagonal line to divide an Excel cell into two triangular cells
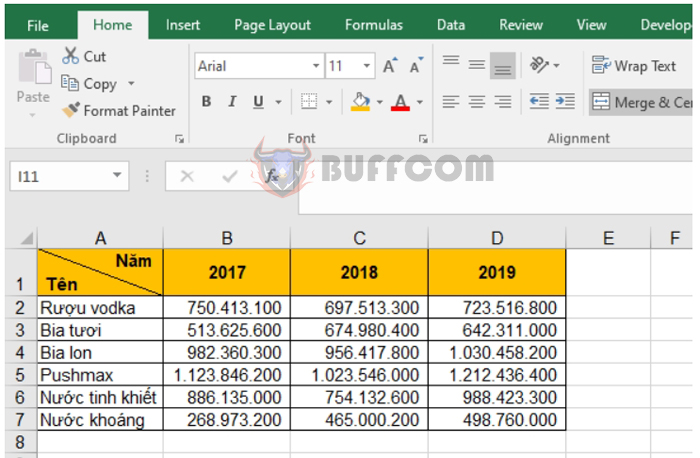
To create a diagonal line and the words “Năm” and “Tên” on both sides of the diagonal line as shown above, follow these steps:
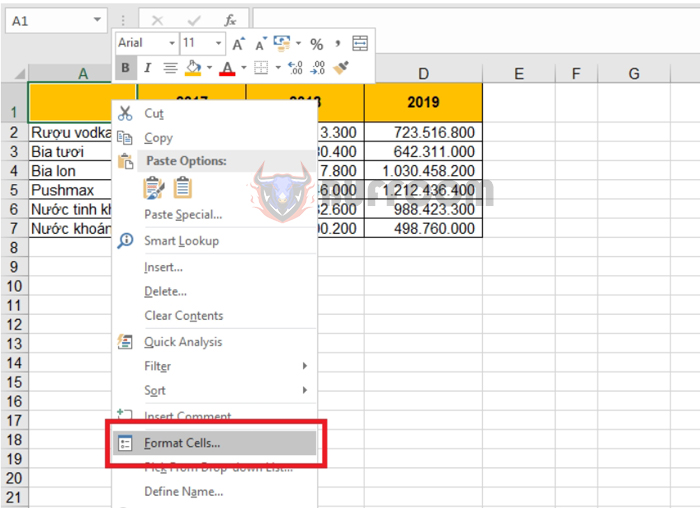
Step 1: Place the mouse pointer in the cell to be divided, then right-click and select Format Cells…
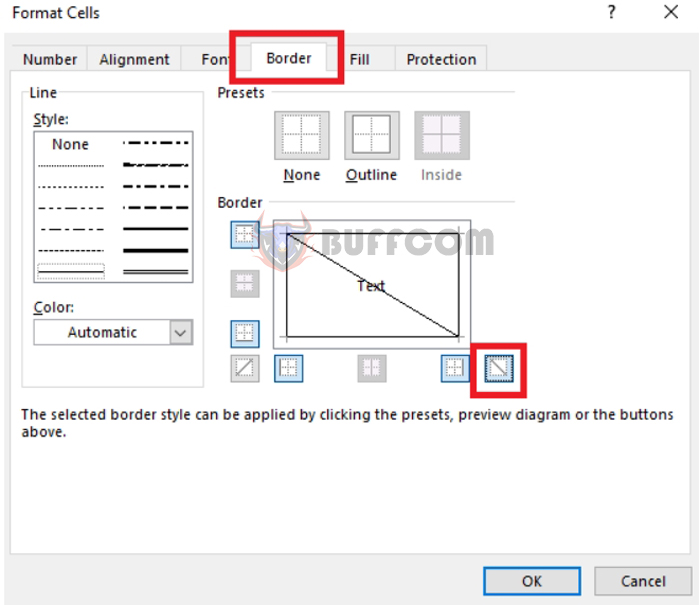
 Step 2: At this point, the Format Cells window appears. Select the Border tab => at the Style section, select the bold or light style for the diagonal line. Then select the diagonal line at the Border section. When you have finished selecting, click OK.
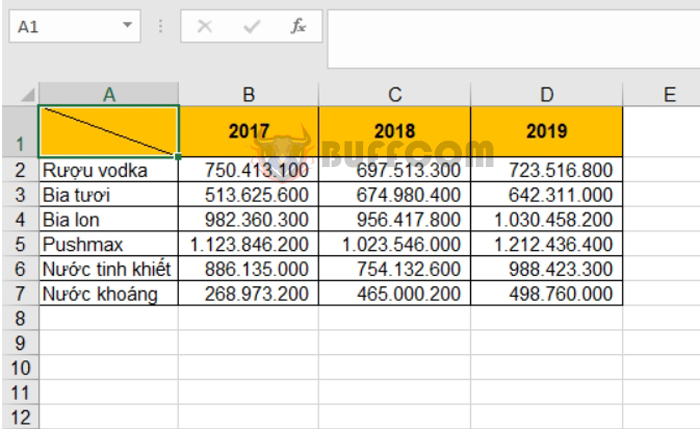
 You will get the result with the diagonal line in the cell:
 Step 3: After creating the diagonal line for the cell, we need to enter the words “Năm” and “Tên” for the created cell. To create the words “Năm” and “Tên” on both sides of the diagonal line in an Excel cell, follow these steps:
- First, enter the word “Năm”.
- Then press Alt + Enter to go to the next line and enter the word “Tên”.
- Then, place the mouse pointer in front of the word “Năm” and add several spaces before “Năm”. The number of spaces added before entering the month depends on the width of the column containing this cell.
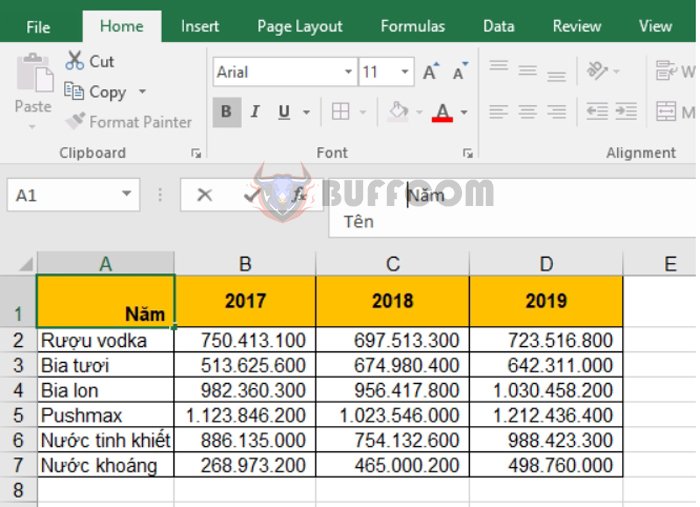 You will get the result with the words “Năm” and “Tên” on both sides of the diagonal line:
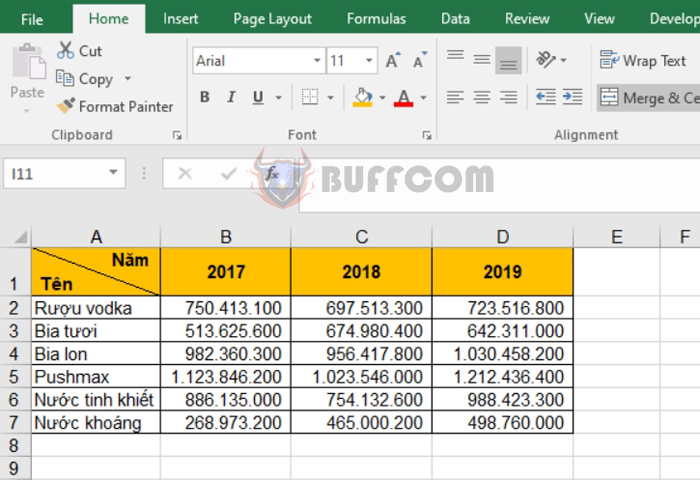
How to create a diagonal line to divide an Excel cell into two triangular cells
That’s it! The article above has guided you on how to create a diagonal line in an Excel cell. Good luck!


