How to Create a New Workspace in VS Code

Creating a new workspace in Visual Studio Code (VS Code) allows you to manage multiple files and folders within a single window, which is especially useful for larger projects or when working with multiple repositories. Here’s how you can create a new workspace in VS Code:
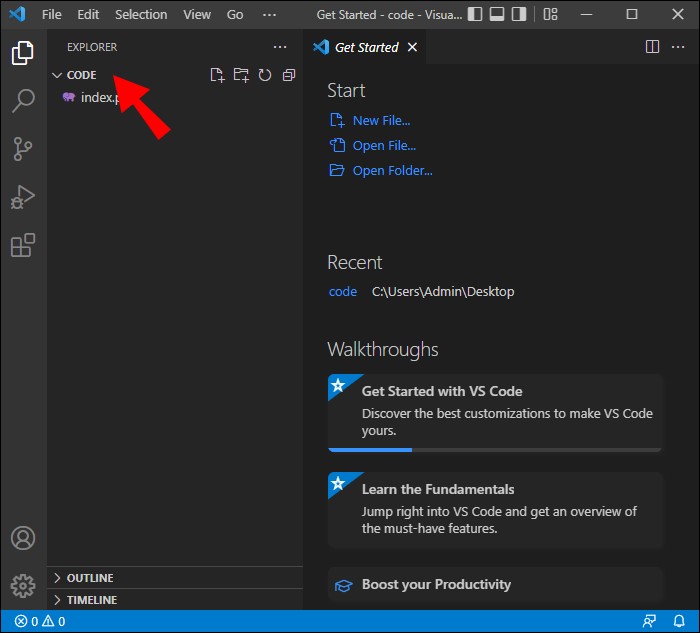
1. Select Folders for Your Workspace
First, decide which folders you want to include in your workspace. This could be a single project folder or multiple folders from different locations.
2. Add Folders to the Workspace
To add folders to your workspace:
- Open VS Code.
- Go to the File menu in the top menu bar.
- Select “Add Folder to Workspace…”.

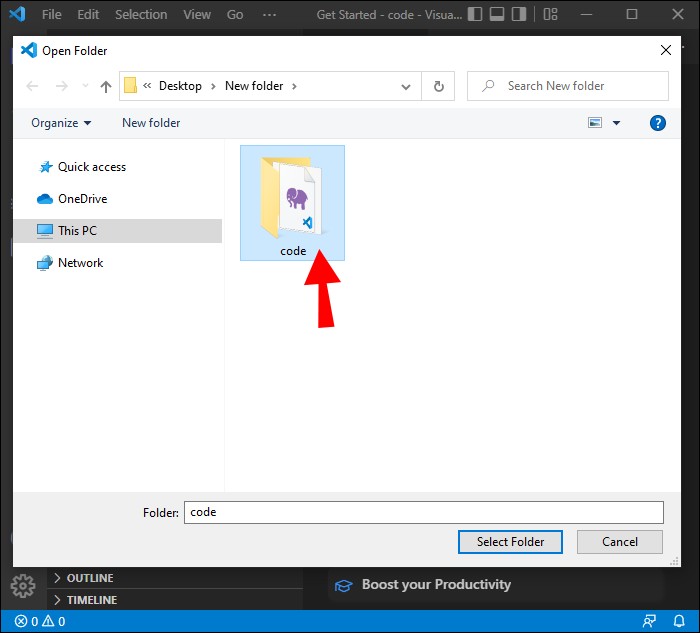
- A file explorer window will appear. Navigate to and select the folder(s) you want to add, then click “Add”.
You can repeat this process to add multiple folders, creating a multi-root workspace where all selected folders appear in the same VS Code window.
3. Save the Workspace
After adding the folders:
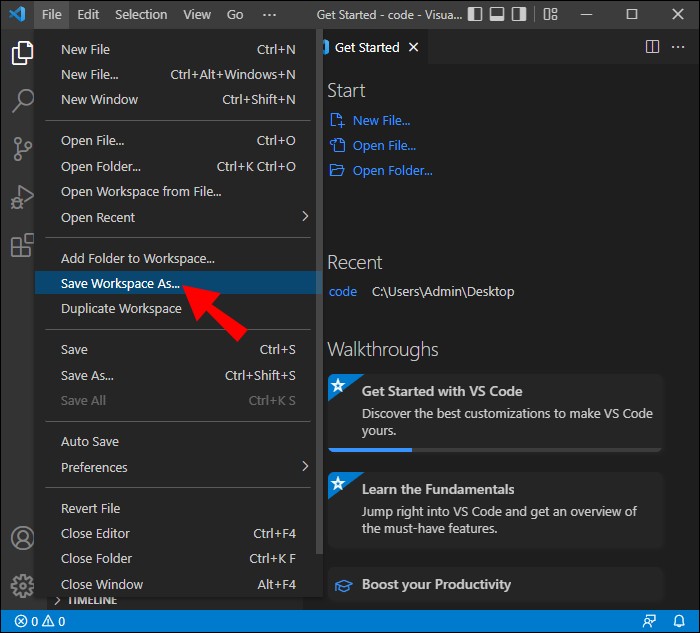
- Go to the File menu again.
- Select “Save Workspace As…”.

- Choose a location on your computer to save the workspace configuration file.
- Name the workspace and save it. The workspace will be saved with the
.code-workspaceextension (e.g.,MyWorkspace.code-workspace).
4. Open and Use the Workspace
- To open your saved workspace later, simply double-click the
.code-workspacefile or open it via File > Open Workspace… in VS Code.
How to Create a New Workspace in VS Code
Conclusion
By creating a workspace in VS Code, you can efficiently manage multiple projects or repositories within a single window. This setup is particularly helpful when working on related projects or when you need to access multiple files simultaneously. The .code-workspace file saves your configuration, so you can easily reopen the workspace with all your preferred folders included.


