How To Fix Blue Screen Error In Windows 10
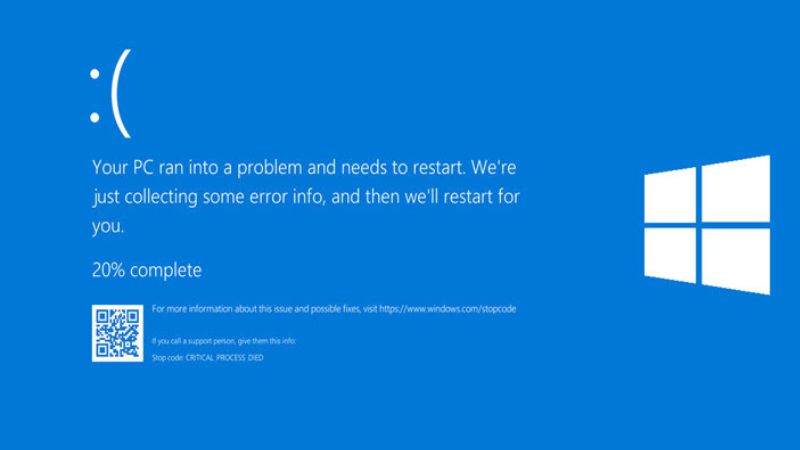
When using Windows, encountering the blue screen error can be frustrating and time-consuming for many people. However, fixing the blue screen error in Windows 10 is relatively simple if you correctly identify the underlying cause. In this article, Buffcom.net will guide you through the most effective methods to resolve the blue screen error in Windows 10.
I. Causes of Blue Screen Error in Windows 10
In reality, there are various reasons why you may experience a blue screen error in Windows 10, most of which are due to system errors or conflicts. Some of the common causes include:
- Overloaded computer and inadequate cooling
- Hardware issues (especially RAM)
- Driver problems (such as missing drivers)
- Software issues (particularly deep interference from antivirus programs)
- Excessive fragmentation of the hard drive (for HDDs)
Once you identify these causes, you can quickly determine where the error lies and proceed with the appropriate solution. However, it’s important to note that the blue screen of death (BSOD) can have other causes that are difficult to predict in advance. Whenever Windows displays a blue screen, it signifies a system crash and serves as a notification to the user. Minor issues may resolve automatically with a system restart, but for more severe cases, reinstalling Windows might be necessary.
II. Resolving the Blue Screen Error in Windows 10
Method 1: Check Hardware
If your computer suddenly encounters a blue screen error after you’ve made changes to hardware components such as RAM, disk drives, or VGA, the first step is to check the hardware.
One of the primary culprits behind the blue screen is often faulty or loose RAM modules. To address this, remove the RAM and use a clean piece of paper (e.g., a school notebook paper) to wipe the contacts. After cleaning the RAM, reinstall it securely.
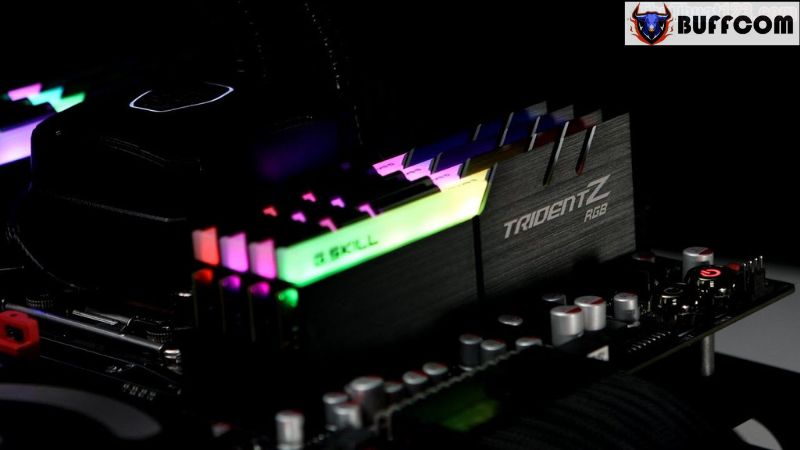 Next, verify that your hard drive is firmly attached to its slot and check all power and data cables connected to the drive.
Once these steps are completed, restart your computer and check if the blue screen error persists.
Method 2: Check Antivirus Software
 Using third-party antivirus software can sometimes cause conflicts and trigger the blue screen error, as these programs often classify system files as viruses. Therefore, it’s advisable to review whether any additional antivirus software has been installed or if a recent virus scan was performed.
If you have any third-party antivirus software installed, remove it from your computer and restart the system. Windows Security, built-in to Windows 10, provides excellent protection against viruses and malware, eliminating the need for additional third-party antivirus software.
Method 3: Check Drivers
As you may know, the proper functioning and interconnection of computer components rely on device drivers. Although drivers rarely encounter errors due to robust source code protection, they can still be compromised by viruses or become outdated for various reasons. To check your drivers manually, follow these steps:
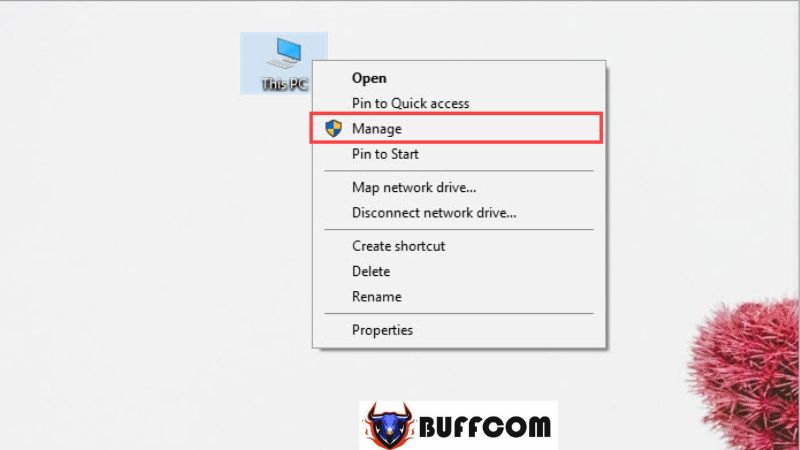
1. Right-click on “This PC” and select “Manage.”
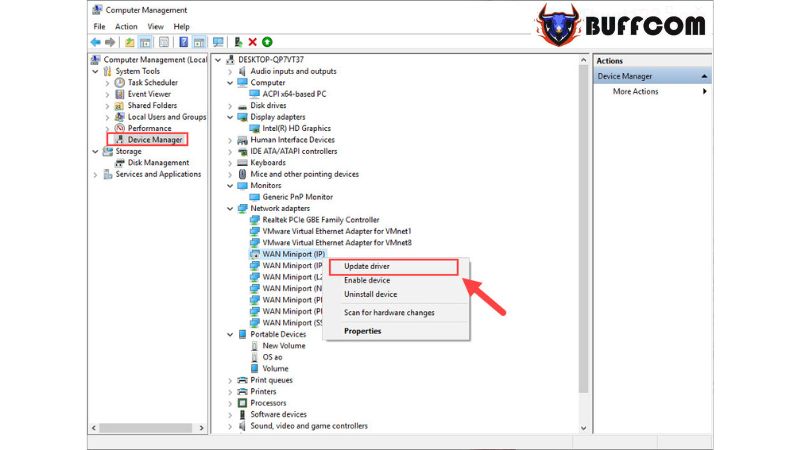
2. In the Computer Management window, choose “Device Manager.” Here, you will see a list of drivers for various components of your computer.Your task is to identify drivers marked with a red X or black arrow. Right-click on the problematic drivers and select “Update Driver” to allow for automatic updates.
 Method 4: Use Automatic Repair in Windows 10
Windows 10 provides a built-in feature for scanning and automatically repairing errors, which can help quickly identify issues.
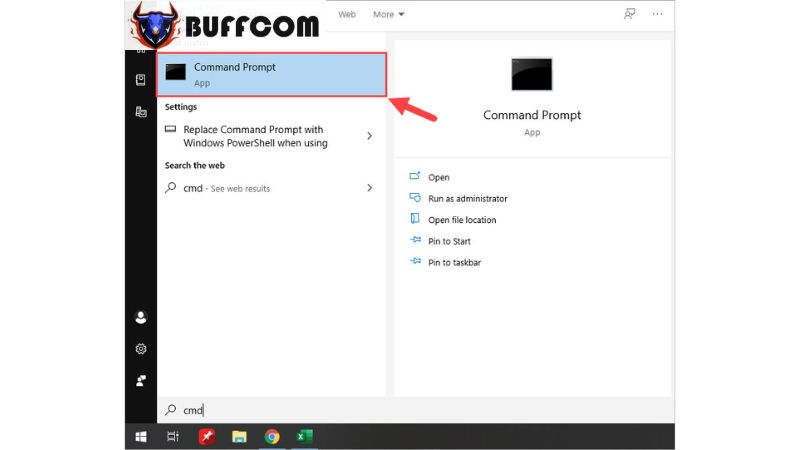
Step 1: Open the Start menu and search for “Command Prompt (CMD).” Press Enter to open it.
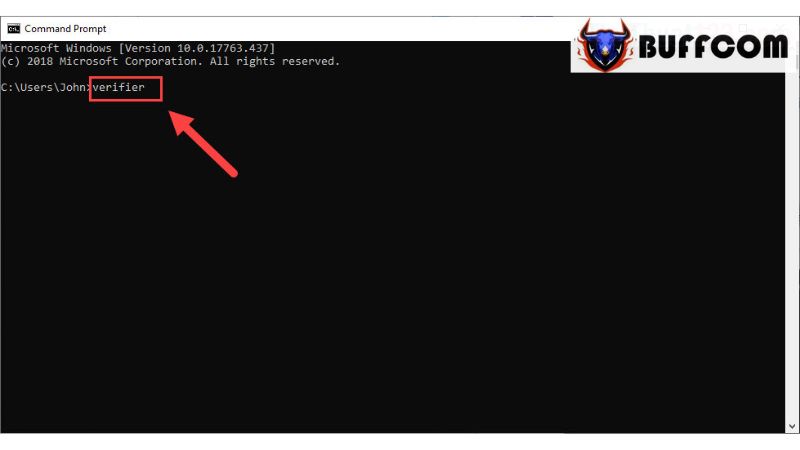
Step 2: When the CMD window appears, type “verifier” and press Enter.
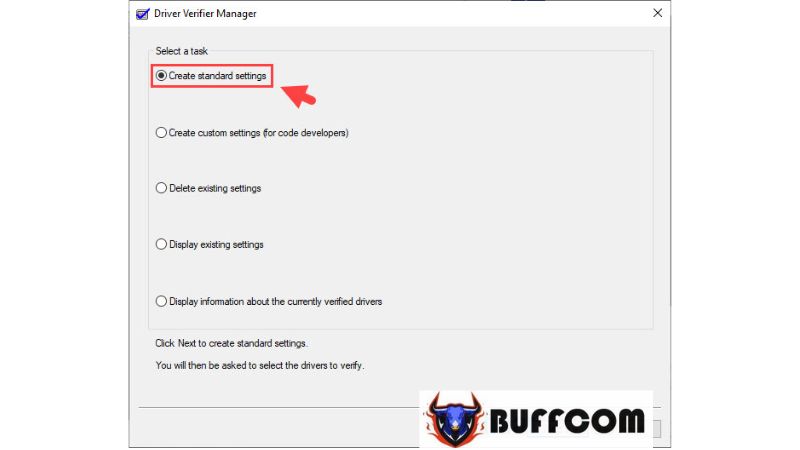
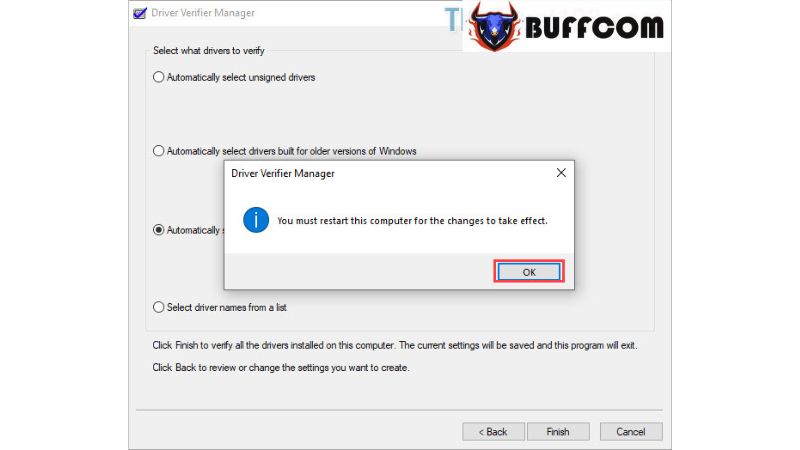
 Step 3: The Driver Verifier Manager window will appear. Select “Create standard settings” and click “Next.”
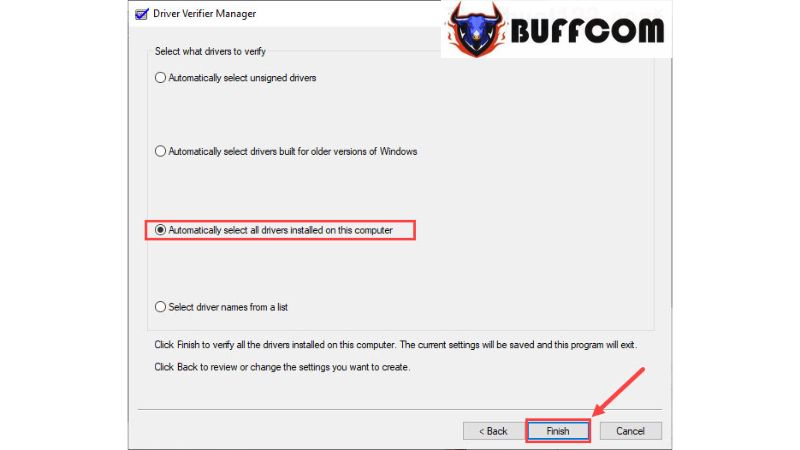
 Step 4: Then, choose “Automatically select all drivers installed on this computer” and click “Finish.”
 Step 5: Wait for the application to scan for errors and click “OK” to complete.
 Method 5: Clear Windows 10 Cache
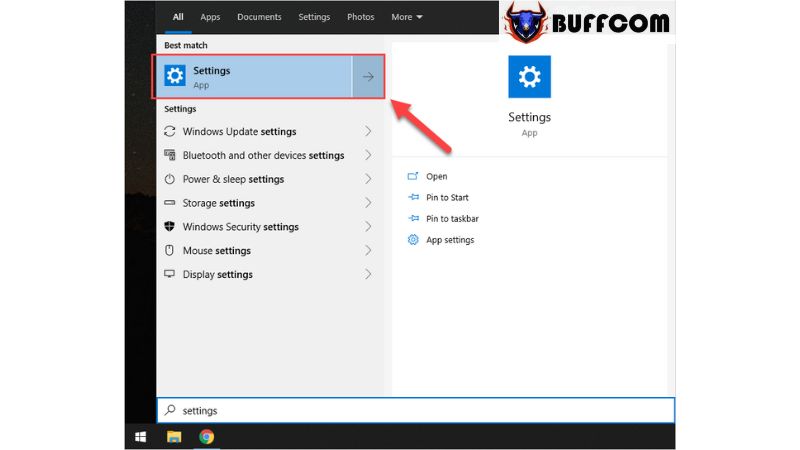
Step 1: Open the Start menu, type “Settings,” and press Enter to open it.
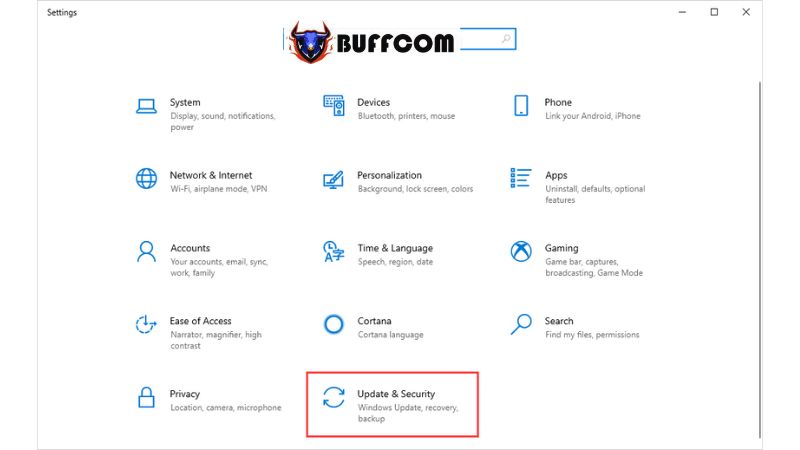
 Step 2: Then, select “Update & Security.”
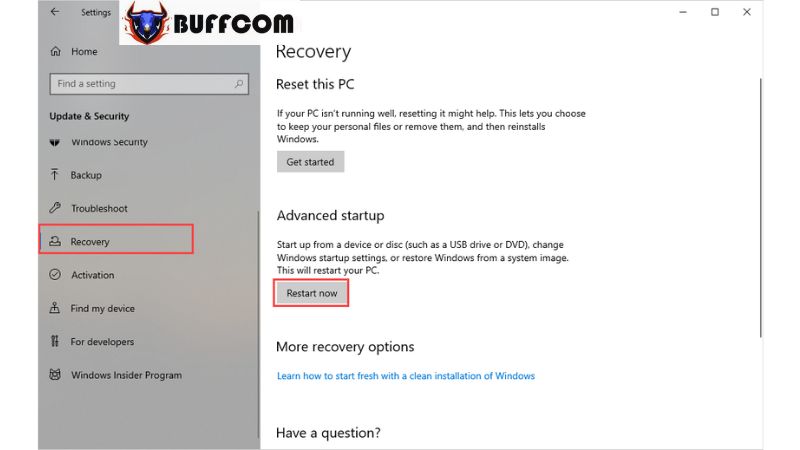
 Step 3: Next, choose “Recovery” and select “Restart Now” under Advanced Startup.
Step 4: At this point, your computer screen will display a blue screen. Follow these steps:
Troubleshoot -> Advanced Options -> UEFI Firmware Settings -> Restart.
Once the BIOS screen appears, navigate to Cache Memory and select “Disable” to turn it off.
In this article, Buffcom.net has guided you on how to fix the blue screen error in Windows 10. We wish you success. If you’re interested in a genuine Windows product key, please contact Buffcom.net for assistance!


