Installation and Configuration Steps for Windows Server 2022
Windows Server 2022, introduced in 2021 with a decade-long support cycle, is tailored for small-to-medium-sized businesses, emphasizing heightened stability and performance. If you’re considering upgrading your IT infrastructure for improved reliability and efficiency, now is the opportune moment.
Installation Overview:
The installation of Windows Server 2022 marks a significant transformation for your organization. This guide provides crucial insights into the process, ensuring you are well-equipped with the necessary tools and resources.
Part 1: Hardware Requirements
Before delving into the installation, familiarize yourself with the minimum hardware/system requirements:
Processor: 1.4 GHz 64-bit, compatible with x64 instruction set, supporting NX and DEP, CMPXCHG16b, LAHF/SAHF, and prefetch.
Memory/RAM: 512 MB (2GB for Server with Desktop Experience installation option), ECC type for physical host deployments.
Disk Space: Minimum 32 GB (Windows Server 2022 using Server Core installation option).
Network: Ethernet adapter with at least 1 gigabit per second throughput, compliant with PCI Express architecture.
Additional requirements: UEFI 2.3.1c-based system and firmware supporting secure boot, Trusted Platform Module, graphics device, and monitor capable of Super VGA (1024 x 768) or higher resolution.
Part 2: Installation Options
Windows Server 2022 offers two installation options:
Server Core: A minimal installation without a graphical user interface, suitable for remote management through PowerShell or other server management tools.
Server with Desktop Experience: A complete installation with a full GUI, preferred for organizations requiring a comprehensive interface.
Part 3: Step-By-Step Installation Guide
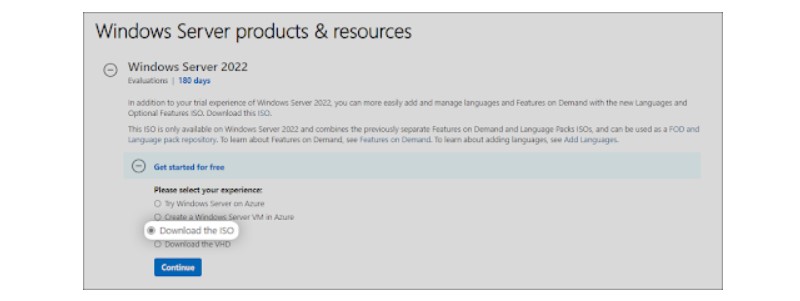
Step 1: Download the Windows Server 2022 ISO
Obtain the ISO file from Microsoft’s official Windows Insider page.
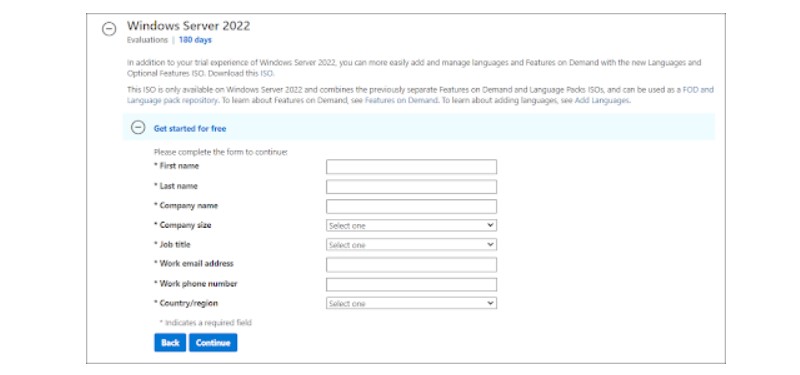
Choose language preferences and download the ISO.
Installation and Configuration Steps for Windows Server 2022

Installation and Configuration Steps for Windows Server 2022
Installation and Configuration Steps for Windows Server 2022
Step 2: Create a Bootable ISO Image
Follow Microsoft’s guide to create a bootable USB flash drive using tools like Rufus.
Alternatively, if you have access to MSDN, download the ISO and generate a new key for activation.
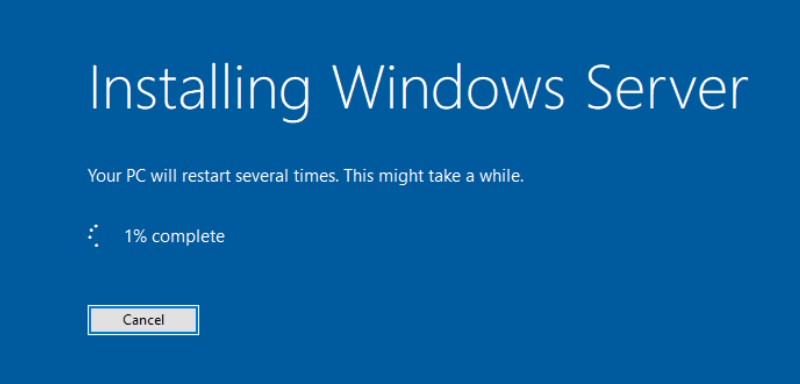
Step 3: Install Windows Server 2022
Choose the desired edition (Standard, Essential, or Datacenter) before proceeding.
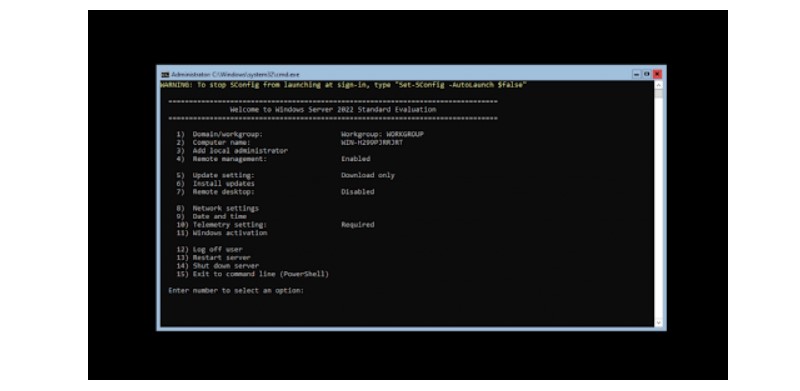
For Server Core installation, follow the command-line prompts.

Installation and Configuration Steps for Windows Server 2022
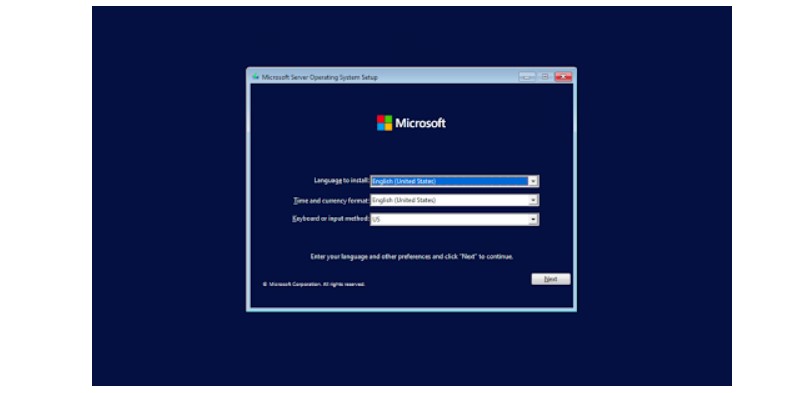
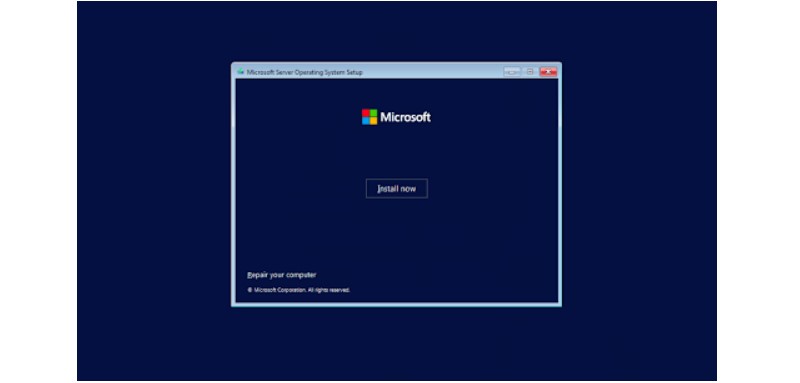
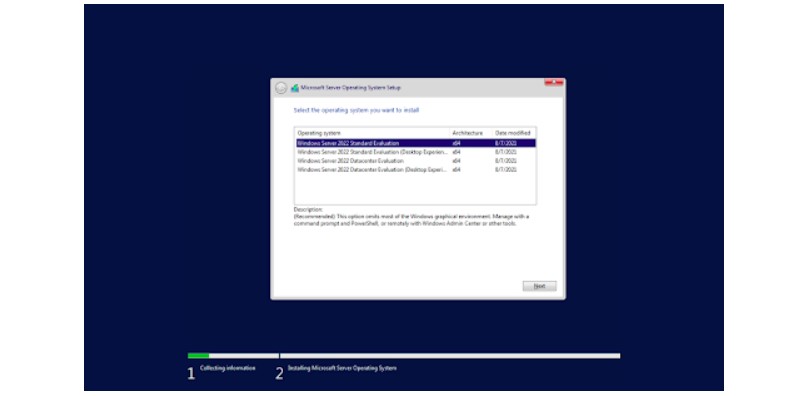
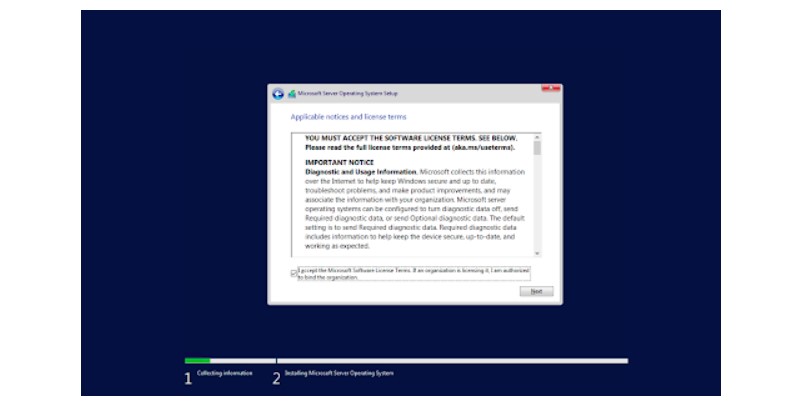
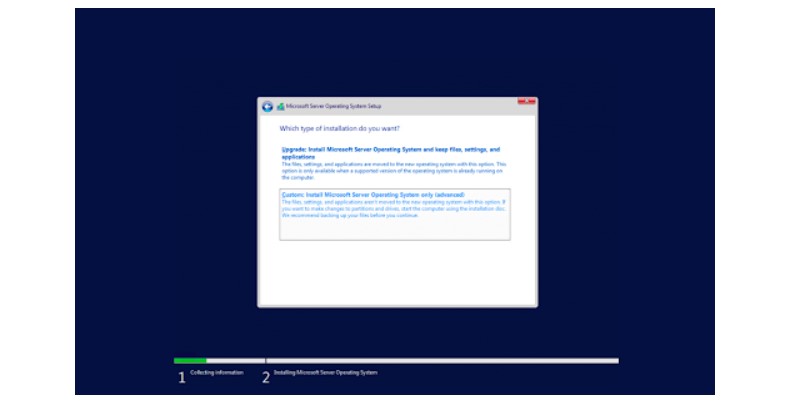
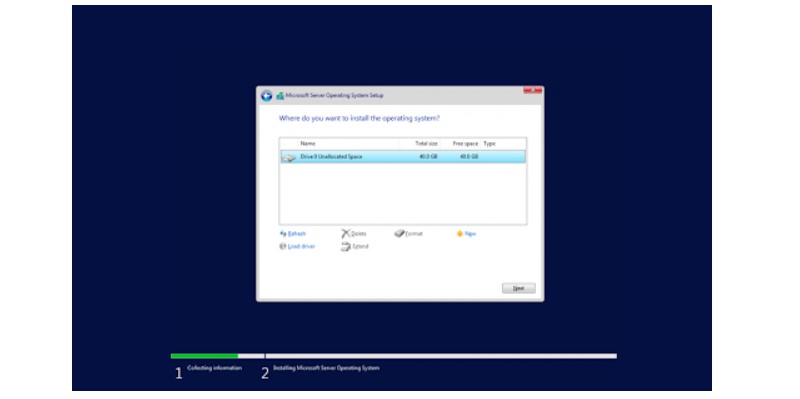
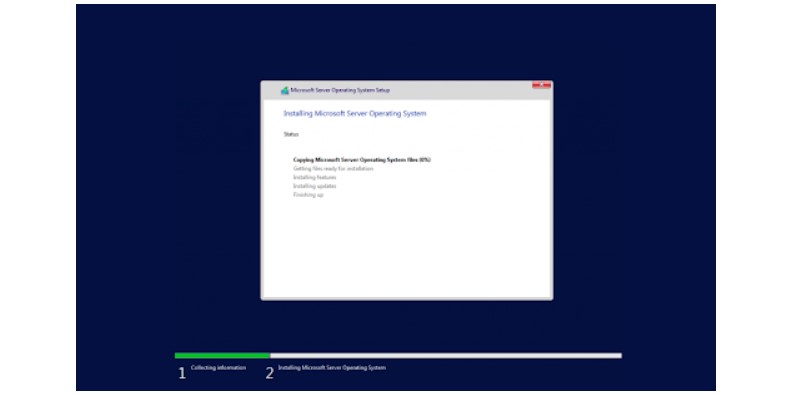
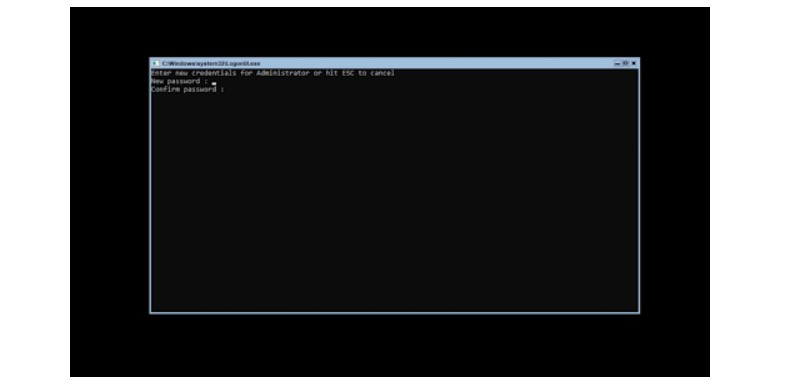
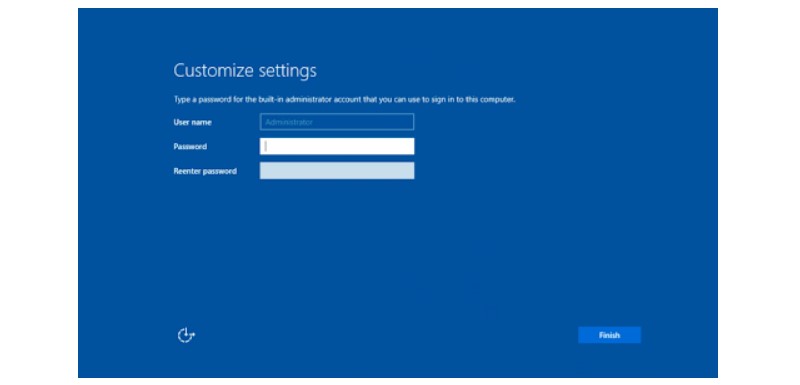
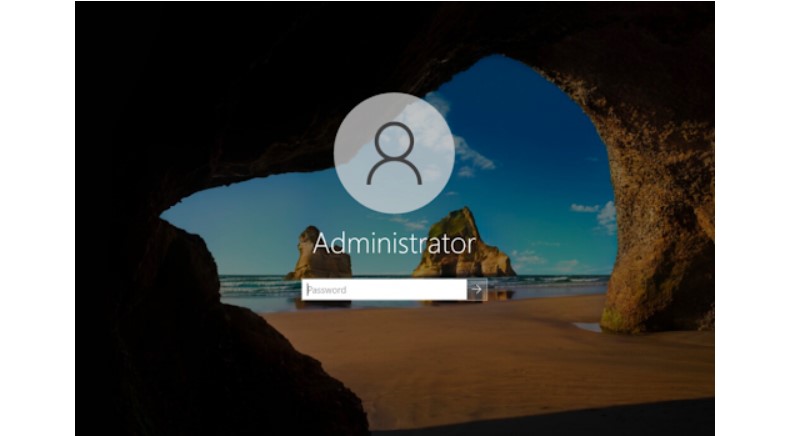
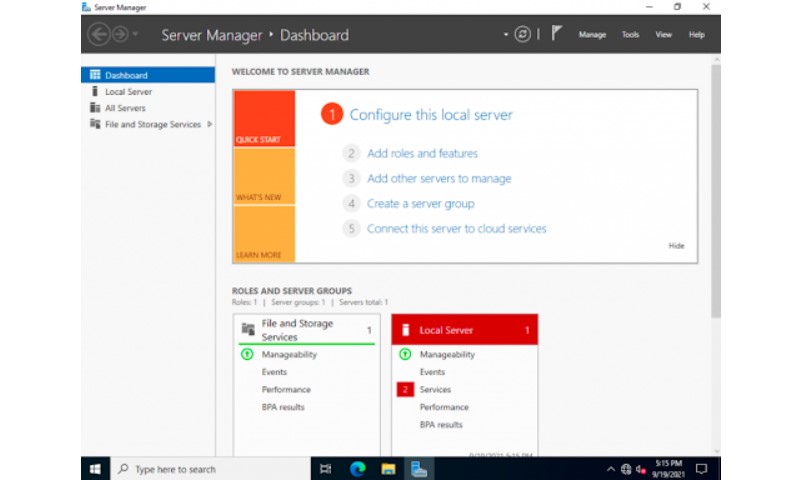
For Desktop Experience installation, set an administrator password and configure through the graphical interface.
Installation and Configuration Steps for Windows Server 2022
Step 4: Configure Network Settings
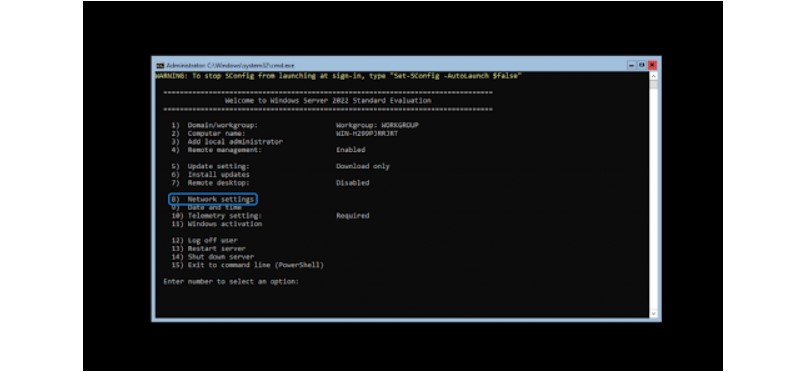
For Server Core, use the SConfig command in the Command Prompt to configure network settings.
A menu will appear on your screen; opt for Network Settings by selecting option 8. This will direct you to the network configuration page, where adjustments for both wired and wireless networks are made.
Installation and Configuration Steps for Windows Server 2022
To commence the configuration process, choose the IP you wish to configure. In this example, we’ll opt for 1, given that our server has only one network connection. If there are multiple options, select the one you intend to work with initially.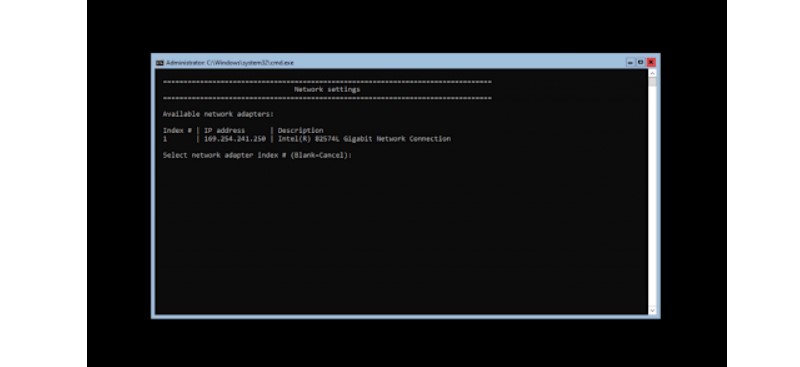
Once your chosen IP is selected for configuration, proceed to customize your settings. The computer’s network settings will be automatically updated, and this process typically takes no more than five minutes to complete.
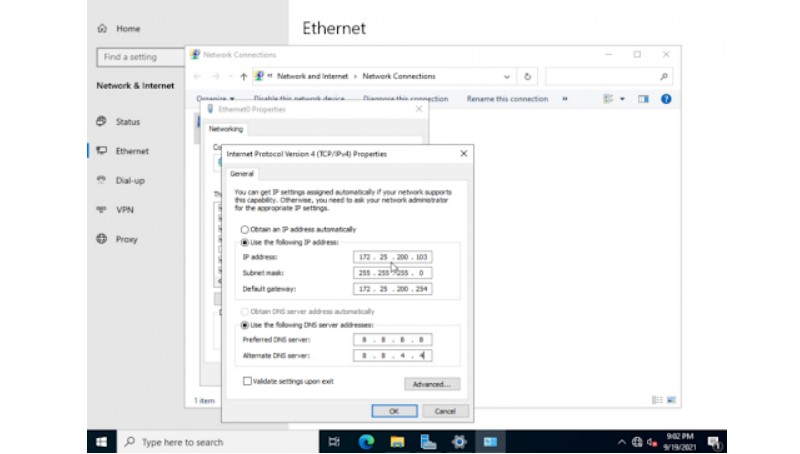
For Desktop Experience, navigate to Control Panel > Network and Internet > Network Connections to configure through the GUI.
Installation and Configuration Steps for Windows Server 2022
Congratulations on completing the installation of Windows Server 2022. This guide aims to facilitate a seamless transition to your new server software, ensuring your IT infrastructure is well-optimized for current needs and future innovations.

