Installation Guide for Running Windows 10 on M1 Chip Devices
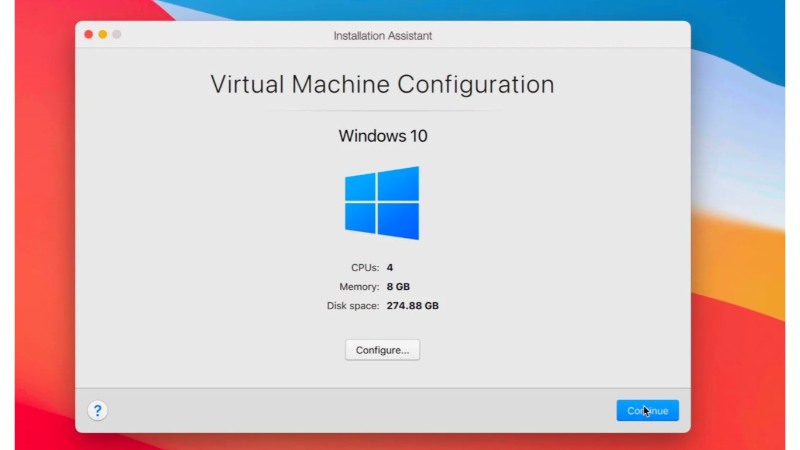
M1 Macs, while not supporting traditional Boot Camp for x86 Windows, offer a straightforward solution for Windows for ARM installation. With the release of Parallels Desktop 16 for Mac, M1 Macs gain seamless support for this process.
Quick Steps to Install Windows on M1 Macs:
Download Parallels Desktop 16 for Mac:
This universal app supports both Intel and Apple Silicon Macs, offering a bug-free experience compared to its Technical Preview version.
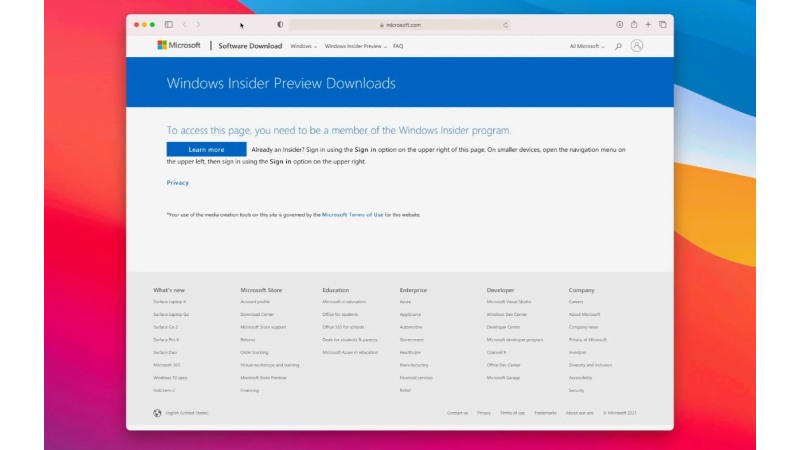
Register as a Windows Insider:
This is a prerequisite for downloading the Windows 10 on ARM Insider Preview. Registration is free and accessible online.
Running Windows 10 on M1 Chip Devices
Download Windows 10 on ARM Insider Preview:
Available on Microsoft’s website, this version is specifically designed for ARM-based Macs like the M1 series.
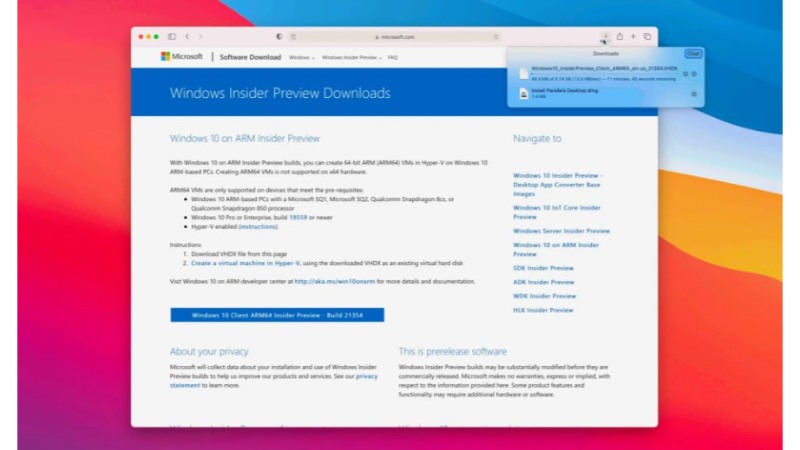
Running Windows 10 on M1 Chip Devices
Configure Windows 10 with Parallels Installation Assistant:
After downloading, use Parallels to set up your Windows 10 installation. This includes selecting the Windows 10 .VHDX file, choosing ‘Productivity’ for usage, and customizing memory and CPU cores allocation.
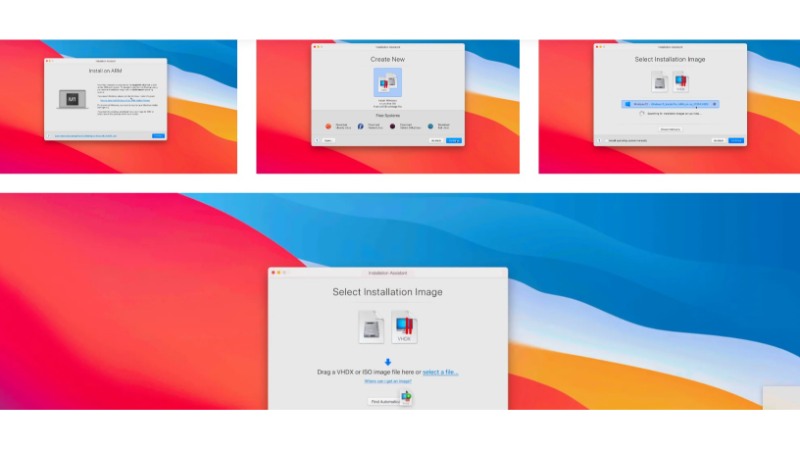
Running Windows 10 on M1 Chip Devices 2
Install Windows 10:
Proceed with the installation on your M1 Mac, a process that may take several minutes.
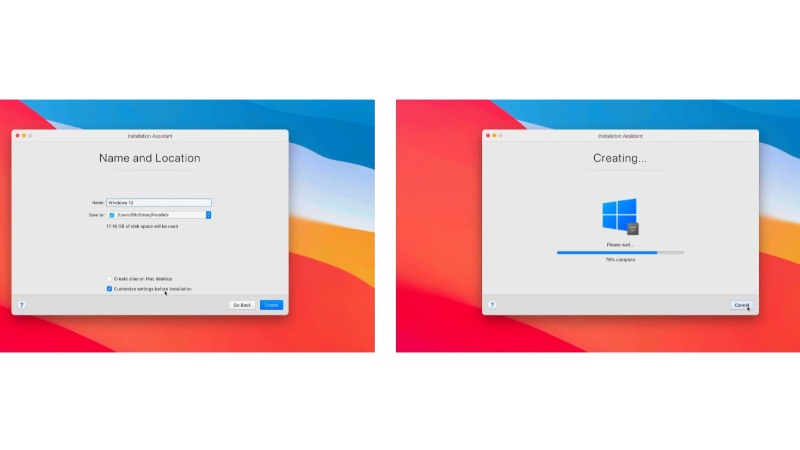
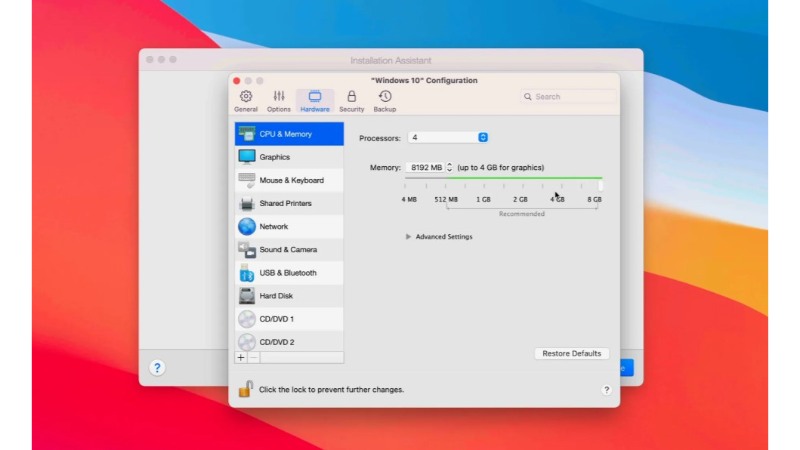

Running Windows 10 on M1 Chip Devices
Sign into Your Parallels Account:
Post-installation, log into your Parallels account. New users can enjoy a 14-day trial, with various payment tiers available for continued use.
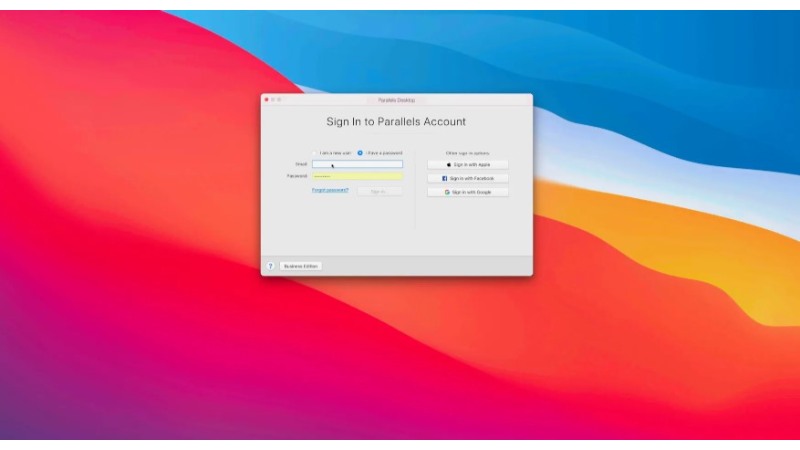
Running Windows 10 on M1 Chip Devices
Run Windows Update:
Ensure your system is up-to-date with the latest software and security updates.
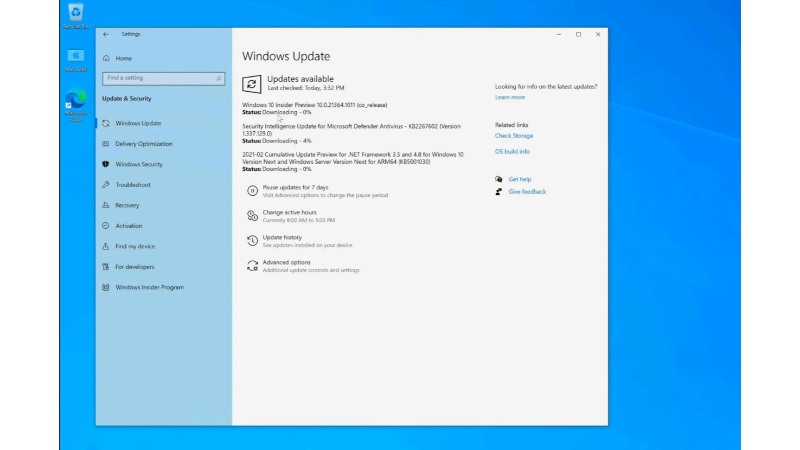
Running Windows 10 on M1 Chip Devices
Install Preferred Apps and Games:
Customize your Windows installation with your favorite apps and games.
Conclusion:
While the M1 Macs are efficient for macOS optimized workflows, they fall short in high-demand RAM applications and 3D gaming on Windows. However, the ease of Windows installation via Parallels and its stable performance are notable. Despite the lack of Boot Camp, installing Windows 10 on an M1 Mac remains a feasible and convenient option.

