Installation Guide for Windows 11 on Acer Devices
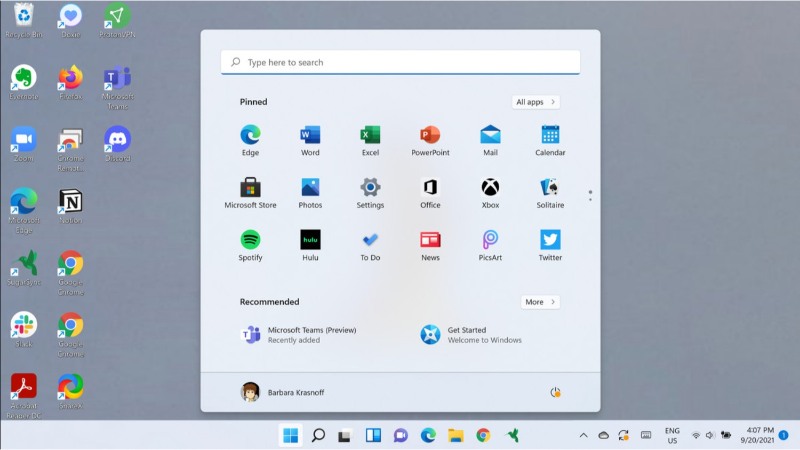
Performing a clean installation of Windows 11 involves erasing your laptop’s hard drive completely and installing a fresh version. This technique is also effective for resolving problems in your current setup. Windows 11 introduces various user interface enhancements, such as rounded corners and new wallpapers. Importantly, a clean installation can extend battery life, eliminate viruses, and rid your system of other malware.
Creating a Windows 11 Bootable USB Drive
Here’s how to create a bootable USB using the Media Creation Tool, which is the most straightforward method:
Preparing the USB Drive: Insert a blank USB flash drive into your laptop.
Downloading the Software:
Visit Microsoft’s official website.
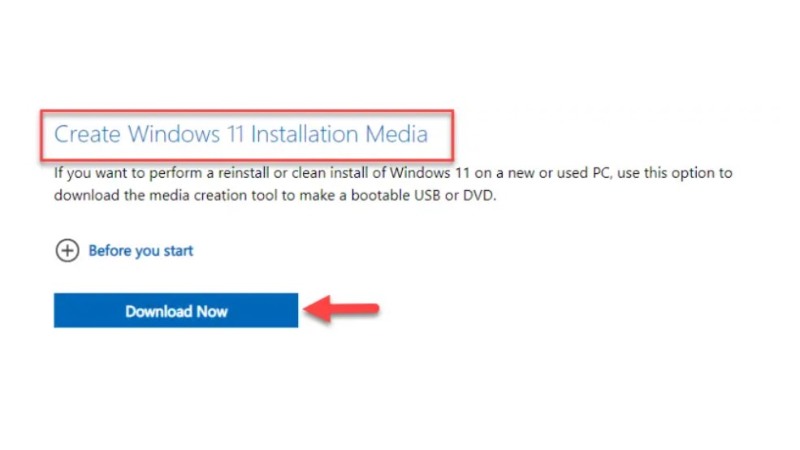
Under the ‘Create Windows 11 Installation Media’ section, click ‘Download now’ and save the file.
Installation Guide for Windows 11 on Acer Devices
Launching the Tool:
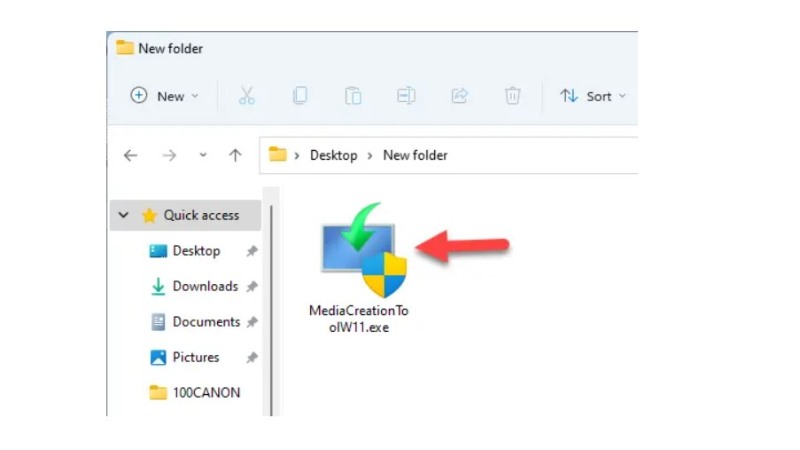
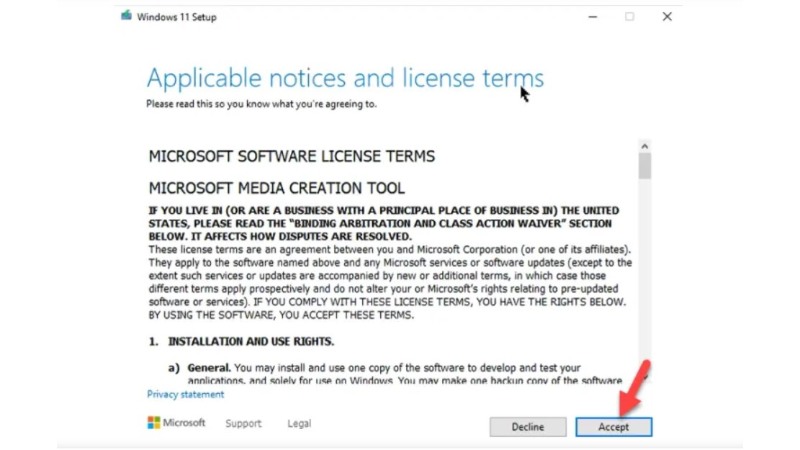
Double-click the downloaded Media Creation file to open it.
On the license terms page, click ‘Accept’.
Installation Guide for Windows 11 on Acer Devices
Setting Preferences:
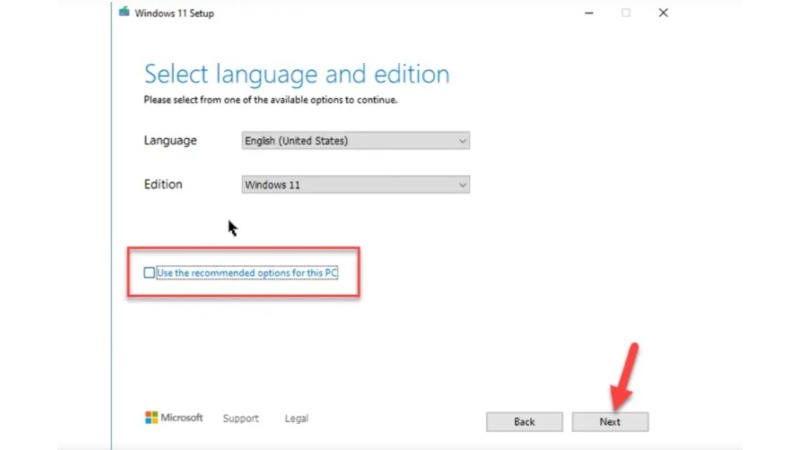
If the default language suits you, click ‘Next’. To change it, uncheck ‘Use the recommended options for this PC’.
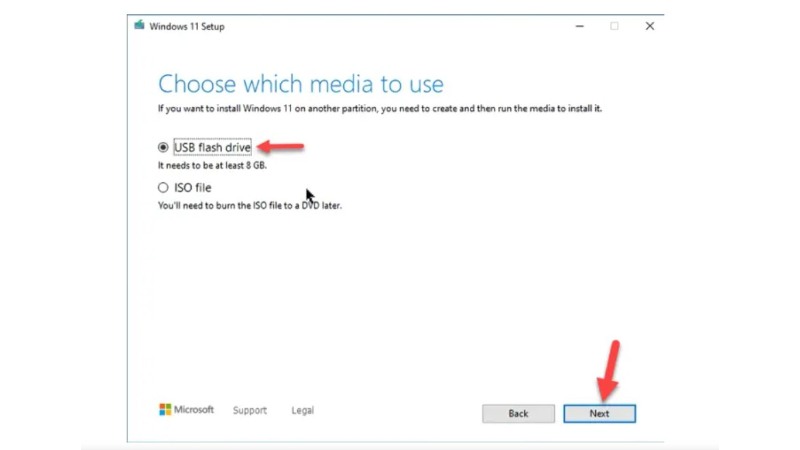
Select ‘USB flash drive’ and click ‘Next’.
Installation Guide for Windows 11 on Acer Devices
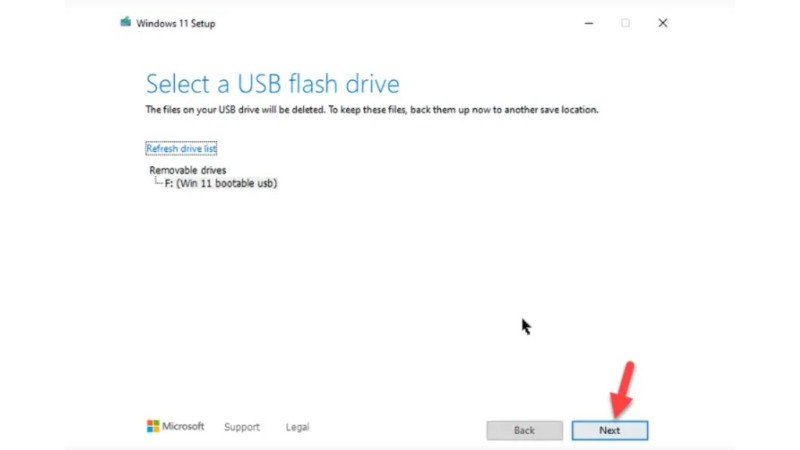
If your USB is listed, proceed by clicking ‘Next’; if not, refresh the drive list to select your USB.
Installation Guide for Windows 11 on Acer Devices
Creation Process:
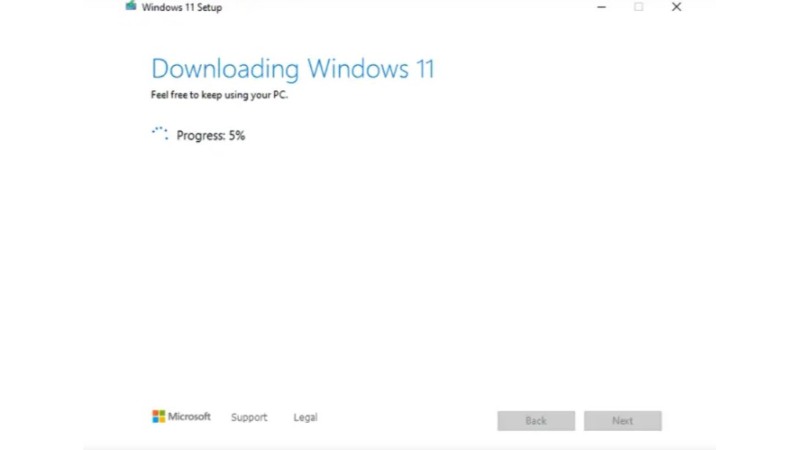
The creation of the Windows 11 bootable USB drive will begin.
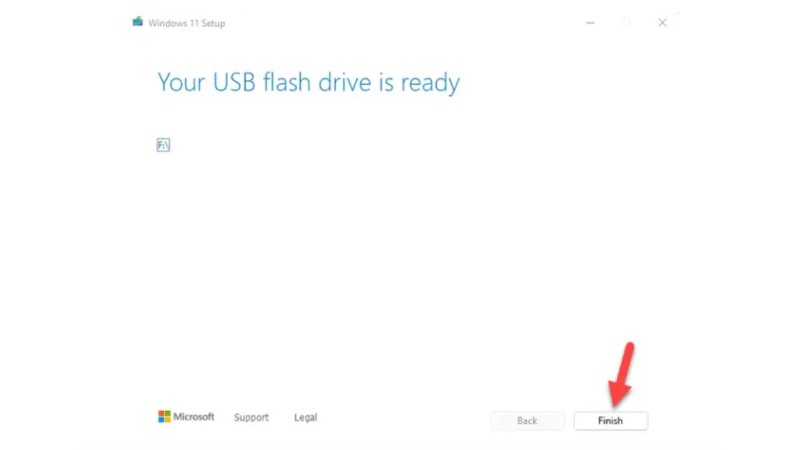
Once complete, click ‘Finish’.
Booting from USB on an Acer Laptop
There are two methods to boot your Acer laptop from the USB drive:
Using the Boot Menu Key:
Connect the bootable USB drive.
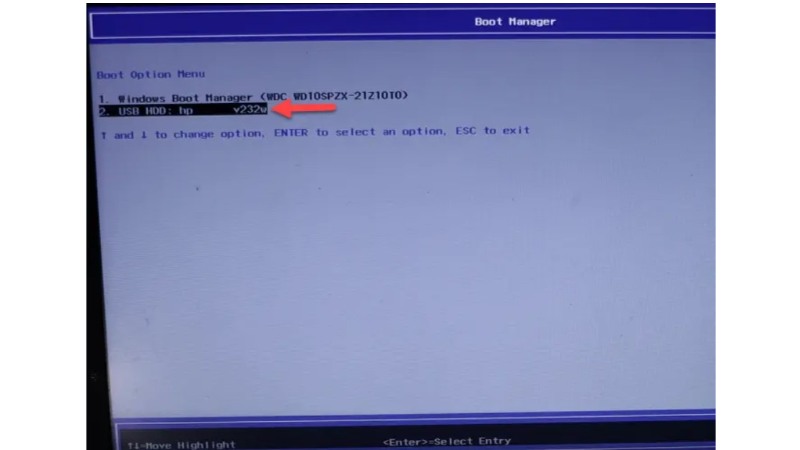
Turn on your laptop and press F12 multiple times to open the boot menu.

Installation Guide for Windows 11 on Acer Devices
Select your USB drive and press the Enter key.
Installation Guide for Windows 11 on Acer Devices
Using BIOS Boot Order:
Plug in the bootable USB drive.
Turn on your laptop and continuously press F2 to enter BIOS.
In the Boot tab, prioritize the USB drive using the F5/F6 key.
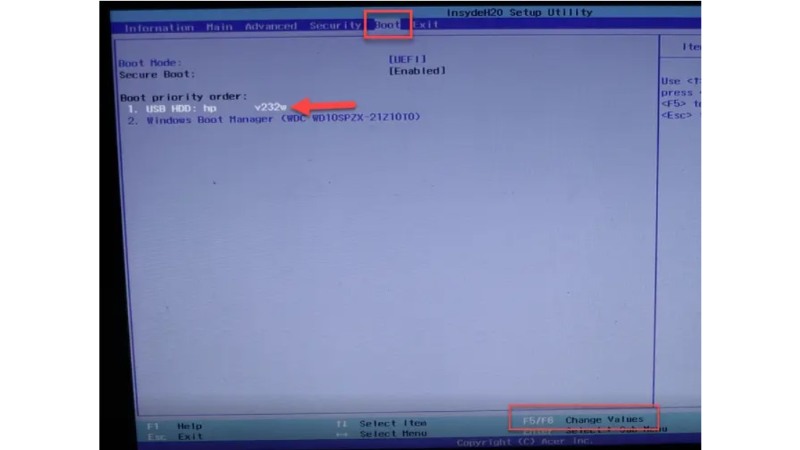
Press F10 to save and exit. Your laptop will boot from the USB drive.
Installing Windows 11 on an Acer Laptop
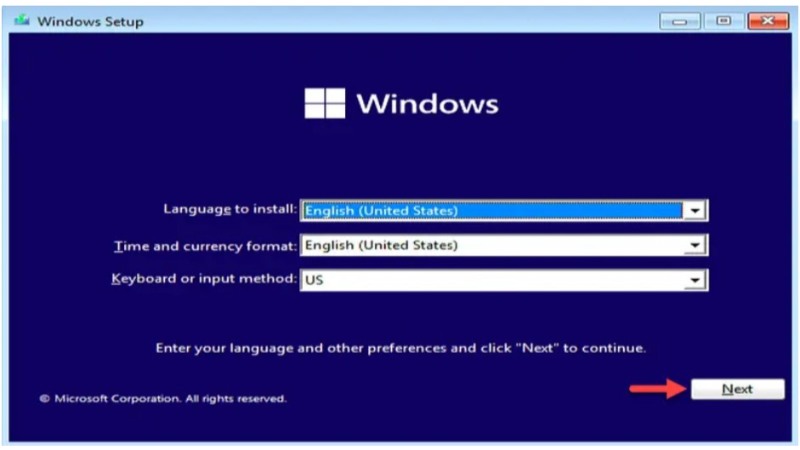
After booting from the USB drive, you’ll see the Windows 11 setup screen.
Beginning the Installation:
Select your language, time format, and keyboard layout, then click ‘Next’.
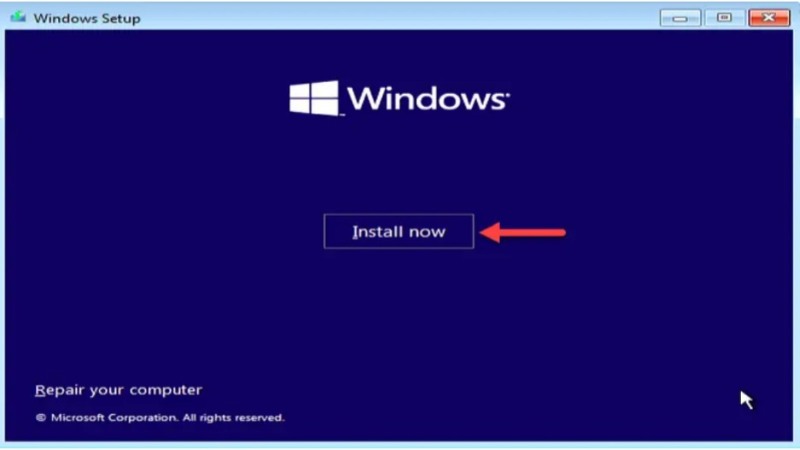
Click ‘Install now’.
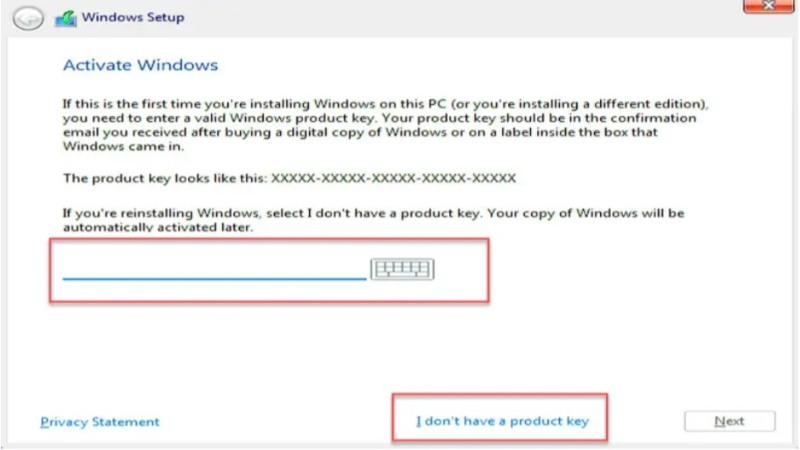
Product Key and OS Selection:
Choose ‘I don’t have a product key’ or enter it if you have one.
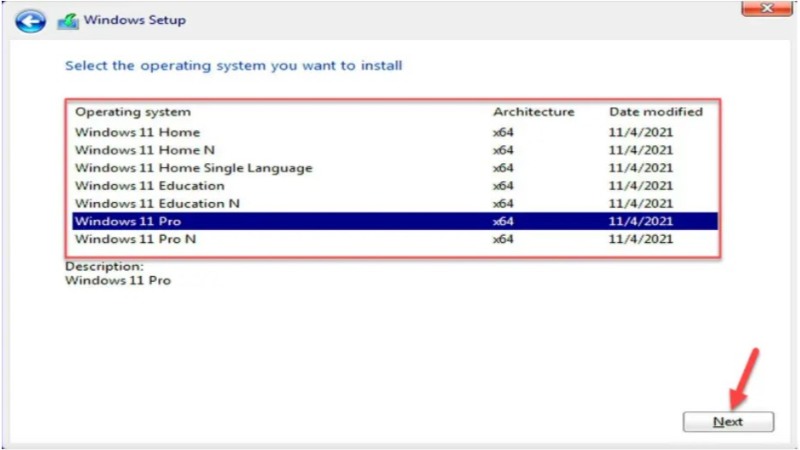
Select your desired Windows 11 version and click ‘Next’.
License Agreement and Installation Type:
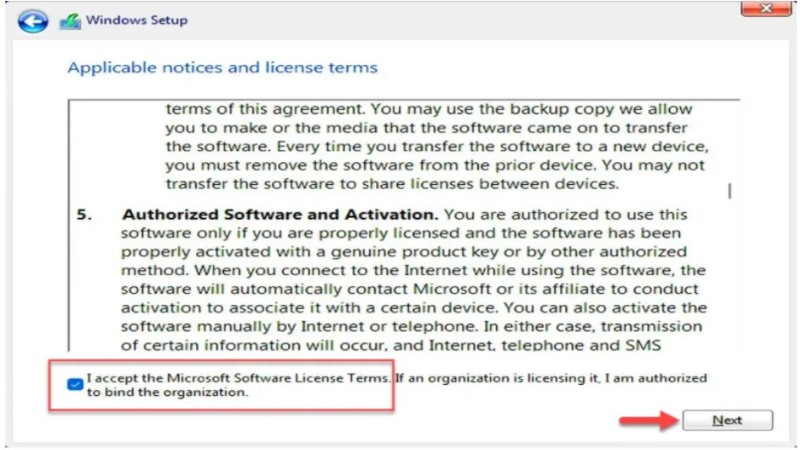
Accept the Microsoft Software License Terms.
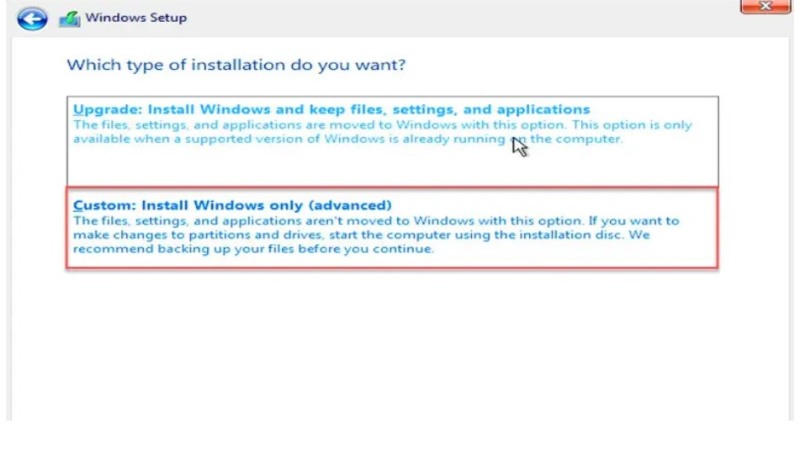
Choose the ‘Custom’ installation option.
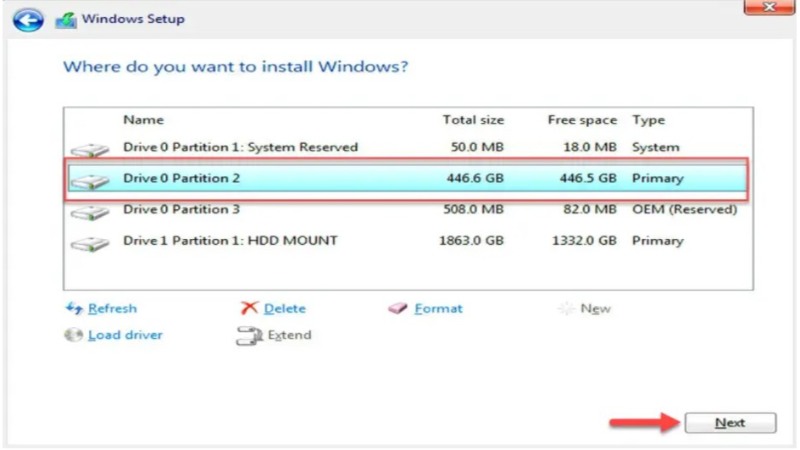
Selecting Installation Location:
Pick the drive where you want to install Windows 11 and click ‘Next’.
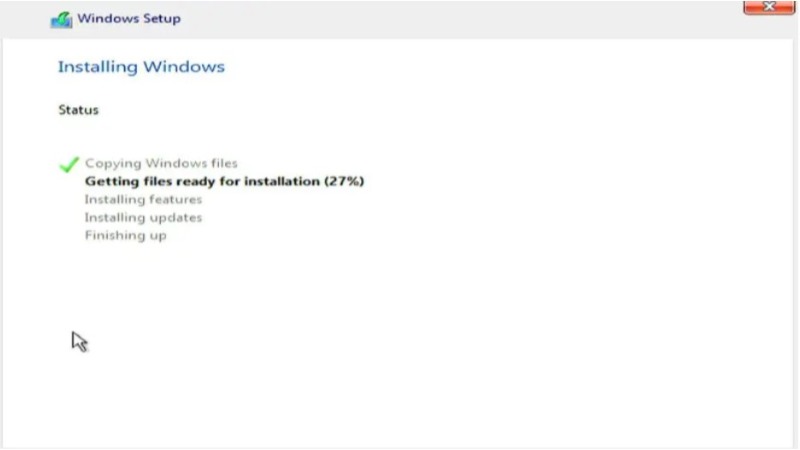
Final Steps:
The installation process will begin and may take some time.
Configuring Windows 11 on an Acer Laptop
After installation, configure your system:
Basic Configuration:
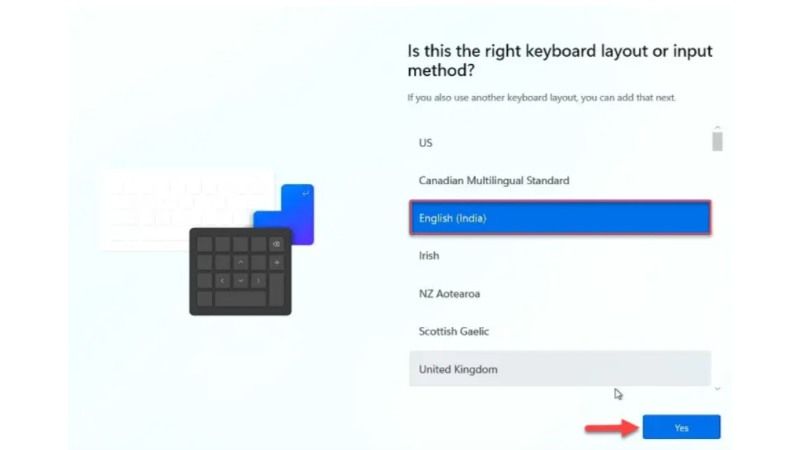
Select your country and keyboard layout.
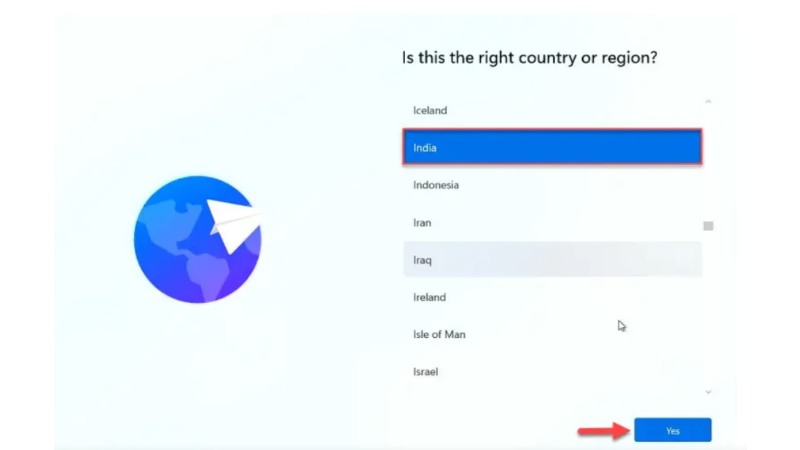
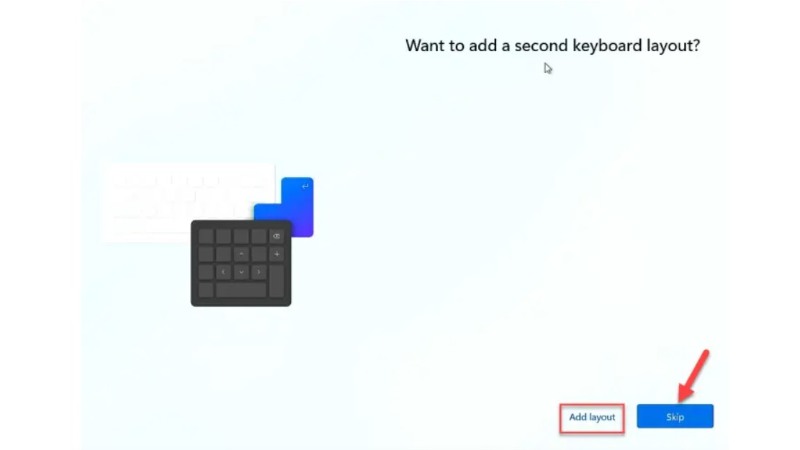
You can skip or add a second keyboard layout.
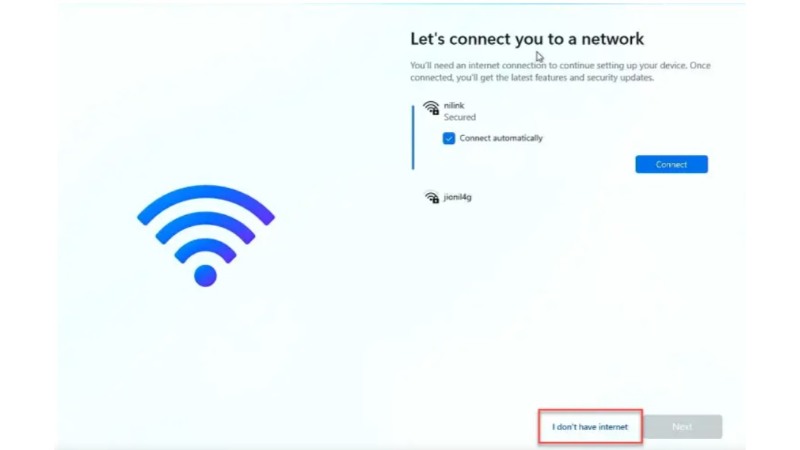
Choose to connect to the internet or select ‘I don’t have internet’ (note: internet connection may prompt for a Microsoft account).
Personalizing Your Device:
Name your device and provide a username.
Set and confirm your password.
Security and Privacy Settings:
Choose and answer three security questions.
Set your privacy settings and accept them.
Windows 11 will take a few moments to finalize the setup. Once complete, you’ll arrive at the Windows 11 desktop screen.


