Optimizing Performance and Resources in VMware for Windows 11

Optimizing the performance and resource allocation in VMware for Windows 11 ensures efficient virtual machine (VM) operation. This guide provides concise yet comprehensive steps to achieve optimal performance.
Step 1: Update VMware and Windows 11

Update VMware and Windows 11
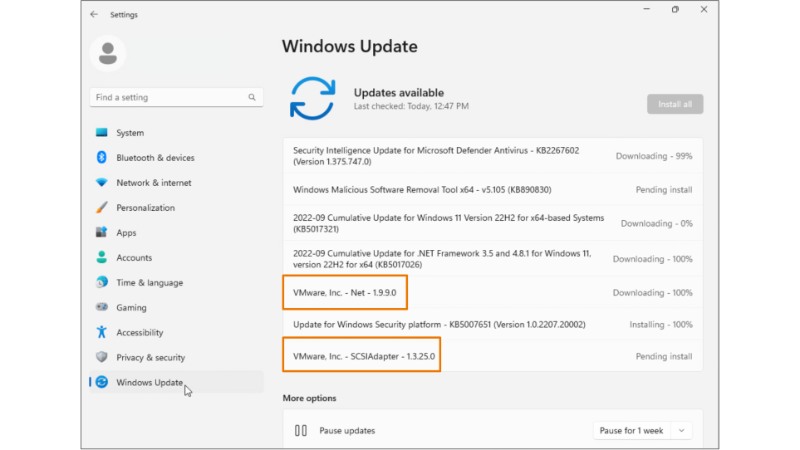
Ensure VMware and Windows 11 are up to date. Updating ensures you have the latest features and fixes.
For VMware: Check for updates in the VMware application.
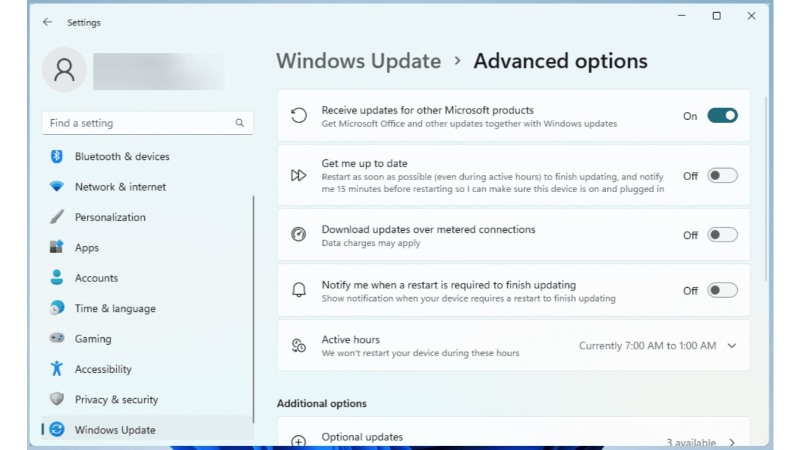
For Windows 11: Use Windows Update in the system settings.
Step 2: Allocate Adequate Resources
Adjust the resource settings in VMware for Windows 11 VM:
RAM: Allocate sufficient memory, but avoid over-allocation to not strain the host system.
CPU: Assign the number of cores based on the workload.
Storage: Use SSDs for faster data access and allocate enough disk space.
Step 3: Install VMware Tools

Install VMware Tools for Windows 11
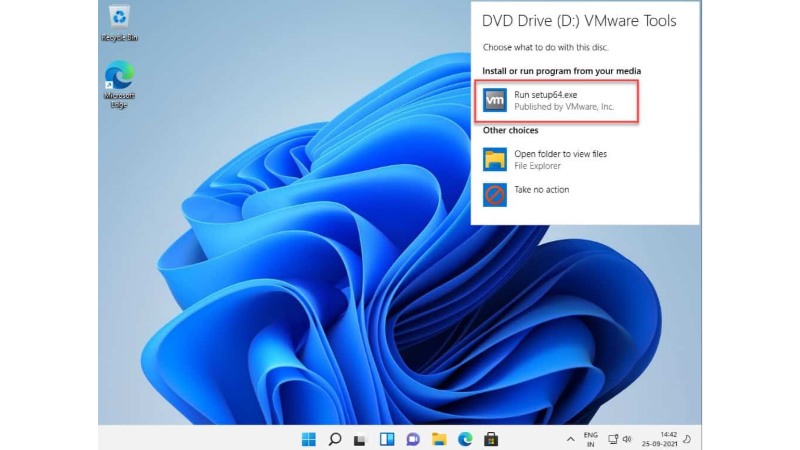
Install or update VMware Tools in the Windows 11 VM for enhanced performance and driver compatibility.
Access through VMware’s menu: VM > Install VMware Tools.
Step 4: Optimize Windows 11 Settings

Optimize Windows 11 Settings
In Windows 11 VM:
Disable unnecessary startup programs.
Adjust for best performance in System Properties > Advanced system settings > Performance Settings.
Use disk cleanup and defragmentation tools regularly.
Step 5: Network Optimization
Configure network settings for optimal performance.
Choose the appropriate network adapter type in VMware settings.
Ensure good bandwidth and low latency for the host connection.
Step 6: Monitor and Adjust

Monitor and Adjust
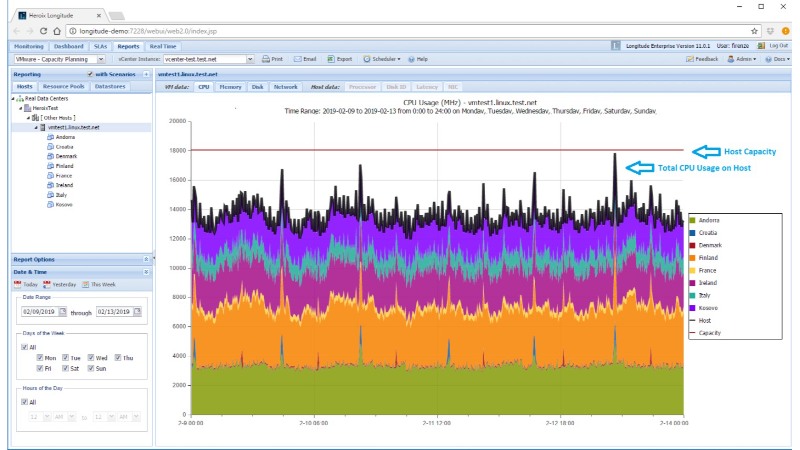
Regularly monitor VM performance.
Use Task Manager in Windows 11 for real-time monitoring.
Adjust resource allocation in VMware based on performance data.
Conclusion:
Effective optimization of VMware for Windows 11 involves a balance between resource allocation and system settings. Regular updates and monitoring play a key role in maintaining peak performance and efficient resource utilization.
By following these steps, users can ensure their Windows 11 VM runs smoothly and efficiently on VMware.


