Tips for Inserting Images into Word Without Disrupting Text
Pure text can sometimes be boring and reduce the effectiveness of communicating content. To overcome this drawback, Word has provided users with the feature to insert images into Word. However, because many people do not fully understand how to do this, they end up making the document messy: text overlapping images, images covering up text, etc.
So how do you solve this problem? Buffcom.net will guide you through the fastest way to insert images into Word.
How to Insert Images into Word
Inserting Images Already on Your Computer
Place your cursor where you want to insert the image into Word, then open the Insert tab and select Pictures.
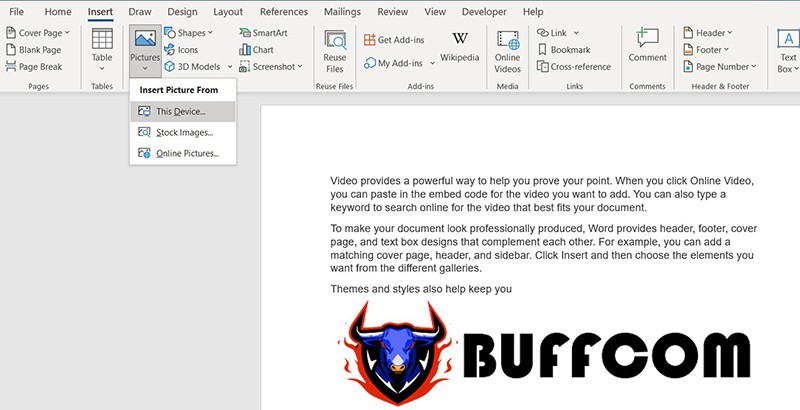
Inserting images into Word
The Insert Pictures dialog box appears. Navigate to the image you want to insert by opening the link, select the image by clicking on it, and click Insert.
Once complete, the image will be inserted:
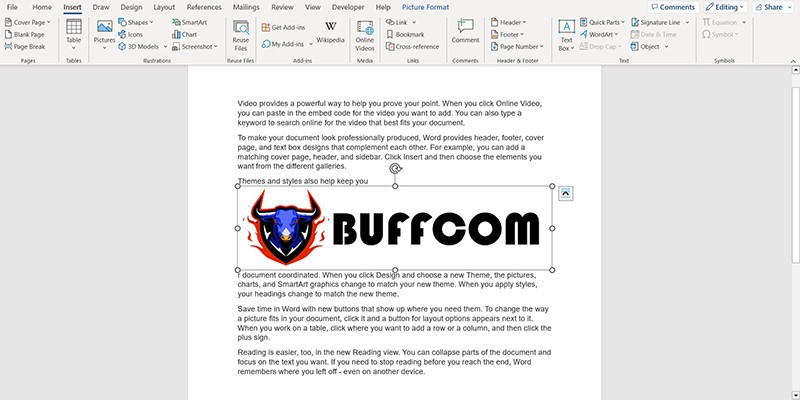
Inserting images into Word
How to Insert Images Online
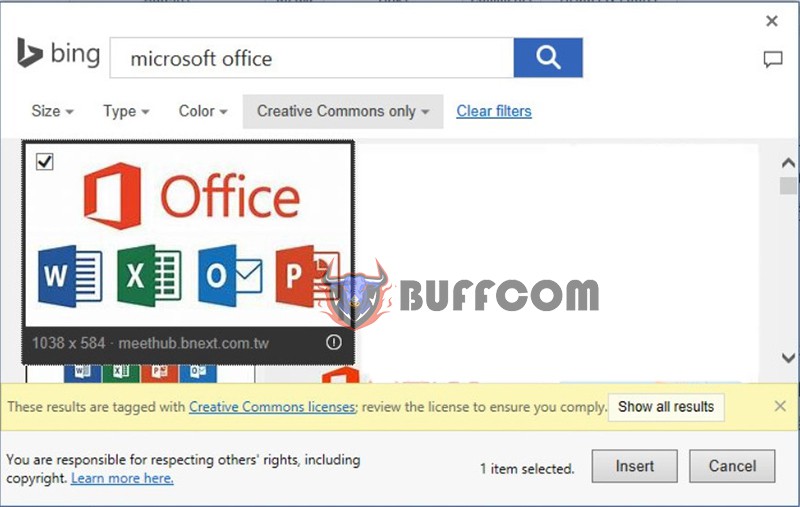
The Insert tab will still be used. However, instead of selecting Pictures, you select Online Pictures. Make sure your computer is connected to the Internet.
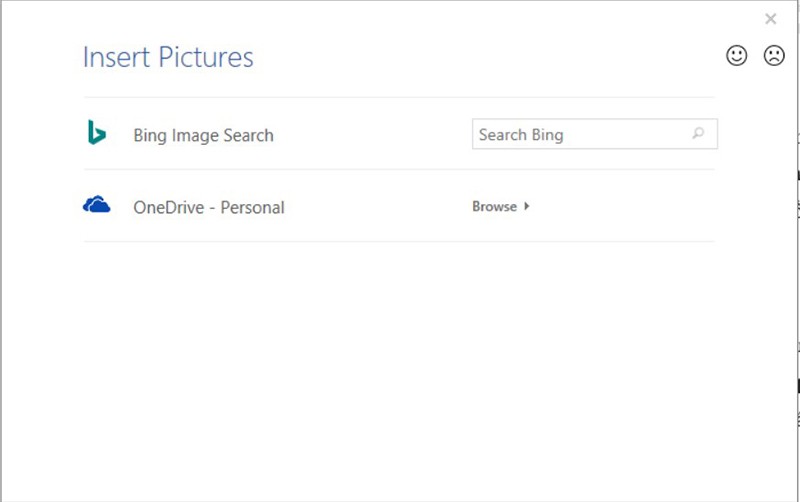
Inserting images into Word
Inserting images into Word
The Search box for images appears. Enter the English name of the desired illustration and press Enter. Check the image in the search results and click Insert. You can choose to insert one or more images at once.
Note: The number of images found using this method is quite limited, so it is usually less used than selecting images already on your computer.
Editing After Inserting Images into Word
Inserting images into Word is quite simple. However, after inserting, due to size, position, etc., the image may be skewed and disrupt the characters around it. To solve this problem, you can follow these steps:
Resizing Images
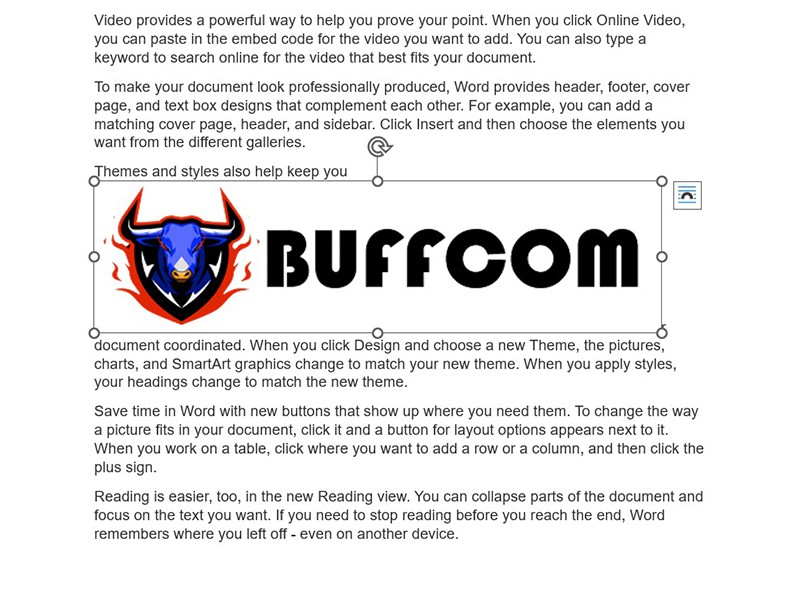
When you see the image is too small or too large, simply move the mouse to the edges or corners of the image. Wait until the mouse cursor turns into a two-way arrow and then drag it in or out.
Inserting images into Word
The image has been scaled down from its original size. Now you can align the image to the left, right, or center as desired.
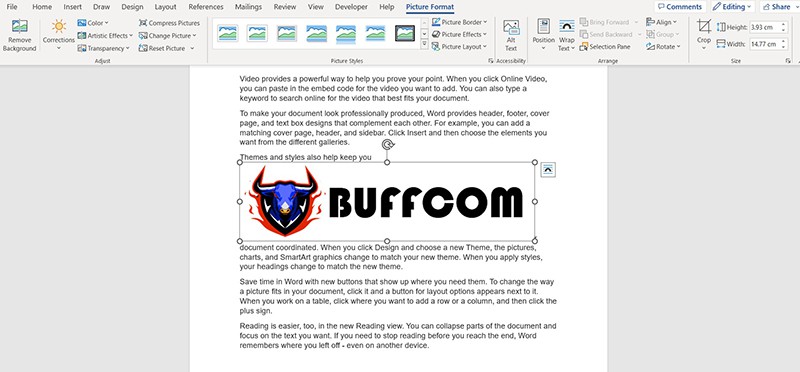
If you choose to adjust the image through its 2 edges, it’s recommended to scale proportionally to avoid distortion. In case you want the image to have an exact height and width, go to the Format tab and change the size.
For example, if you want to adjust the image above to a long edge of 6cm, follow these steps:
- Click on the image you want to adjust.
- Go to the Format tab.
- In the Size section, enter the desired width/height.
- Insert the image into the Word document.
Inserting images into Word
Now the image has been automatically adjusted to the size you want.
Choose the Appropriate Image Display Method
This is the most useful way to insert images into Word without disrupting the text. This method can also be used when you want the image to appear as a background for text, which is very effective.
To use this method, double-click on the inserted image or right-click to bring up the Wrap Text option.
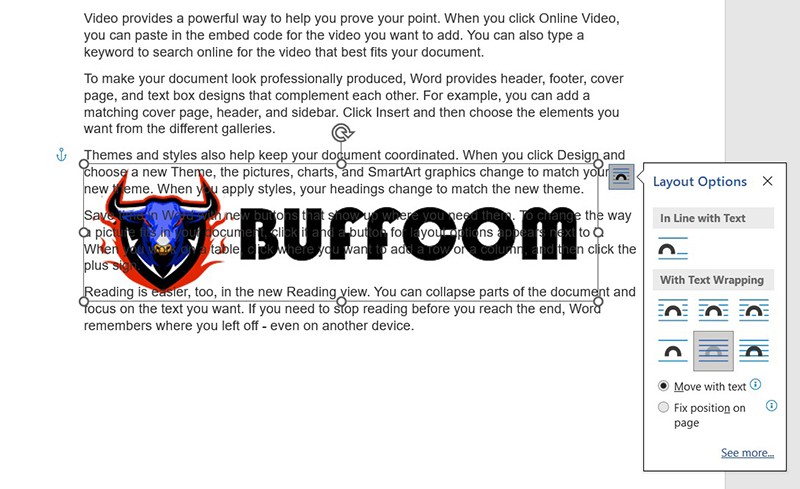
The different options available in Wrap Text are:
Behind Text: places the image behind the text.
Inserting images into Word
In Front of Text: places the image on top of the text.
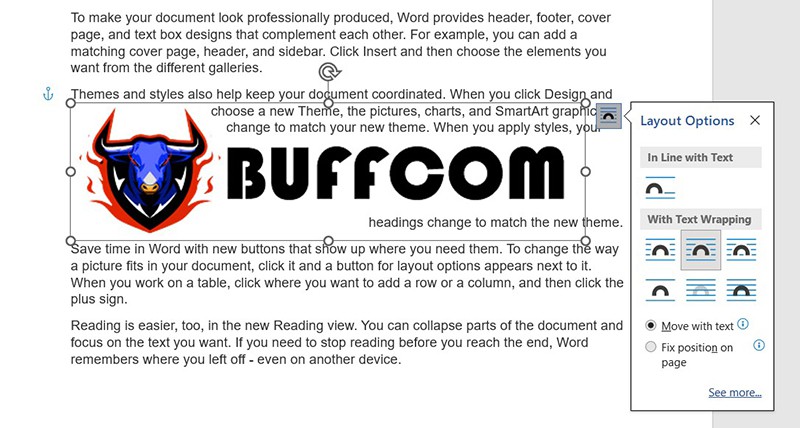
Inserting images into Word
Square: pushes the text around the image.
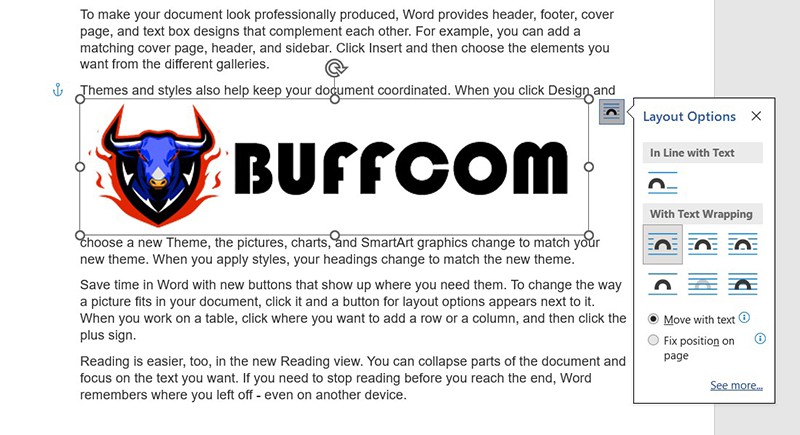
Inserting images into Word
Tight: aligns the text tightly around the image.
Through: similar to Tight, but fills in any gaps with text for images with many angles or circular shapes.
Top and Bottom: positions the image in between two lines of text.
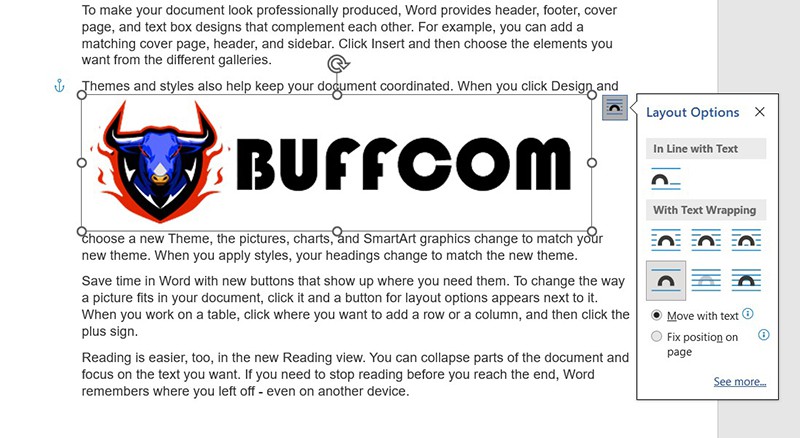
Inserting images into Word
In Line with Text: positions the image on the same line as the text, usually used for small icons or images.
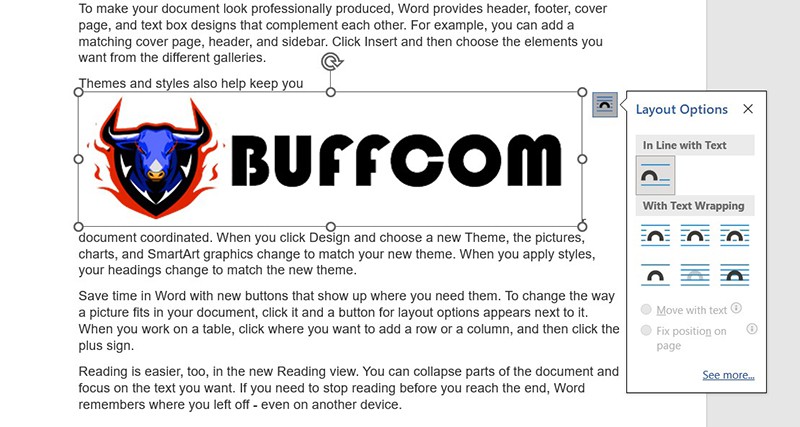
Inserting images into Word
In summary, inserting images into Word
In summary, with the simple steps above, you can easily and beautifully insert images into Word without disrupting the text. Your document will become more lively without any messy characters.
Additionally, if your work involves Office software, but your current software does not meet your requirements, contact Buffcom.net to learn more about affordable, licensed office software.


