Wrapping Text in Excel

Wrapping Text in Excel. In this article, we will discuss how to wrap text in Excel. When working with Excel, if the content of a cell exceeds the cell’s length, Excel will spill the text into adjacent cells. This can result in hidden text if there is content in the adjacent cell. To address this issue, we can use the “Wrap Text” feature to view the content within a cell, regardless of its length.
Wrapping Text in Excel
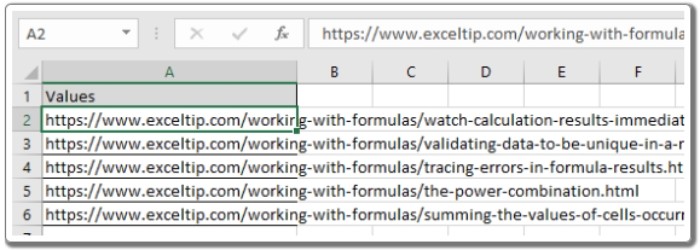
Let’s consider a scenario where we have a link in a cell, and the text spills over to the adjacent cell. If we want to view the entire text in one line without it wrapping, we can double-click on the right border of  Column A.
However, if we need to wrap the text within the cell, we can follow these steps:
- Select the cells containing the text.

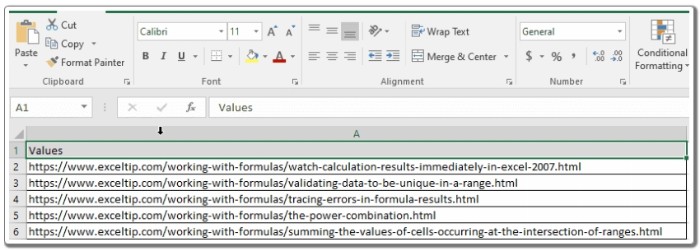
- Locate the “Wrap Text” option, as shown in the snapshot below.

- Enable the “Wrap Text” option for the selected cells.
By applying the “Wrap Text” option, you can see that the text is now wrapped within the selected cells.

Wrapping Text in Excel
I hope you now understand how to wrap text to prevent it from spilling over to adjacent cells in Excel. Feel free to explore more articles on Excel text functions. If you have any further queries, please leave a comment, and we will be happy to assist you.


