The Simplest Way to Save Excel Charts As Images

If you want to save a chart in Excel and share it as an image, Buffcom.net has some tips to help you. In this article, we will show you the easiest way to save Excel charts as images.
How to Copy and Save Excel Charts as Images
Drawing a chart in Excel can sometimes be complicated and time-consuming, but saving it as an image is very easy and fast. With just a few simple steps, you can save a chart as an image, which you can use in Word, PowerPoint, share or send via Gmail. Here’s how:
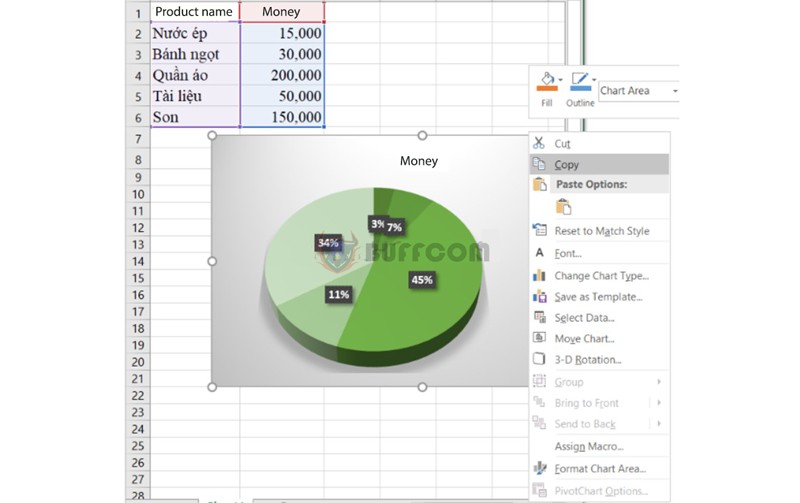
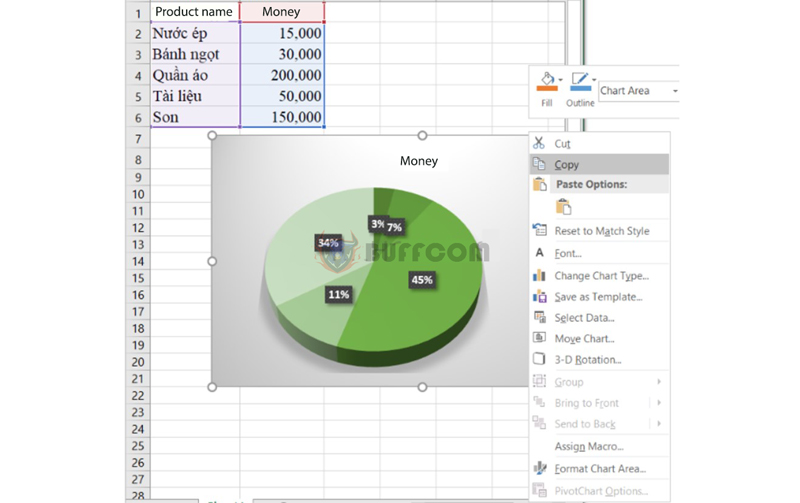
Step 1: To copy and save a chart as an image, you need to create the chart in Excel as usual. Then, right-click anywhere on the chart border and select “Copy” from the menu that appears.
 Note: Do not place the cursor inside the chart, as it may only copy individual components instead of the entire chart, and you will not see the “Copy” command.
Step 2: Next, open an image editing software like Paint on Windows and paste the copied chart by selecting “Paste” on the “Home” tab or pressing Ctrl + V.
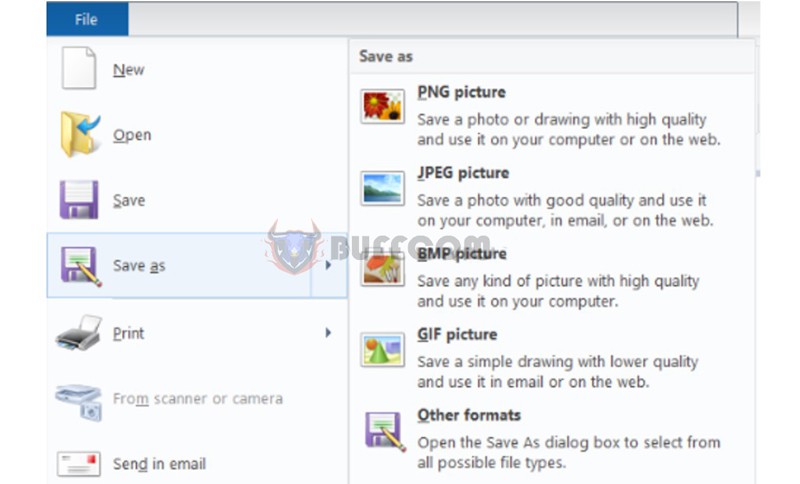
 Step 3: Now all you have to do is save the chart as an image by clicking the “Save as” button and then selecting the desired format (.png, .jpg, .bmp, and .gif).
For more options, click the “Other Formats” button at the bottom of the list.
 That’s the common and popular way to copy and save Excel charts as images.
How to Save Excel Charts as Images Directly in Excel
In addition to the above tips, there is also a very simple and quick way that any user can do. In some versions of Excel, there is an option to save Excel charts as images. Simply right-click on the chart, select “Save as Picture” from the displayed menu, and save it.
Conclusion
So, Buffcom.net has just shown you how to copy and save Excel charts as images. We hope this article has satisfied you and provided you with more knowledge about computer science. In addition, we provide genuine office software. If you have a need, please contact Buffcm.net!


