How to utilize different views in Microsoft Excel
How to utilize different views in Microsoft Excel. While you may be accustomed to working in the default Normal view with a standard zoom level in Microsoft Excel, it’s worth exploring the various other views available to enhance your spreadsheet experience.
How to utilize different views in Microsoft Excel
Here are some useful techniques:
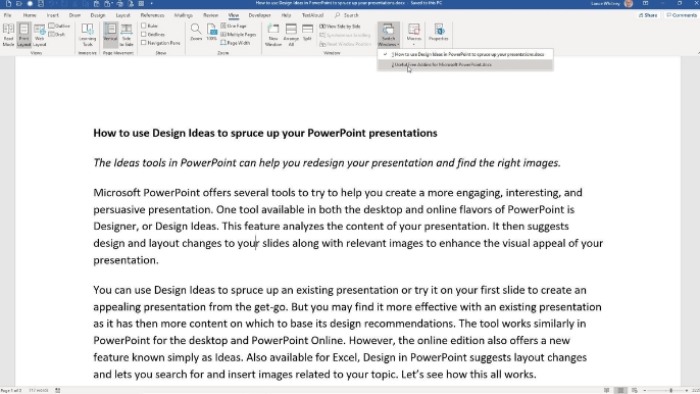
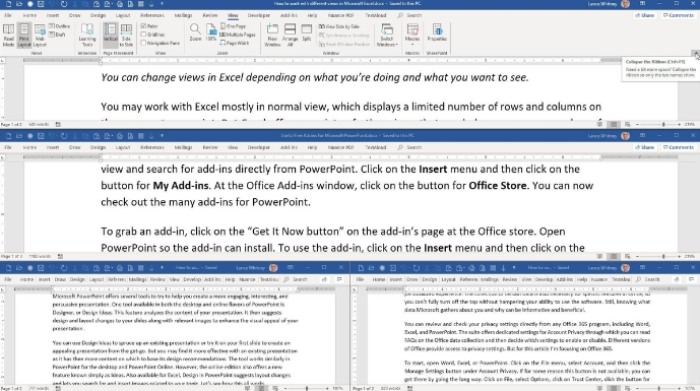
- Adjusting Zoom: You can zoom in or out to a specific percentage or zoom into a selected area of your spreadsheet. To access the Zoom options, click on the View tab, and locate the View Ribbon. Click on the 100% button to switch between zoom levels.
How to utilize different views in Microsoft Excel
You can also click on the Zoom button to choose a default zoom value or enter a custom percentage. Additionally, to zoom into a selected area, highlight the desired section and click on the “Zoom to Selection” button.
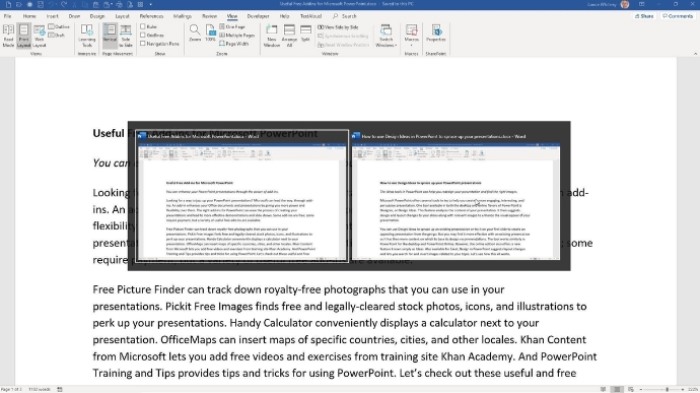
- Modifying Screen Elements: To customize the appearance and maximize data visibility, you can hide specific screen elements. In the Show section of the View Ribbon, you have the option to turn off Gridlines, Formula Bar, and Headings. By disabling these elements, you can achieve a cleaner and more focused view of your spreadsheet.
How to utilize different views in Microsoft Excel
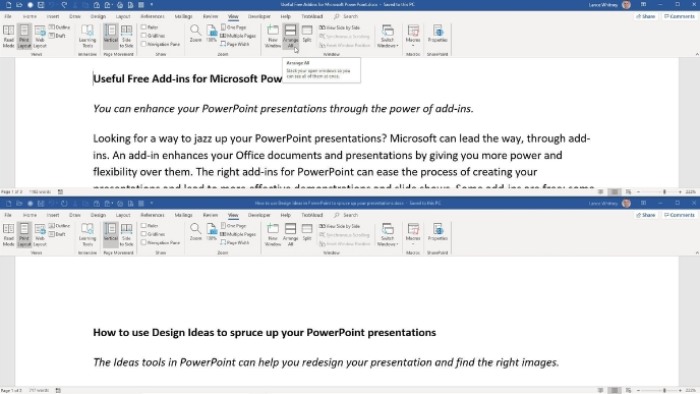
- Print Preview Modes: When evaluating how your spreadsheet will appear when printed, you can switch to different view modes. In the Workbook Views section of the View Ribbon, you’ll find two relevant options: Page Layout and Page Break Preview. Page Layout mode provides an accurate representation of the printed pages, while Page Break Preview allows you to visualize the page breaks. Within these modes, you can adjust the zoom level and toggle Gridlines, Formula Bar, and Headings on or off.
How to utilize different views in Microsoft Excel
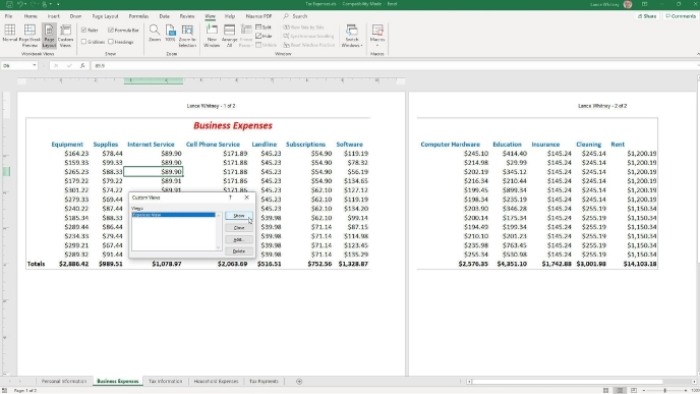
- Creating Custom Views: Excel allows you to create custom views that capture specific display and print settings for your spreadsheet. For example, you can establish a view without gridlines or headings, with specific margins, and in a particular Workbook view. To create a custom view, make the desired changes to your spreadsheet, such as hiding gridlines, modifying margins, and switching to Page Layout view.
 Then, navigate to the View menu and click on the Custom Views button. Add a name for your view and save it. You can create multiple custom views for different scenarios. To apply a custom view, select it from the Custom Views window, and click the Show button to restore the saved settings to your spreadsheet.
How to utilize different views in Microsoft Excel
By utilizing different views in Microsoft Excel, you can optimize your workspace, evaluate print layouts, and create customized displays tailored to your specific requirements.

