How To Record Audio On Windows 10 Without Software
When we want to record audio on a computer, we often think of installing specialized software for recording. However, you may not know that Microsoft has integrated a built-in audio recording feature in Windows. In Windows 7, 8, and 8.1, this feature is called Sound Recorder, while in Windows 10, it has been renamed to Voice Recorder. So, how can you record audio on Windows 10 without installing additional software? Let’s follow the article below by Buffcom.net to find out.
GUIDE ON HOW TO RECORD AUDIO ON WINDOWS 10 WITHOUT SOFTWARE
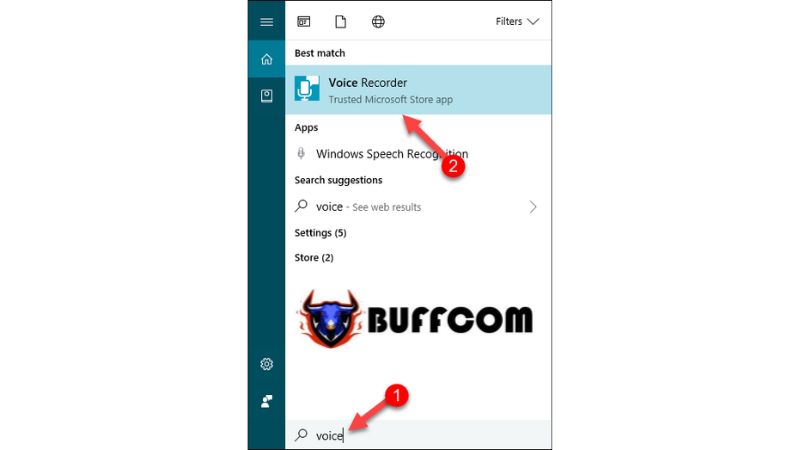
Step 1: Open the search feature on Windows 10 and type “Voice.” The search results will display the Voice Recorder tool. Open the tool.
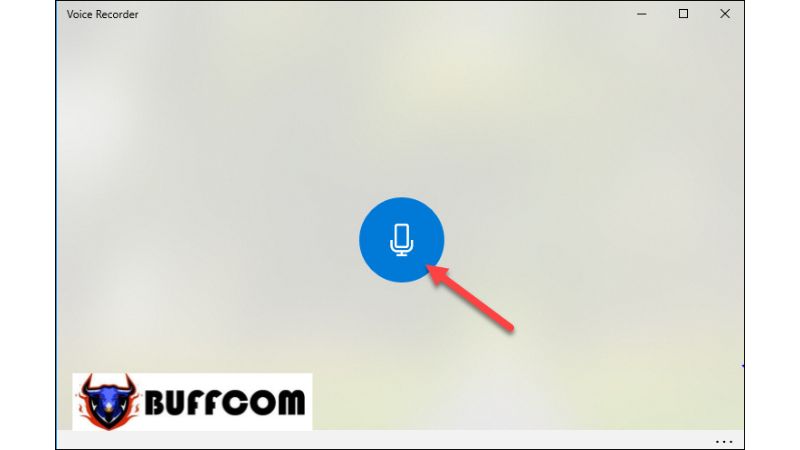
 Step 2: When the application opens, simply click on the Microphone icon to start recording.
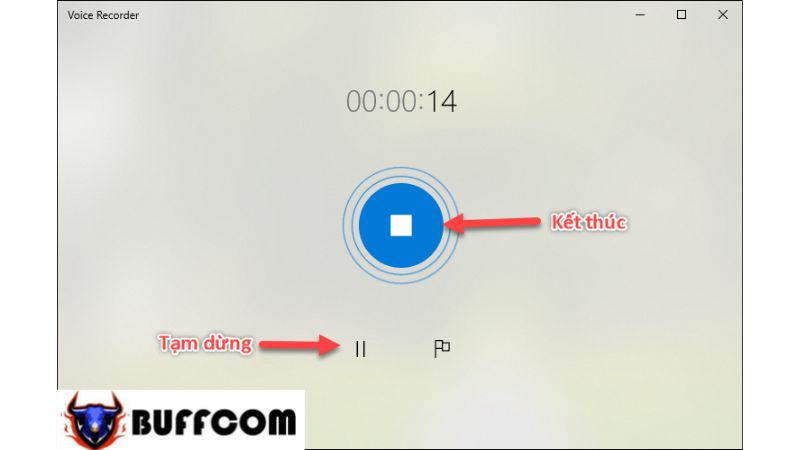
 Step 3: Once you have finished recording, click on the blue icon again to stop. You can also pause and continue recording.
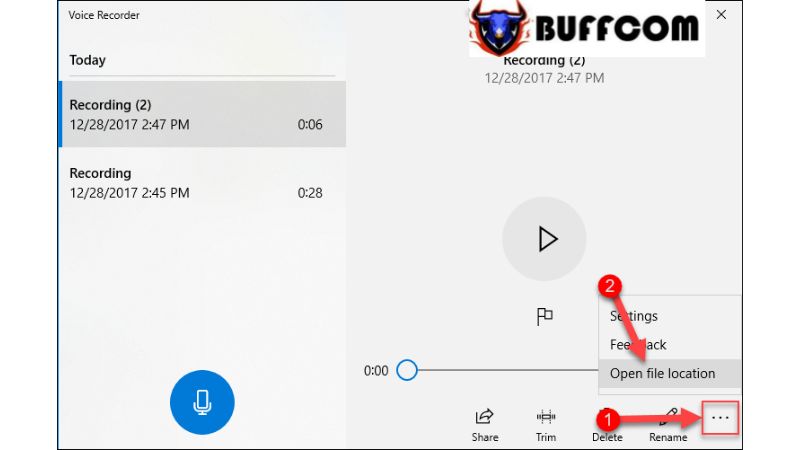
 Step 4: After completing the recording, you will be taken to the interface where you can manage your audio recordings. Here, you can listen to the recordings, share them, delete them, rename them, or trim them.
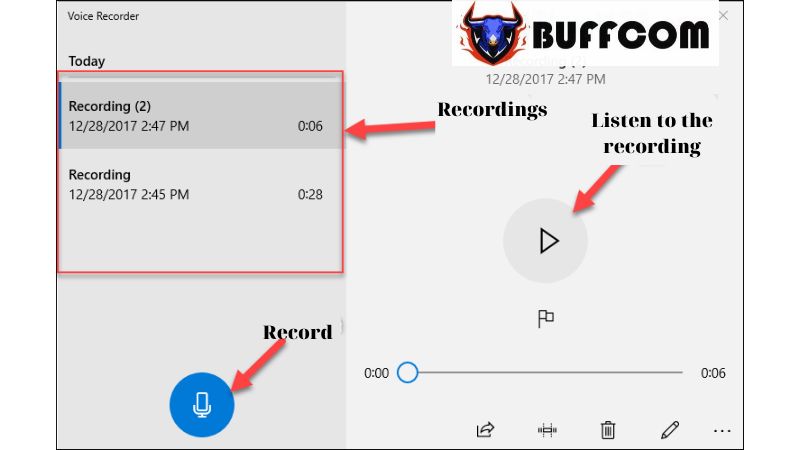 Step 5: If you want to locate the recorded files to send them to someone, click on the three-dot icon and select “Open file location.”
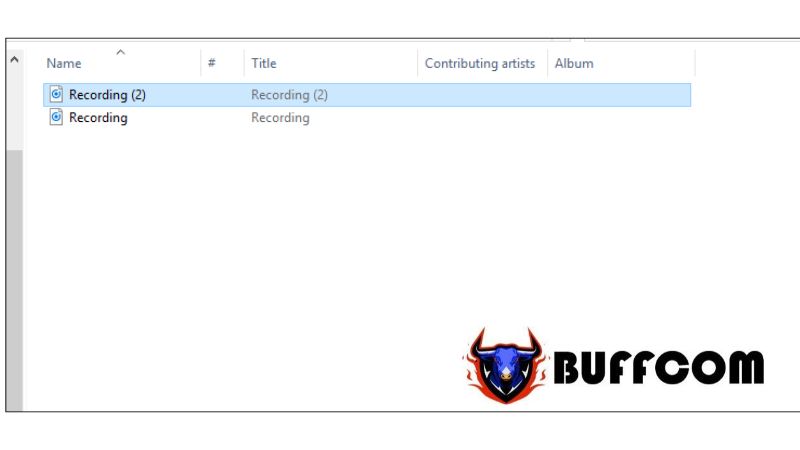
 The folder containing the audio files will appear, and you can use these files according to your needs.
 That concludes the guide on how to record audio on Windows 10 without software. We hope this article has been helpful to you. Wishing you success! If you are interested in genuine Windows keys, please contact Buffcom.net for assistance!

