Guide To Creating A Windows 10 Installation USB
In the past, when installing Windows on a computer, we typically used a CD. However, nowadays, most laptops and PCs on the market do not come with an optical drive. Therefore, creating a bootable USB to install Windows is the most convenient option. In this guide, Buffcom.net will show you how to create a Windows 10 installation USB using the Rufus software.
To create a Windows 10 installation USB using Rufus, you will need:
- Windows 10 installation ISO file.
- A USB drive with a capacity larger than 4GB.
- Rufus software.
- Once you have downloaded Rufus, you can open it without the need for installation.
Steps to create a Windows 10 installation USB using Rufus:
Step 1: Connect the USB drive to your computer and open Rufus. Configure the settings as shown in the image below, then click Start to begin.
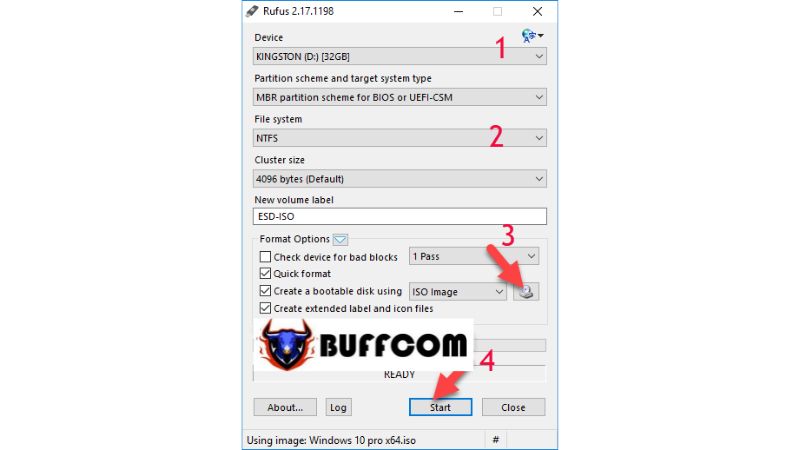 Explanation:
Select the USB drive.
Choose the USB format.
Select the Windows 10 installation ISO file.
Step 2: A warning dialog box about formatting the USB drive will appear. Click OK to confirm.
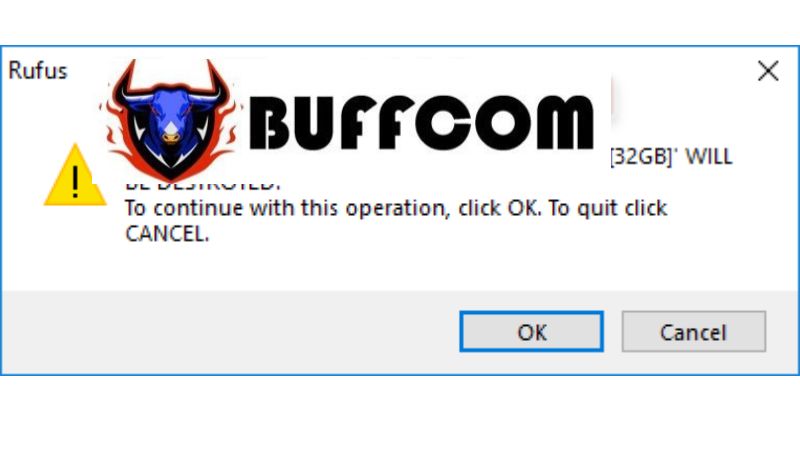 The process of creating the Windows 10 installation USB will begin. Wait for it to complete.
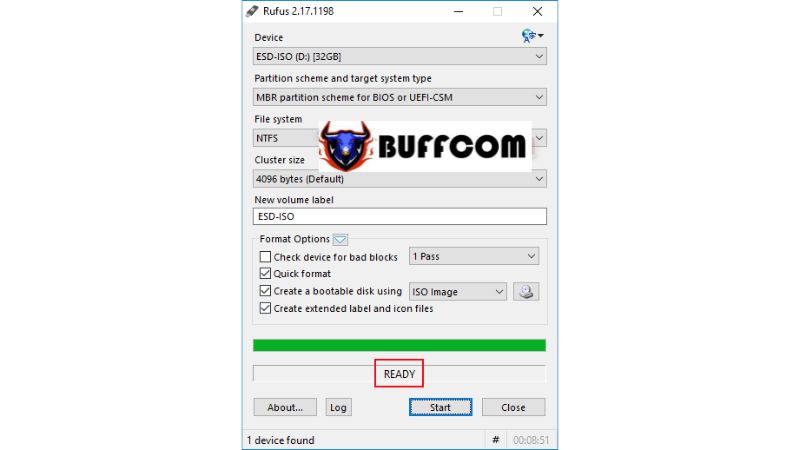
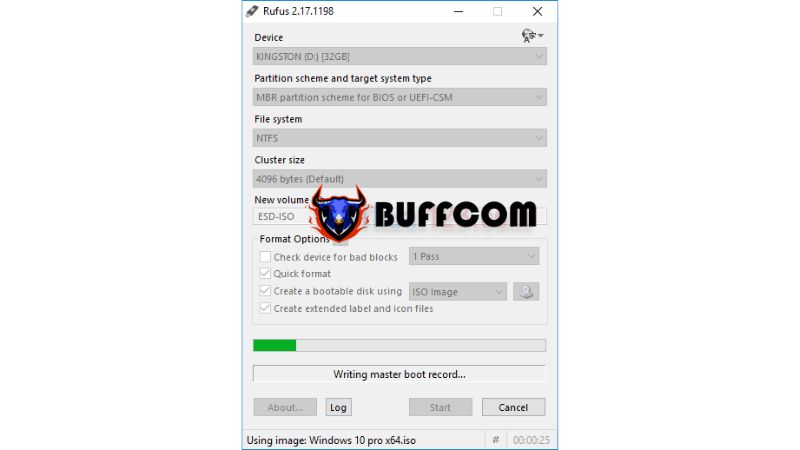 After a successful creation of the bootable USB, you will see the message “READY” displayed.
 This article has provided a guide on creating a Windows 10 installation USB using Rufus. You can also use this software to create installation USBs for other Windows versions such as Windows XP, Windows 7, and so on. We wish you success. If you need a genuine Windows key, please contact Buffcom.net for assistance!

