Guide to Completely Remove Faulty Printer Drivers
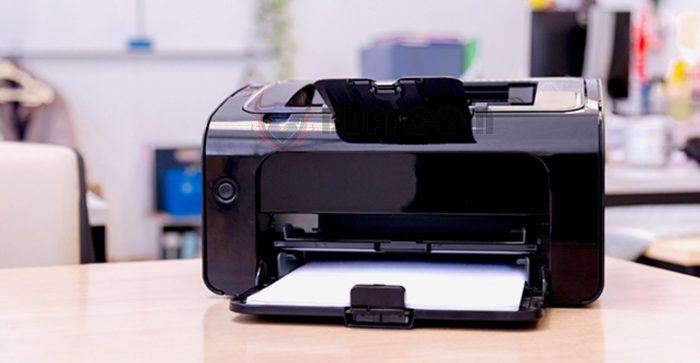
Guide to Completely Remove Faulty Printer Drivers: To ensure smooth printing on your computer, you need to install the correct printer drivers. However, if you accidentally install the wrong drivers or if the drivers become corrupted due to viruses, you may encounter printing issues. In such cases, it is essential to remove and uninstall the faulty printer drivers completely before installing new ones. Follow the steps below to learn how.
Step 1:
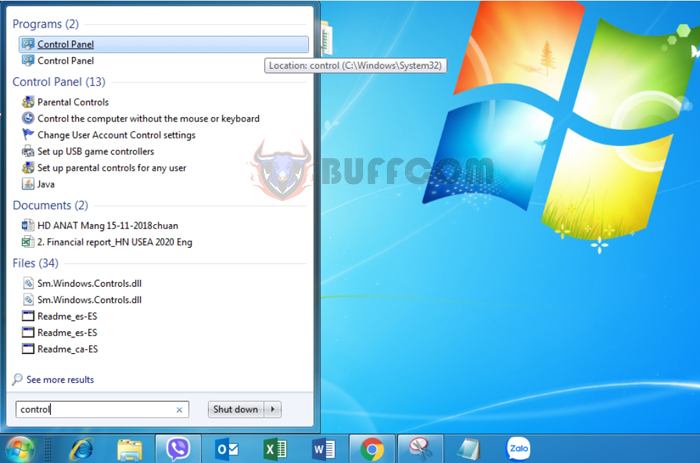
Firstly, open the search bar on your Windows system and search for “Control Panel.” Once the search results appear, select the “Control Panel” option.
 Step 2:
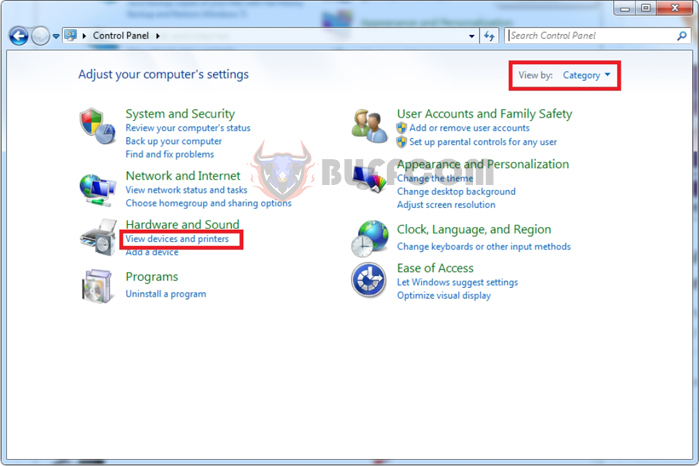
Now, the Control Panel window will open. Click on the “View by” option and choose “Category” to organize the categories properly. Then, select “View devices and printers” under the “Hardware and Sound” section.
 Step 3:
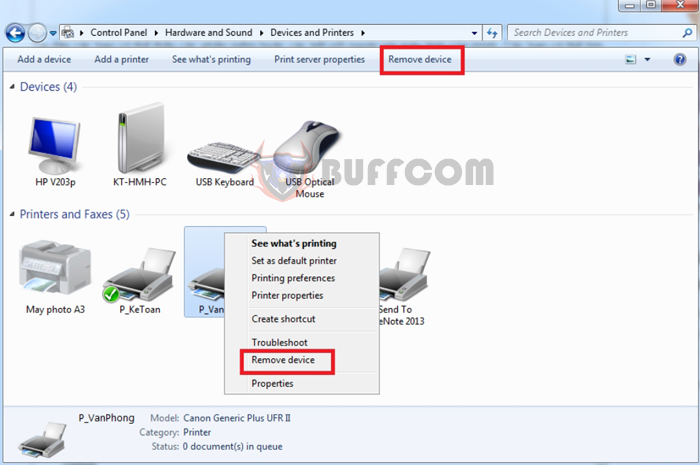
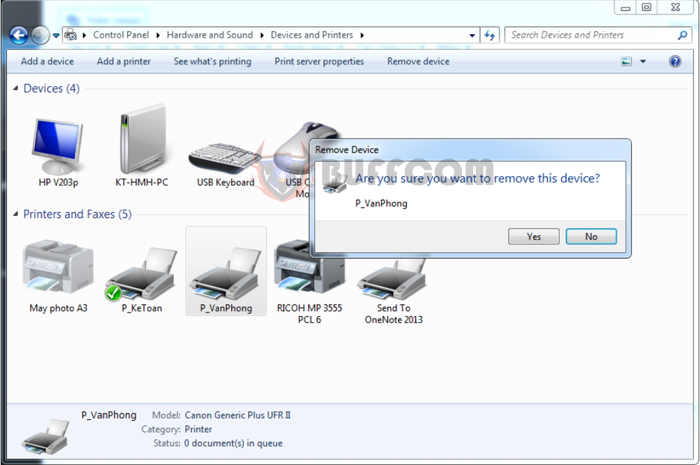
In the “Devices and Printers” window, right-click on the driver of the faulty printer. When the drop-down menu appears, choose the “Remove device” option. Alternatively, you can left-click on the faulty printer driver and select “Remove device” from the toolbar.
 Step 4:
A confirmation message “Are you sure you want to remove this device?” will appear. Click “Yes,” and Windows will swiftly remove the faulty printer driver.
Guide to Completely Remove Faulty Printer Drivers
With these steps, you have successfully learned how to delete and completely uninstall faulty printer drivers in Windows. We hope this guide proves useful in your work. Wishing you success!

