How to Center Worksheets Both Horizontally and Vertically in Excel

Are you looking to make your Excel worksheet look more organized? One way to do this is by centering the data horizontally and vertically. By default, data in Excel is aligned left horizontally and top vertically. In this post, we’ll guide you through the steps to center your worksheet both horizontally and vertically.
How to Center Worksheets Both Horizontally and Vertically in Excel
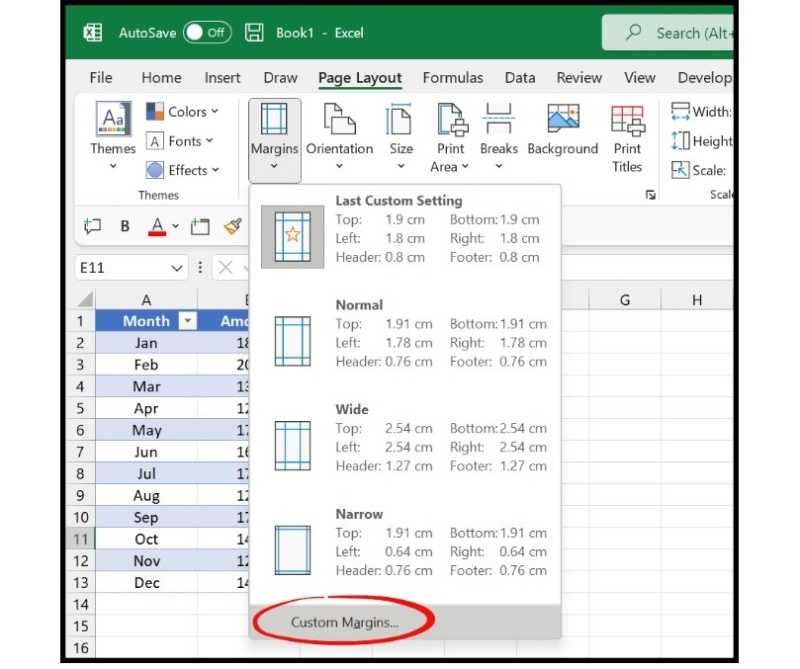
To center a worksheet horizontally, go to the “Page Layout” tab and click on the “Margin” option dropdown. 
Then, click on “Custom Margins”, which opens the “Page Setup” dialog box.
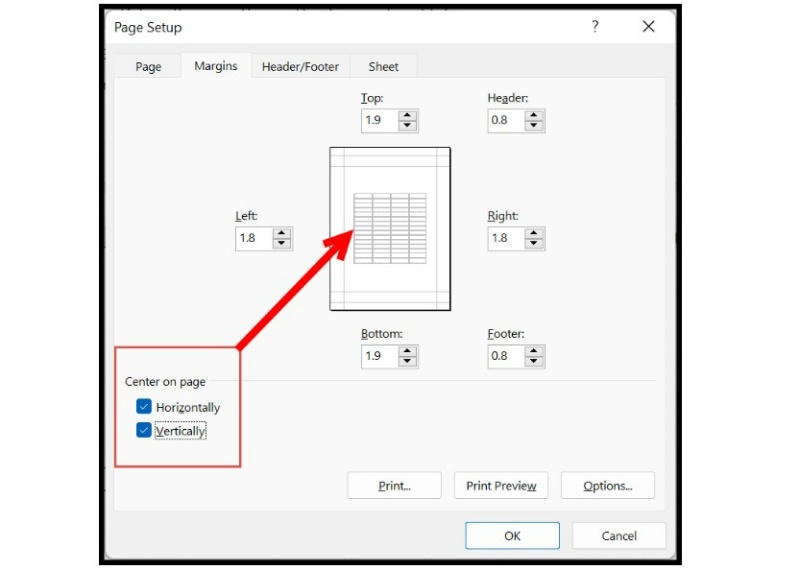
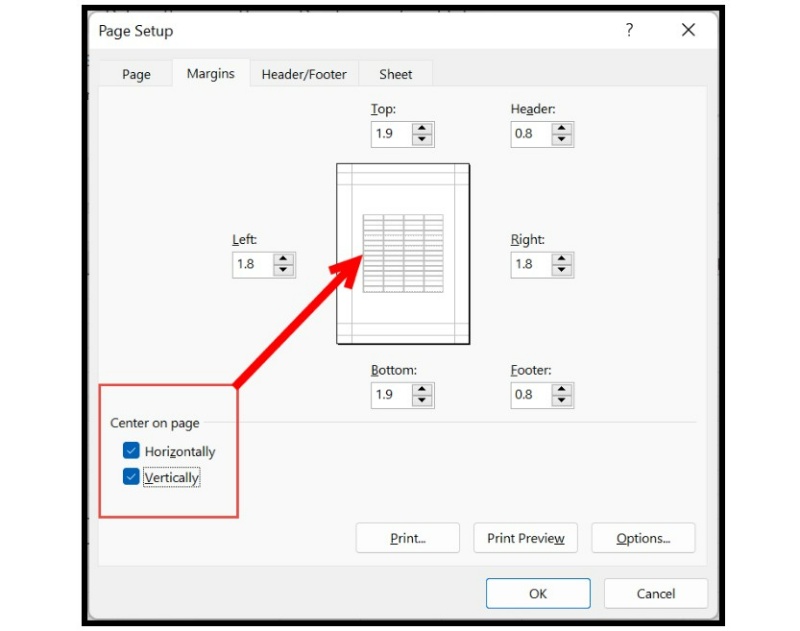
From there, select “Center on Page” for both horizontal and vertical options. Finally, click “OK” to save your settings. 
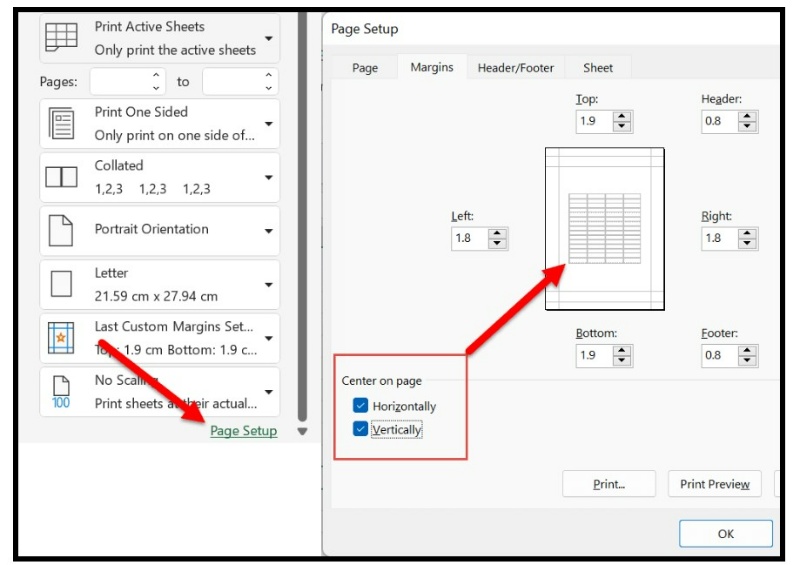
You can also use the print preview option to center your worksheet. Click on the “File” tab and then “Print”, followed by “Page Setup” and “Margin”. Check the boxes for horizontal and vertical centering, then click “OK” to save your changes.
Keyboard Shortcut
If you prefer using keyboard shortcuts, you can use Alt ⇢ P ⇢ S ⇢ P ⇢ M to open the page setup dialog box and the margin tab. From there, you can apply the settings to center your worksheet.
Keep in mind that centering your worksheet horizontally and vertically won’t affect the data itself, but only how it appears on the printed page or in the print preview. With these easy steps, you can make your Excel worksheet look more professional and polished.
In conclusion, centering a worksheet horizontally and vertically in Excel can be very useful for printing or presenting data in a professional and visually appealing way. With just a few simple steps, you can ensure that your data is aligned perfectly on the page. Whether you prefer to use the Page Layout tab or the Print Preview option, or even a keyboard shortcut, you can easily center your worksheet to make it look more organized and polished. So next time you’re working on a worksheet in Excel, don’t forget to try this handy feature!


