How To Disable Quick Access In Windows 10
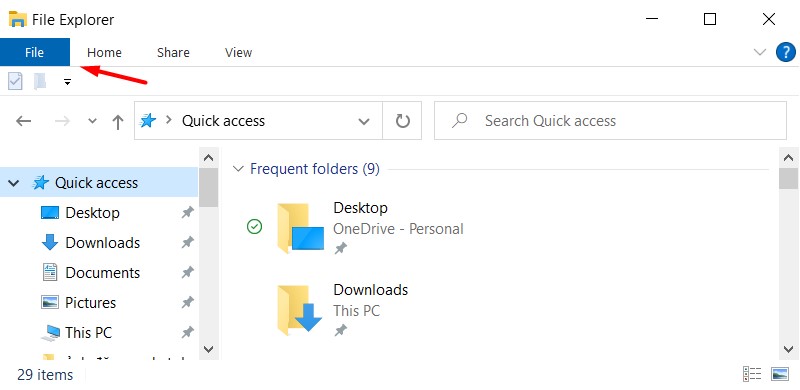
Quick Access in Windows 10 is a feature that allows you to quickly review recently accessed or modified files. If you don’t want to use this feature, you can disable it by changing the settings. Buffcom.net will guide you on how to disable Quick Access in Windows 10.
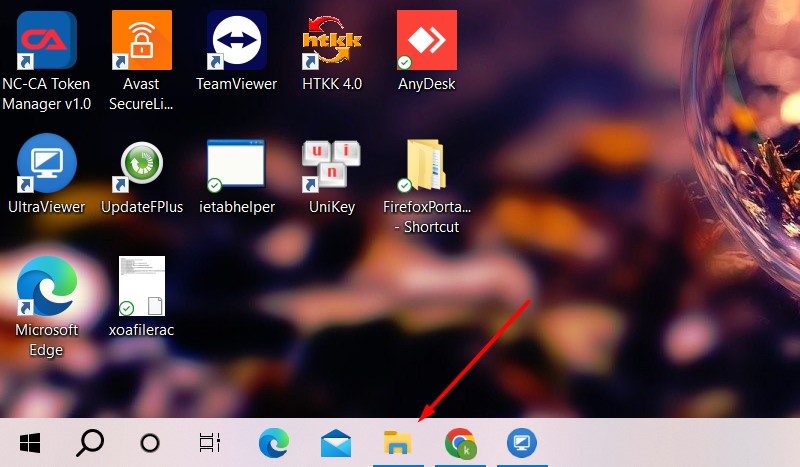
To disable Quick Access in Windows 10, you need to open File Explorer first. Normally, you can find its icon on your Toolbar (this is the default setting), but if you don’t see it on the Toolbar, you can open any other folder on your computer.
 Once the folder is open, click on “File” in the top horizontal toolbar.
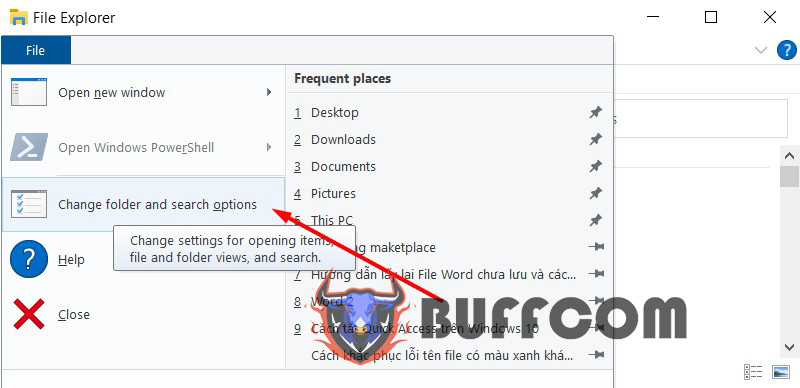
 After the File menu appears, click on “Change folder and search options” in the options list.
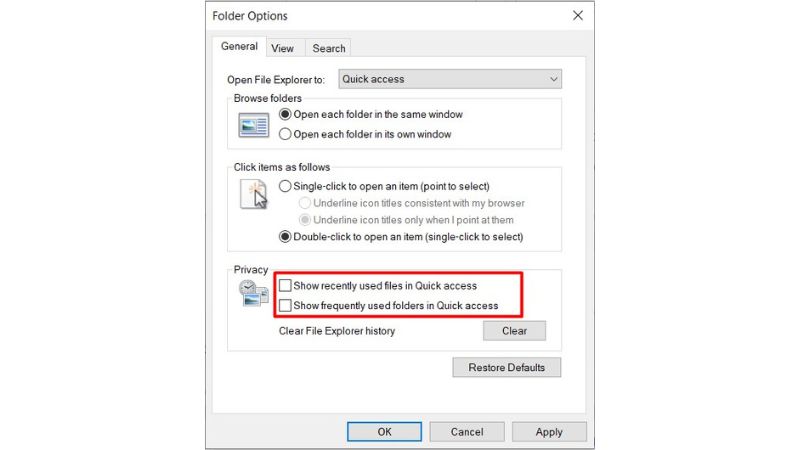
 The Folder Options window will appear. Uncheck both checkboxes under the Privacy section: “Show recently used files in Quick access” and “Show frequently used folders in Quick access.”
Then click “OK” to disable and remove all recent files from Quick Access.
 Now you will see that Quick Access no longer displays any recent files, and only main folders like Desktop, Documents, and Pictures are shown in the left column.
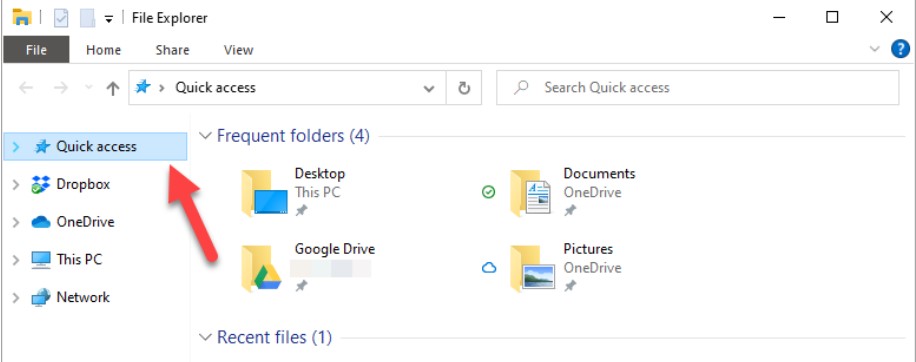
Another simpler way is to temporarily hide folders in Quick Access. You can do this by clicking on the arrow icon pointing down next to Quick Access.
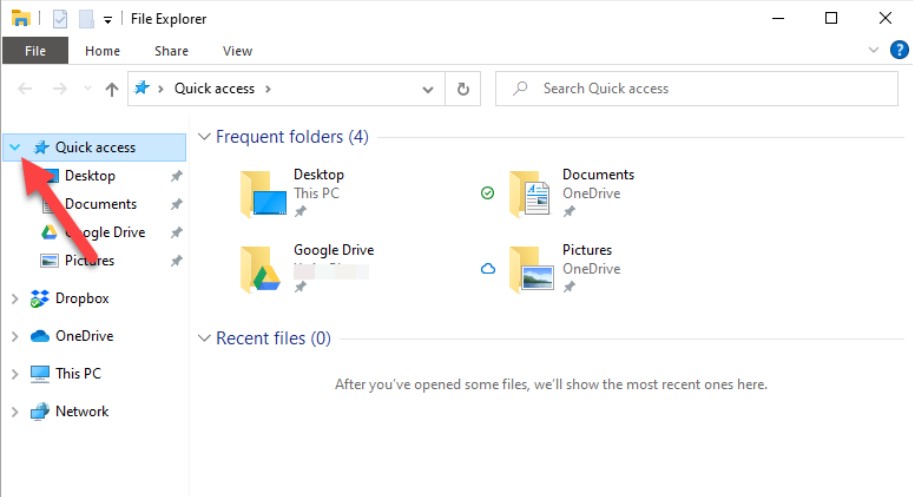 By doing this, all folders in Quick Access will be hidden.
 That concludes the tutorial on how to disable Quick Access in Windows 10. We hope you successfully apply this trick, and we’ll see you in other articles on our website. If you’re looking to purchase a genuine Windows key, please contact Buffcom.net!

