Installation and Activation Guide for Windows 11 Pro
This guide is tailored for PCs without an existing operating system or those undergoing a complete hard drive reformat. We strongly recommend the clean install method to eliminate unnecessary system files, optimizing disk space and PC performance. Note that this process erases all data on the Windows 11-installed hard drive, so back up essential files before proceeding. Prepare an 8 GB USB flash drive, as it will be reformatted to create a bootable installation media. Ensure no crucial files are present on the USB drive before starting.
Initiate a fresh installation of Windows 11 Pro
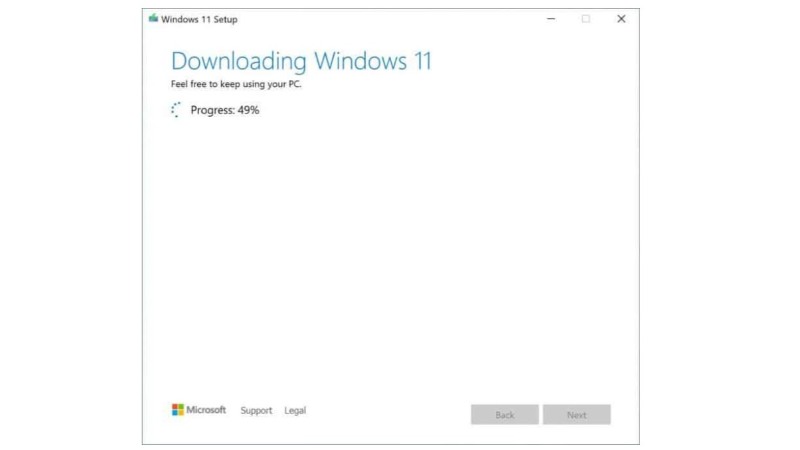
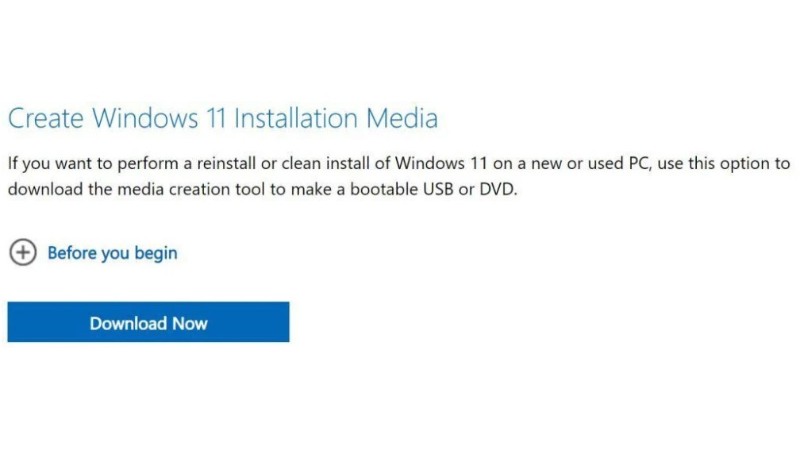
Visit the official Windows 11 download page and run the Windows 11 Installation Media Creation Tool.
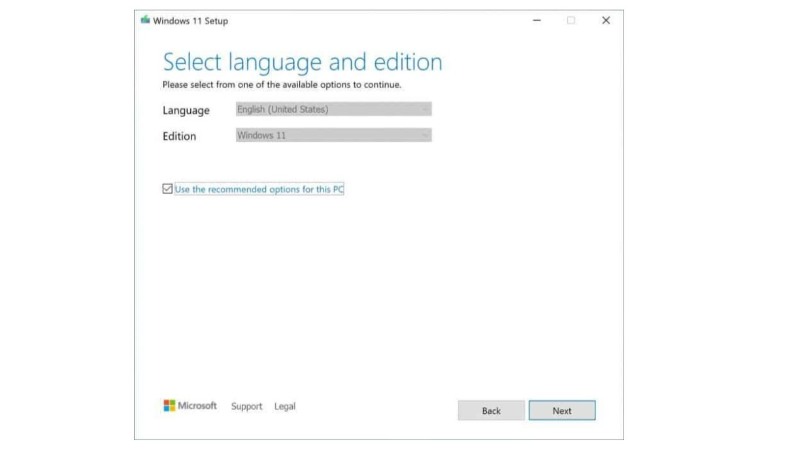
 Accept the license terms, choose language and edition, uncheck recommended options, and click Next.
 Insert an 8 GB USB flash drive, select it, and click Next.
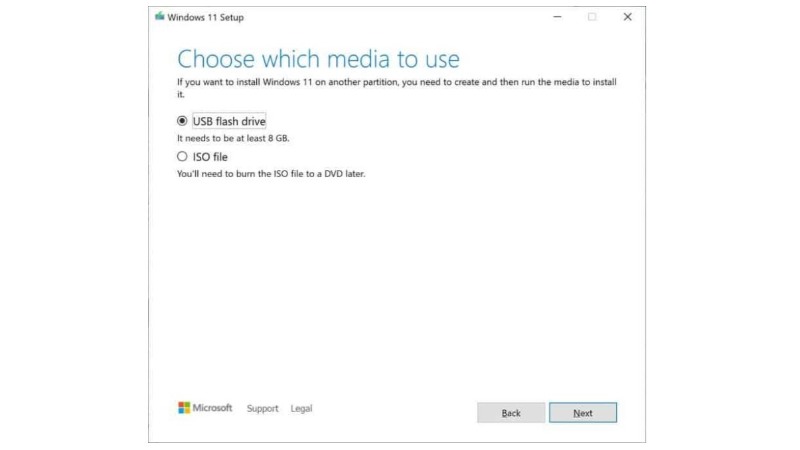
Installation Windows 11 Pro
Choose the USB drive for the bootable installer, and click Next.
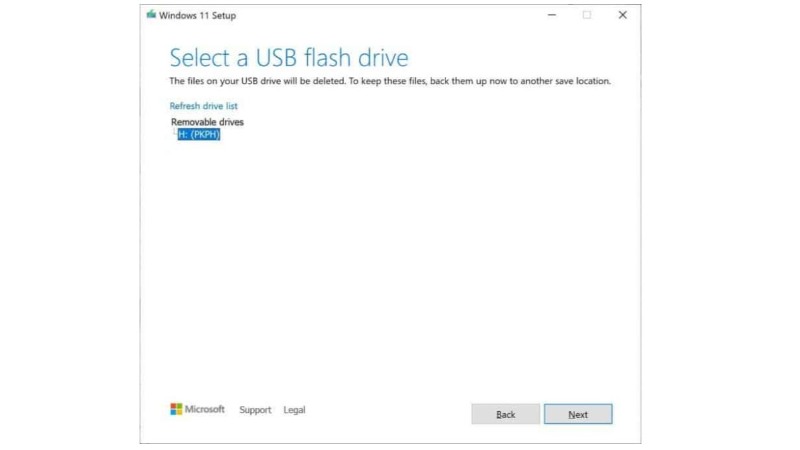
Installation Windows 11 Pro
Download Windows 11 files to the USB drive (about 4.5 GB), which takes 10-15 minutes post-download for processing into bootable media.

Installation Windows 11 Pro
Your Windows 11 bootable installer (ESD-USB) is now ready.
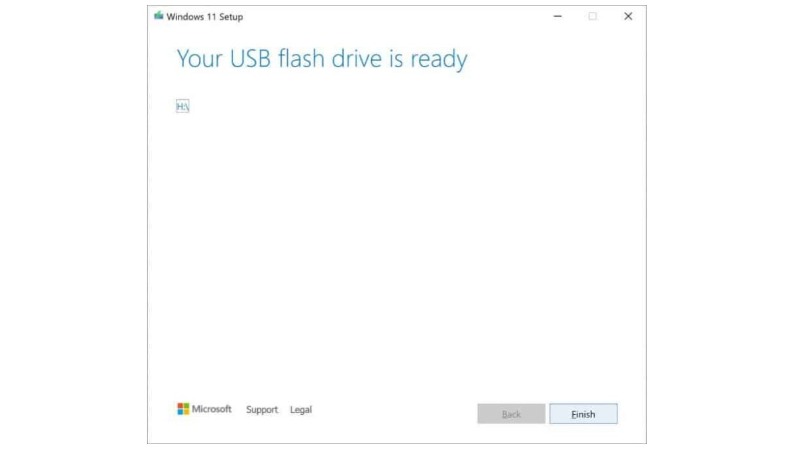
Installation Windows 11 Pro
Ensure backups are complete before initiating a clean install. Restart your PC with the USB installer plugged in.
Boot from the USB installer; use the specific key for boot options (F2, F5, or F8).
Run setup, select language, time, currency format, keyboard, click Next, then Install.
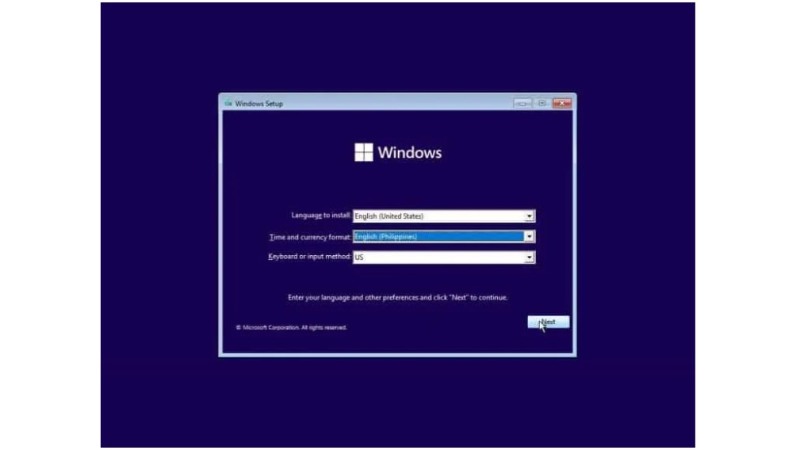
Installation Windows 11 Pro
Enter the 25-digit product key, activate online or enter later. Click Next.
Accept terms and click Next.
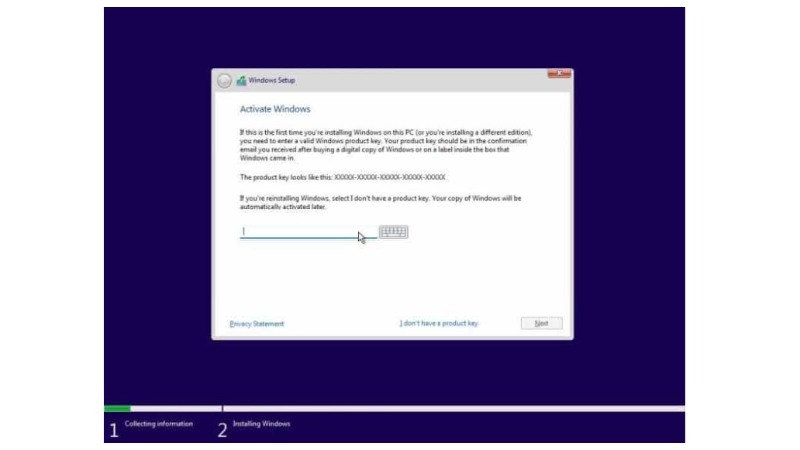
Installation Windows 11 Pro
Choose Custom for a fresh Windows install.
Select the drive for installation. Adjust, format, or remove partitions as needed.
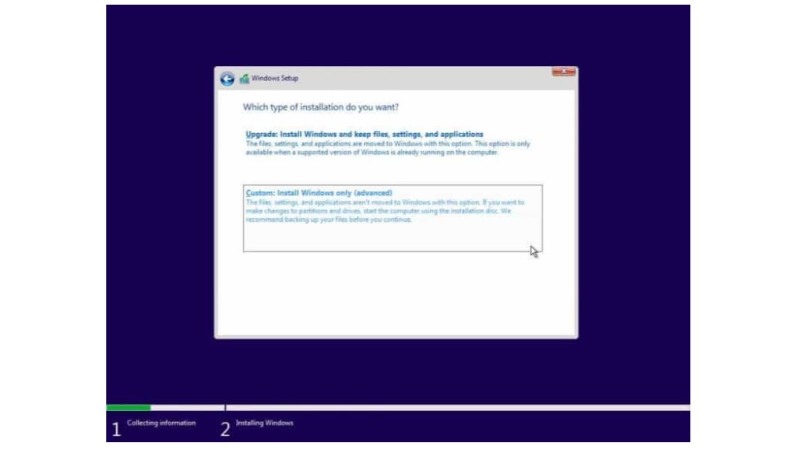
Installation Windows 11 Pro
Install Windows, following on-screen instructions.
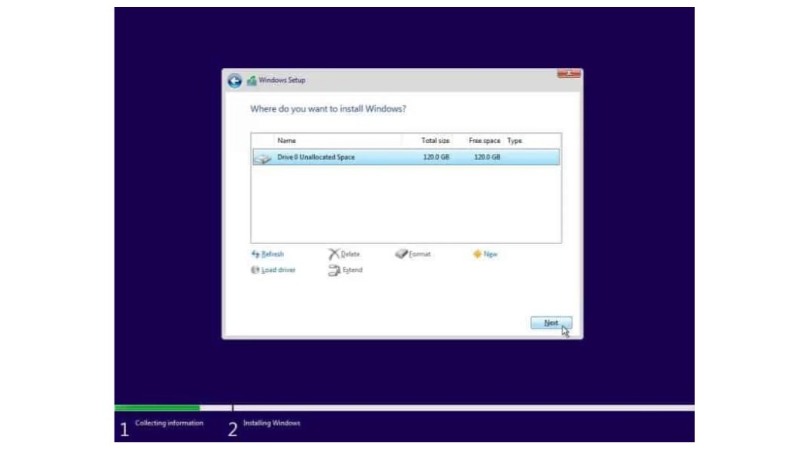
Installation Windows 11 Pro
Complete setup and personalize Windows 11. Remove the USB installer upon reaching 100% installation to ensure the PC boots from the newly installed OS. Congratulations on your genuine Windows 11 Pro!
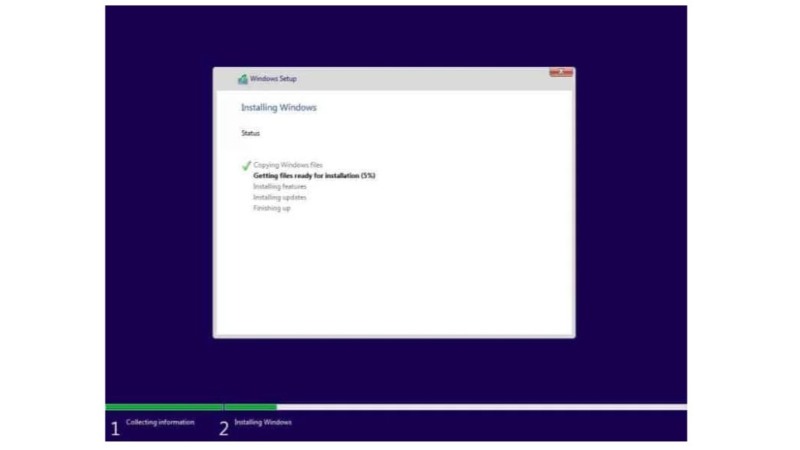
Installation Windows 11 Pro
III. ACTIVATE AN EXISTING INSTALLATION OF WINDOWS 11 AND BIND THE LICENSE WITH YOUR MICROSOFT ACCOUNT
This guide explains how to activate an already installed Windows 11 using a product key and upgrade lower versions of Windows 11. Note that Windows 7, 8, and 8.1 cannot be upgraded to Windows 11; only Windows 10 is eligible.
This guide references Windows 11 Home for instructions and screenshots, but our highest-tier retail license for Windows 11 can upgrade lower versions of Windows 10 and 11.
Ensure you have a genuine copy of Windows. Genuine product keys won’t work on illegal copies.
If certain of your system’s authenticity, click the search icon on the taskbar, search for “Activation Settings,” and click the result.
In Activation Settings, click “Change” next to “Change product key.”
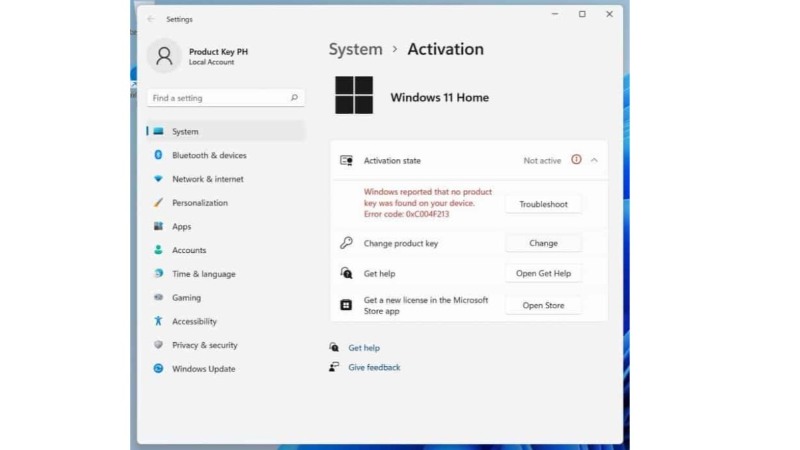
Activation Guide for Windows 11 Pro
Enter the 25-digit product key and click Next.
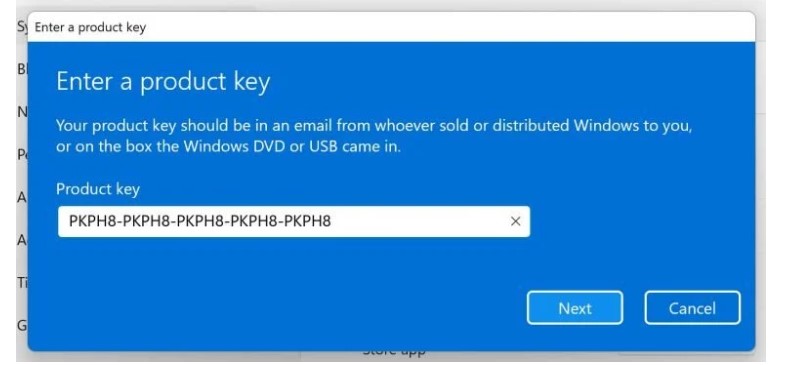
Activation Guide for Windows 11 Pro
Our keys can upgrade to higher-tier Windows 11 editions. Click Start if prompted to upgrade your edition.
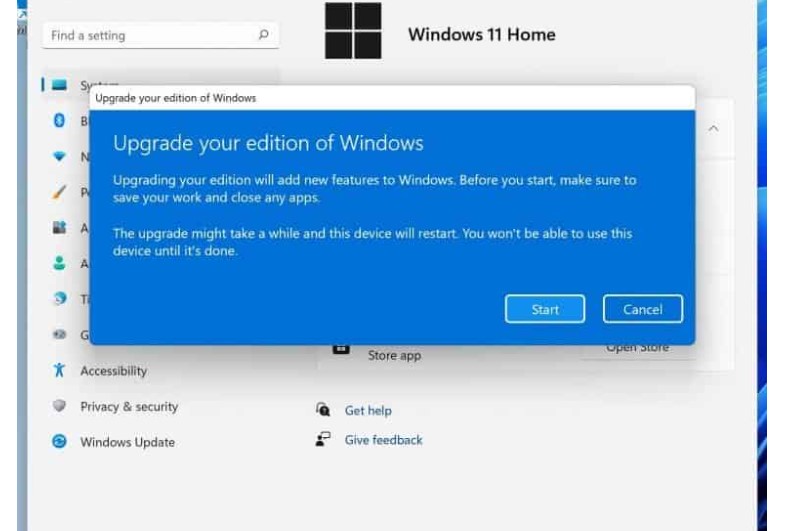
Activation Guide for Windows 11 Pro
After upgrading, an “Unable to upgrade your edition” error may appear. Restart your PC to complete the upgrade.
Congratulations! Windows is activated and bound to the Microsoft account. If using a local account, the key remains unbound. To attach it to your Microsoft account, click your local account’s name on the activation screen.
Click “Your info.”
Click “Sign in with a Microsoft account instead.”
Follow on-screen instructions, sign in with your Microsoft account, or create one if needed. Going forward, log in to Windows using your Microsoft account.
Congratulations! Your Windows license is now attached to your Microsoft account.

