How can I add a Windows 11 net speed monitor
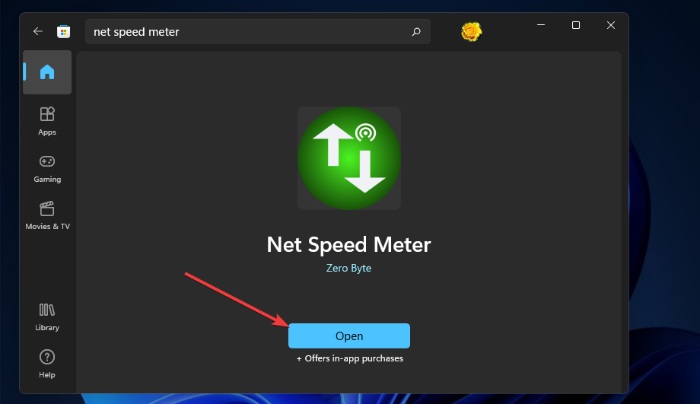
If you want to monitor your internet speed on Windows 11, you can use the Net Speed Meter app. Follow these steps to get and set up Net Speed Meter:
- Sign in to Microsoft Account: Before downloading the Net Speed Meter app, ensure that you are signed in to your Microsoft account. If you don’t have one, you can create an account on the Microsoft account page.
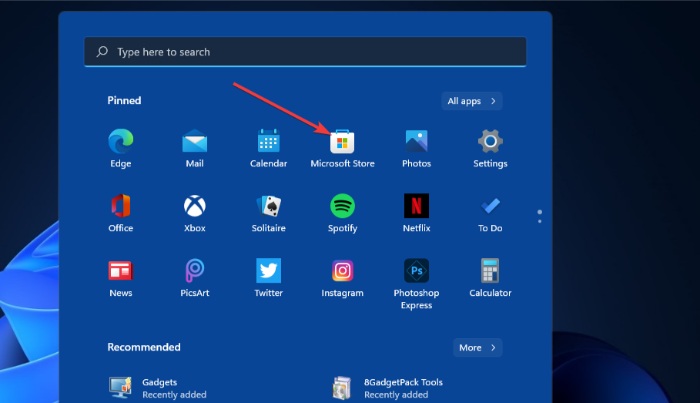
- Access Microsoft Store: Click the Start button on the Windows 11 taskbar, then select the Microsoft Store app from the Start menu.
 Search for Net Speed Meter: Type “Net Speed Meter” into the Microsoft Store’s search box.
- Download and Install: From the search results, select the Net Speed Meter app and click the “Get” button to download and install it.
- Open Net Speed Meter: Once installed, click the “Open” button on the Net Speed Meter page.
 Keep Net Speed Meter on Taskbar: When prompted, select “Yes” to keep Net Speed Meter on the taskbar. The Net Speed Meter icon will appear on your desktop.
- Customize and Add to Taskbar:
- Left-click and hold the Net Speed Meter icon to drag it around the desktop.
- Right-click the meter and choose “Keep in Taskbar” to add it to the Windows 11 taskbar.
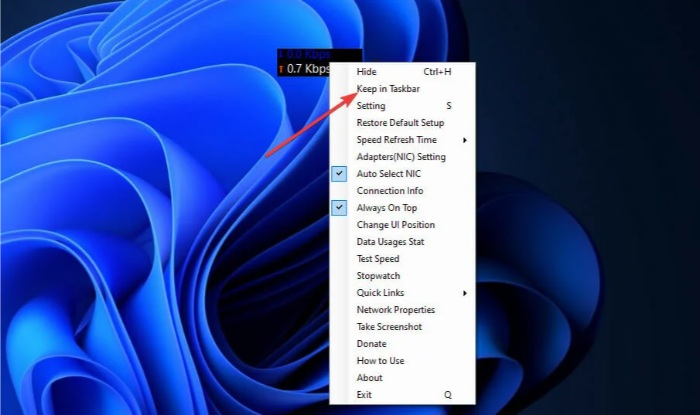 Customize Settings: Right-click the Net Speed Meter icon and select “Settings” to customize the app according to your preferences.
-
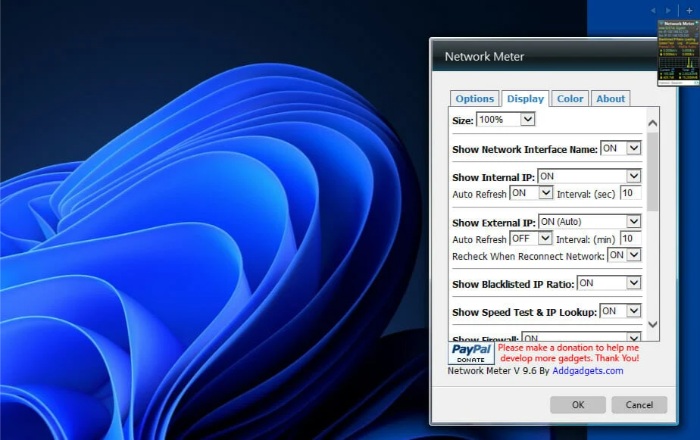
How can I add a Windows 11 net speed monitor
How to Use: For additional instructions, right-click Net Speed Meter and select the “How to use” option.
Note: Net Speed Meter is a Microsoft Store application available for free. It provides a convenient way to monitor your internet speed on Windows 11 with customizable options and easy access from the taskbar.


