How To Change User Password In Windows 10

Changing your user password regularly is the best way to protect your computer from unauthorized access. On Windows 10, changing the user password is straightforward. Please follow the steps below.
Step 1: Open the Start menu and click on the user account icon of your computer, then select “Change account settings.”
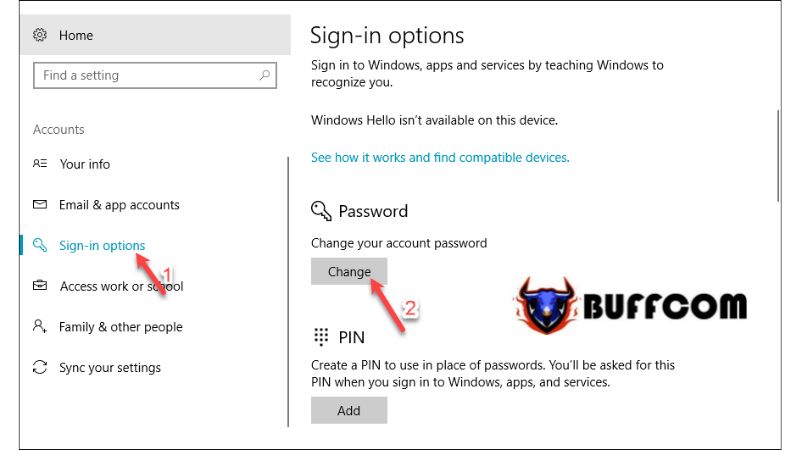
 Step 2: The Settings window will appear. Choose “Sign-in options” in the left column. On the right side, scroll down to the “Password” section and select “Change” to change the password.
 Step 3: Enter your old password and click “Next.”
 Step 4: Enter your new password twice and provide a password hint, then click “Next.”
 Step 5: Select “Finish” to complete the password change.
 If you find it cumbersome to enter a lengthy password every time you log in, you can opt to use a 4-digit PIN for quick and convenient login. Follow the steps below.
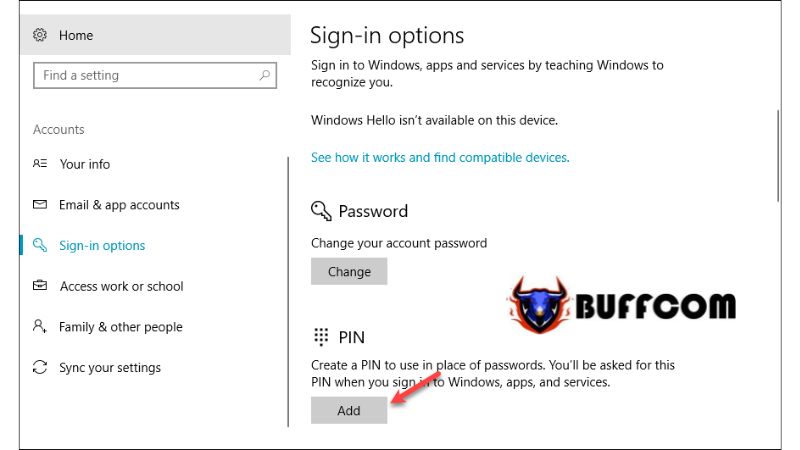
Step 1: While still in the “Sign-in options” window, click on the “Add” button under the PIN section.
 Step 2: Enter your password and click “OK.”
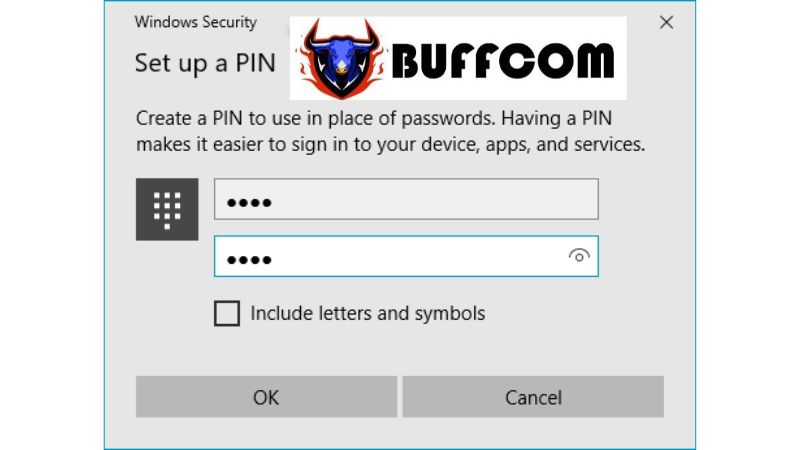
 Step 3: Enter a 4-digit PIN twice and click “OK” to finish.
 From now on, when logging into your computer, you have the option to log in using a 4-digit PIN instead of a lengthy password.
In this article, Buffcom.net has guided you on how to change the user password in Windows 10 and how to log in using a PIN. Thank you for following our guide. If you need a genuine Windows product key, please contact Buffcom.net for assistance!


