How To Create A WiFi Hotspot On Windows 10 Without Software
For Windows 8 and earlier versions, it is necessary to install third-party software to create a WiFi hotspot using a laptop. However, Microsoft has integrated a built-in feature called Mobile Hotspot in Windows 10. With this feature, you can easily share your internet connection and create a WiFi hotspot without the need for additional software. In this article, Buffcom.net will guide you through using the WiFi hotspot feature to create a WiFi hotspot on Windows 10 without software.
GUIDE TO CREATE A WIFI HOTSPOT ON WINDOWS 10 WITHOUT SOFTWARE
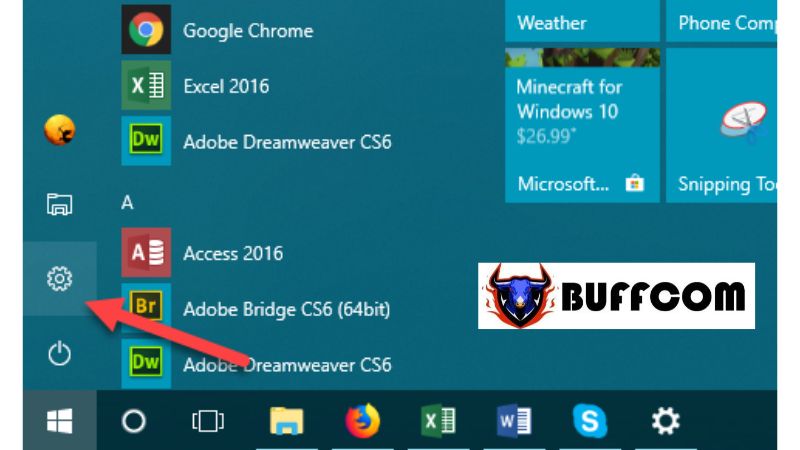
Step 1: Access the Settings on Windows 10.
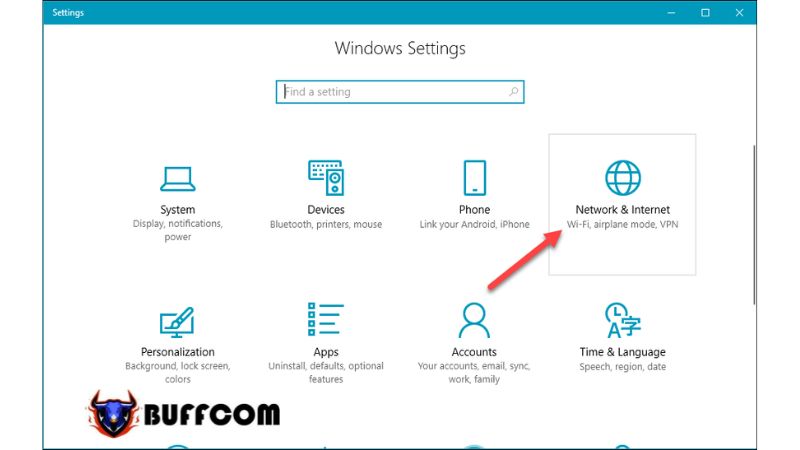
 Step 2: Select the “Network & Internet” option.
 Step 3: Choose “Mobile hotspot” from the list of features and then click on “Edit“.
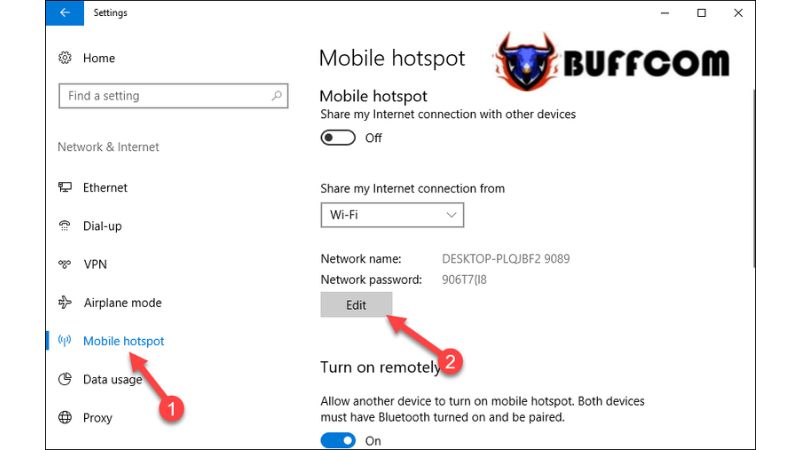 Note: The Mobile hotspot feature is only available on laptops.
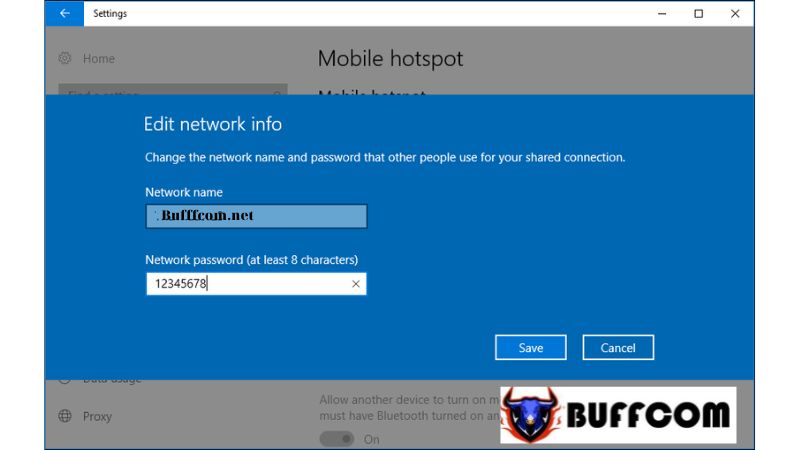
Step 4: In the new window, enter a name for your WiFi network in the “Network name” field and set a password for the WiFi network in the “Network password” field. Then, click on “Save“.
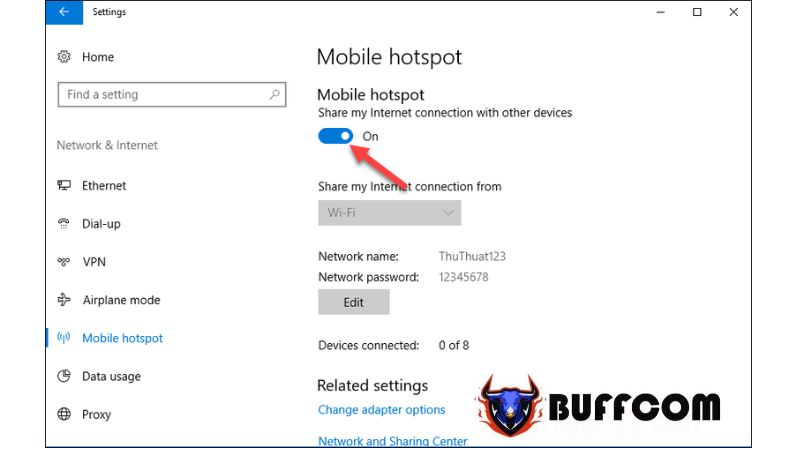
 Step 5: Toggle the switch to “On” to start broadcasting the WiFi network.
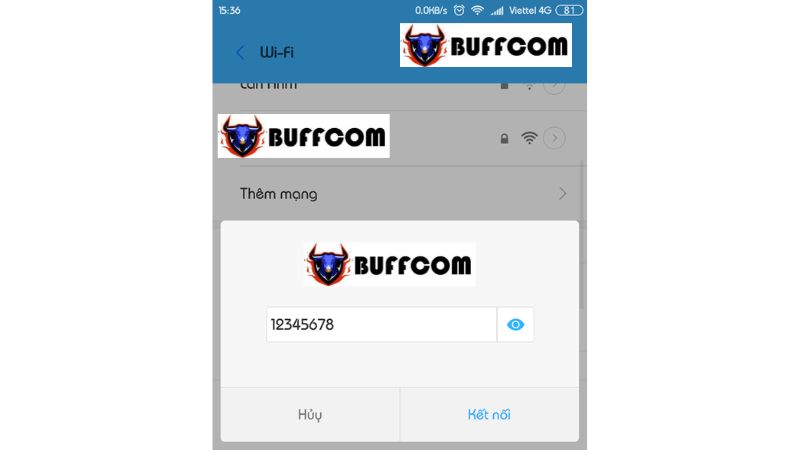
 Now, you can use your phone to test connecting to the WiFi network you just created.
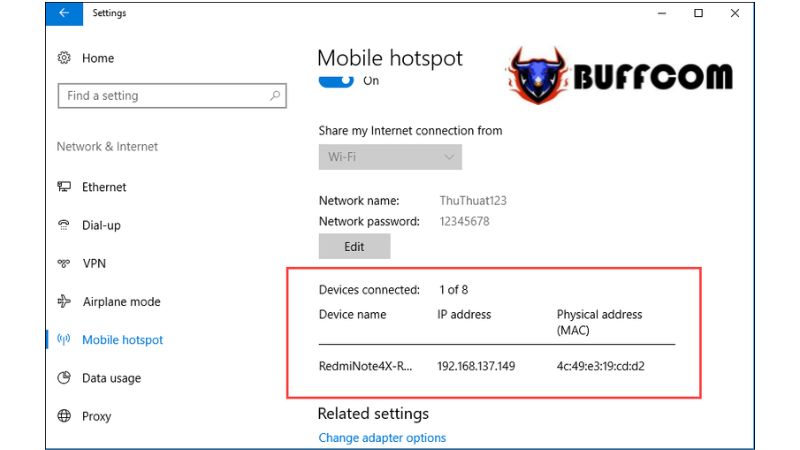
 When a device connects to the WiFi network you created, the Mobile hotspot section will display the number of connected devices under the “Devices connected” section, along with the names, IP addresses, and MAC addresses of the connected devices.
 By following these simple steps, you can successfully create a WiFi hotspot on Windows 10 without the need for additional software. Thank you for reading this article. If you’re interested in genuine Windows product keys, please contact Buffcom.net for assistance!

