How to quickly and properly adjust row height in Excel
How to quickly and properly adjust row height in Excel: Uneven row height is one of the most common situations in Excel. Worksheets with unevenly sized rows look messy and unprofessional. How can you make sure that your rows are the same height? In this article, Buffcom.ner will guide you through some ways to quickly adjust row height in Excel.
1. Adjust one or more rows manually by dragging
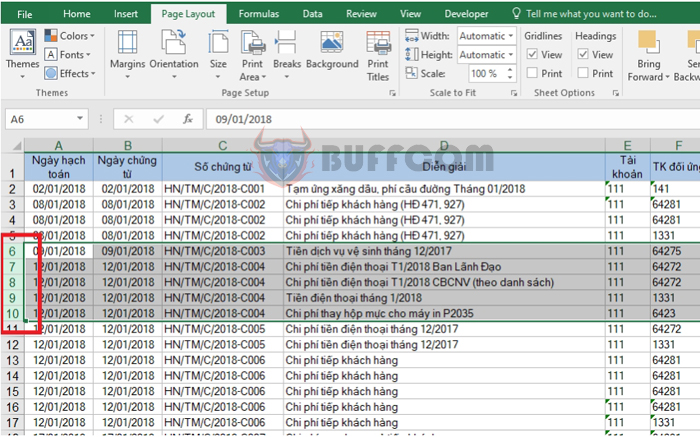
To adjust one or more rows manually in Excel, first select the rows you want to adjust. Then move your mouse to the row numbers on the left side. When the two-way arrow appears, click and drag up or down to adjust the row height.
The result will be the selected rows adjusted to the height that you have dragged them to.
How to quickly and properly adjust row height in Excel
2. Adjust row height using Row Height option
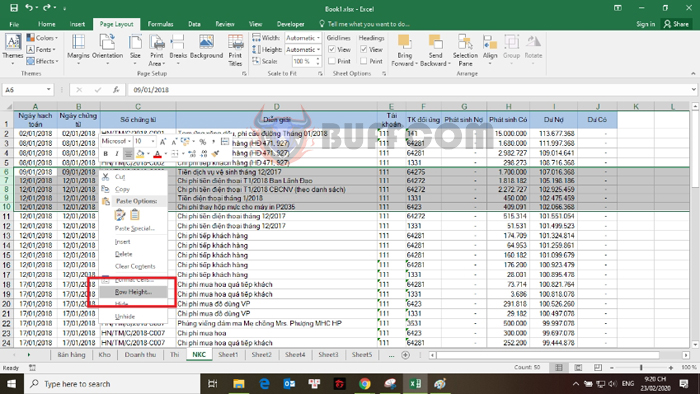
First, select the rows that you want to adjust. Then right-click and select Row Height.

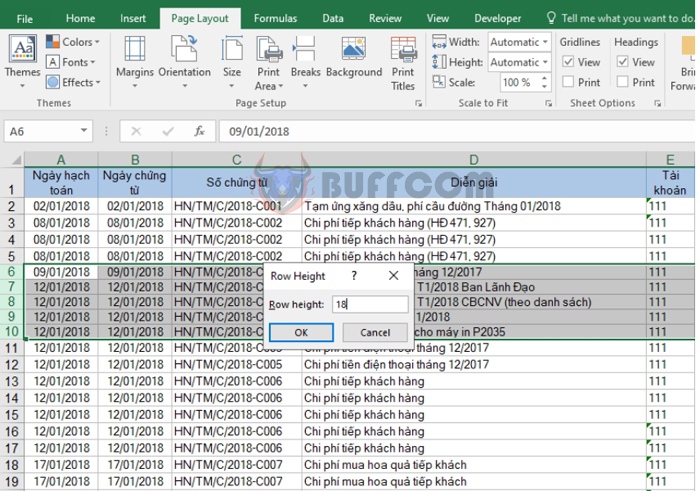
Once the Row Height window appears, enter the desired height for the selected rows and click OK.
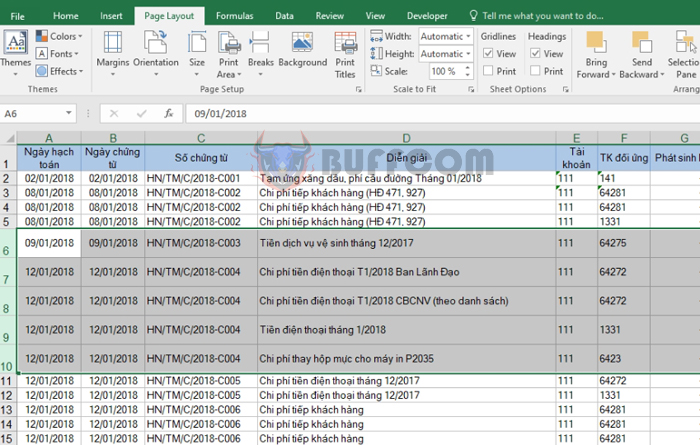
The result will be the selected rows adjusted to the height that you have entered in the Row Height option.
3. Adjust row height automatically
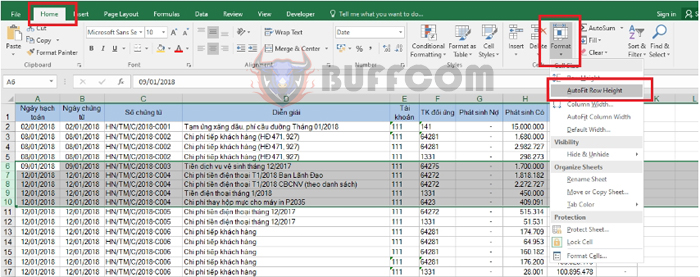
To adjust row height automatically, select the rows that you want to adjust. Then click the Home tab => click the Format icon in the Cells section => select AutoFit Row Height.
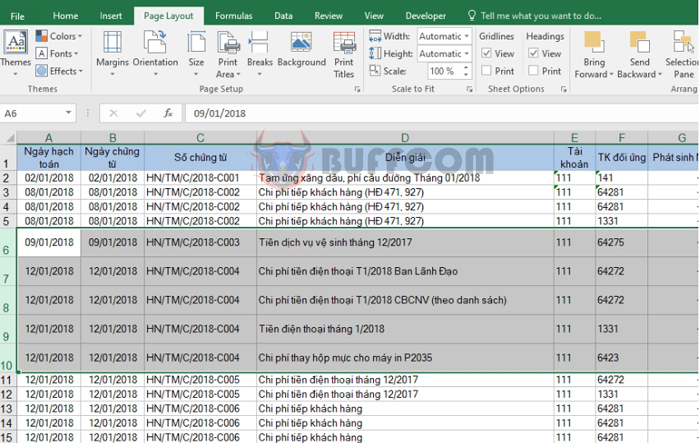 The row height will then be automatically adjusted to fit the contents of the cells in that row.
How to quickly and properly adjust row height in Excel
In conclusion, this article has shown you different ways to adjust row height in Excel. We wish you success in your Excel work!


