The easiest way to insertedit images in Excel
The easiest way to insert/edit images in Excel: For those who often have to compile employee information, inventory statistics, it is often necessary to insert images along with the spreadsheet. If the statistics file is short, you can manually insert images by clicking the Insert button. But if it is a long information table, doing it this way can be time-consuming, as you have to adjust the image for each cell to fit the cell size. This article will guide you on the easiest way to insert/edit images in Excel.
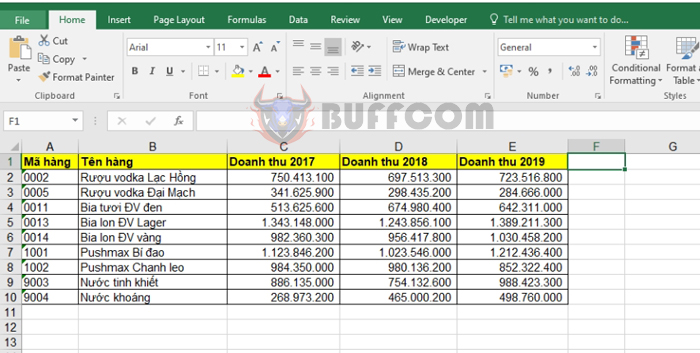
Step 1: Place the cursor where you want to insert the image.
The easiest way to insertedit images in Excel
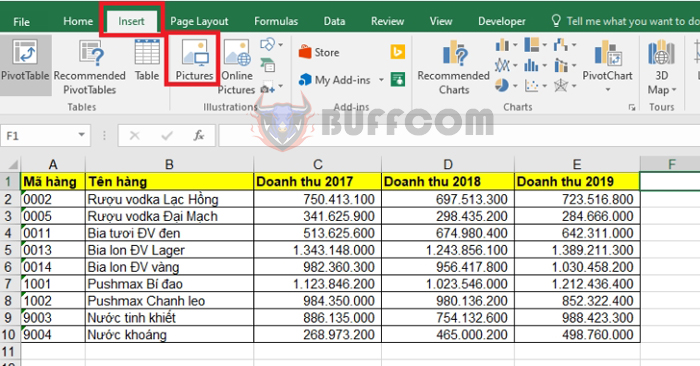
Step 2: Go to the Insert tab => then select the Pictures icon.
Comment 00 awaiting moderation
 Step 3: After the Insert Picture window appears, find the path to the image file you want to insert => select the image and then click Insert.
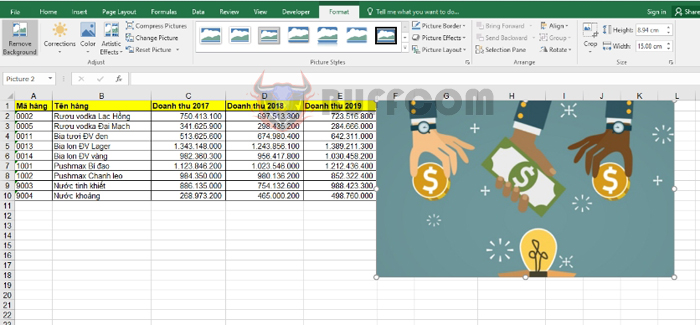
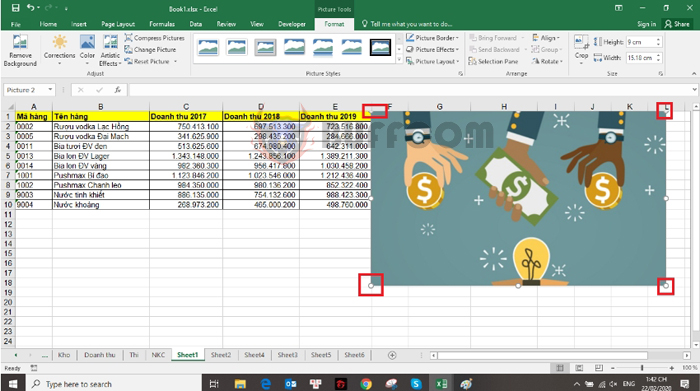
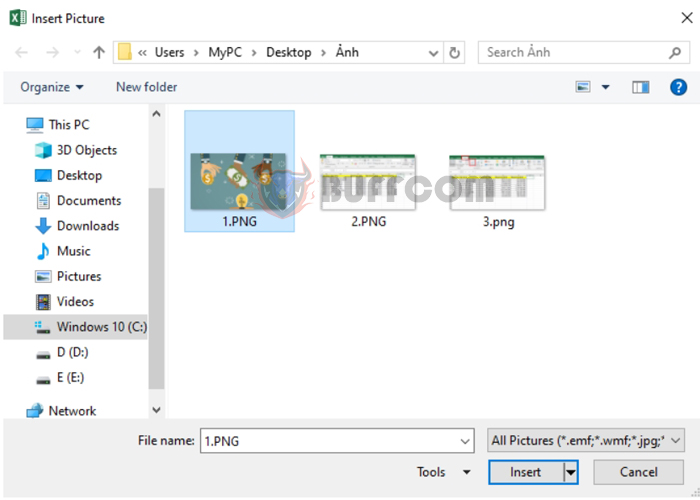 Step 4: After Inserting, the image has been inserted into the Excel worksheet. However, at this point, the image size is default, so it is not suitable for the position where you want to insert it. We need to adjust the size of the image to fit the worksheet better.
 Step 5: Change the size of the image
To change the size of the image to fit the worksheet better, you can click on the image. After the outline of the image appears, you can enlarge or reduce the size of the image to your liking by dragging at the corners of the image.
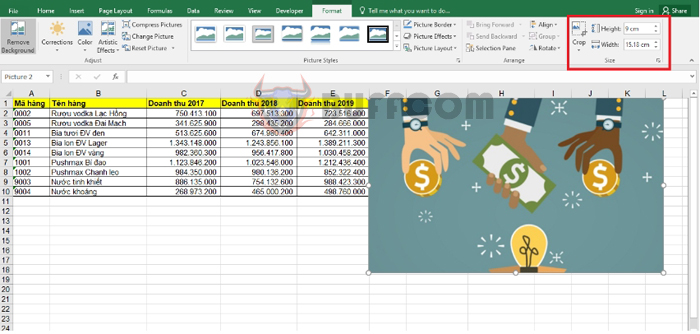
 Or you can click on the image, then select the Format tab. In the Size section, you can adjust the height and width of the image in the Height and Width boxes.
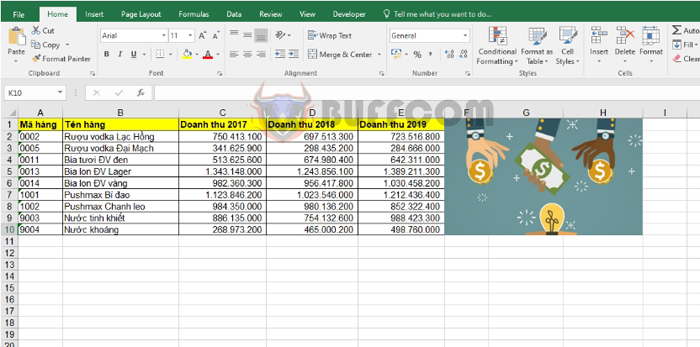
 After adjusting the size, you will get the result that the image is better suited to the existing worksheet:
The easiest way to insertedit images in Excel
Thus, the above article has guided you on how to insert images into the worksheet and how to edit the size of images in Excel. Good luck!


