2 Ways to Set Password Protection for Excel Documents
2 Ways to Set Password Protection for Excel Documents:: While working on Excel, there may be times when you don’t want others to access your files, or you only want them to view the data without being able to make changes. In such cases, you need to set a password for your Excel files. The following article will guide you on how to set passwords for your Excel files, and it only takes a minute or two to set up.
1. Password for opening Excel files
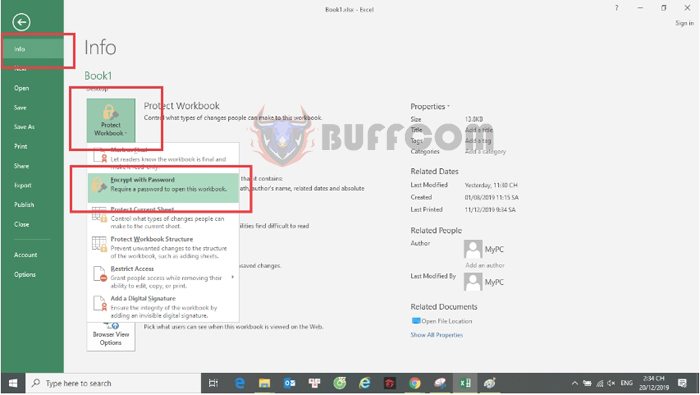
Open your Excel file, then select File => Info => Protect Workbook => Encrypt with Password.
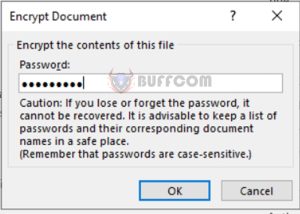
 Next, enter the password you want in the next dialog box => OK.
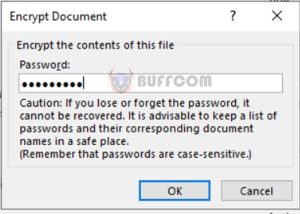
Then, you need to re-enter the password you just set => OK.
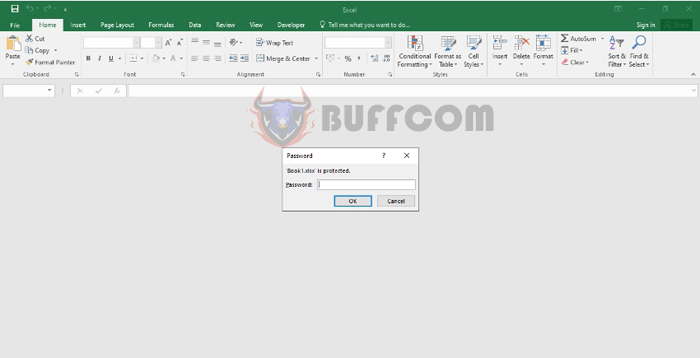
The next time you open the document, you will be prompted to enter the password to continue opening it.
 2. Password for editing Excel files
With this method, anyone can open and view the document, but they need to enter a password to make changes.
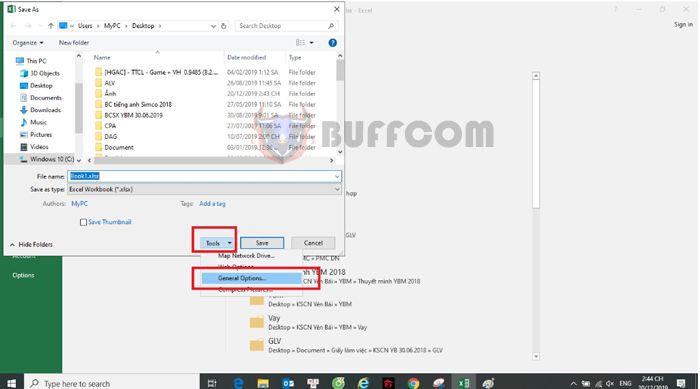
Click on File => Save As => Browse.
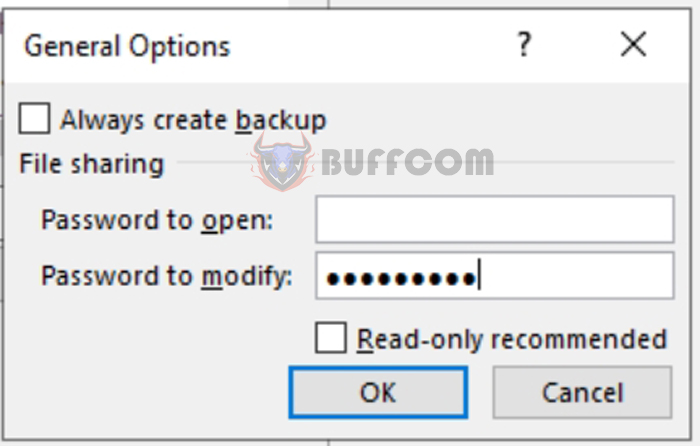
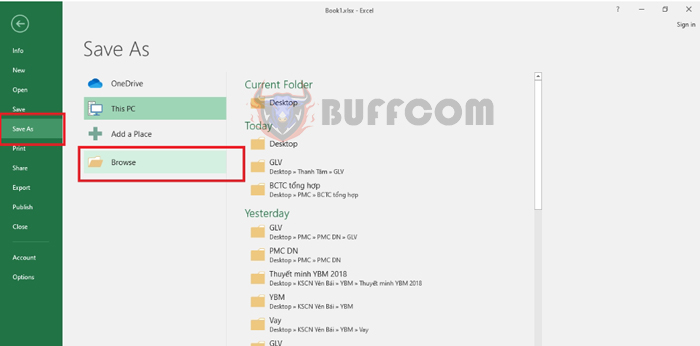 Click on the Tools button => General Options.
 Here you will find two fields: Password to open and Password to modify. You can leave the first field blank if you only want to restrict editing without restricting access.
2 Ways to Set Password Protection for Excel Documents
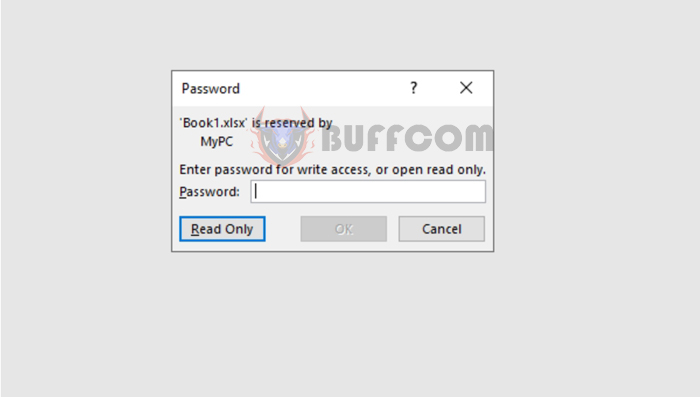
The next time you open the document, you will receive a slightly different password prompt, as shown below. If you want to view the file, click on Read Only, but at this point, you won’t be able to make edits to the document.
 That’s it! The above article has guided you on how to set passwords to protect your Excel files. Best of luck!

