How to justify text in Excel
How to justify text in Excel:To make data look more presentable and neat, we often justify text on both sides. However, Excel only supports left, right, or center justification and does not have the option for full justification. If you want to justify text on both sides, you will need to perform an additional step. Follow the steps below to learn how to justify text on both sides in Excel.
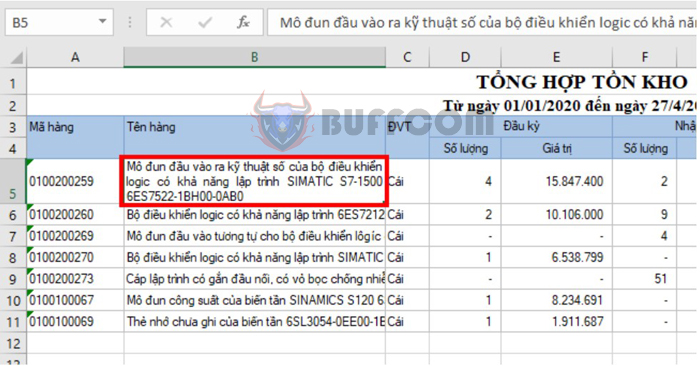
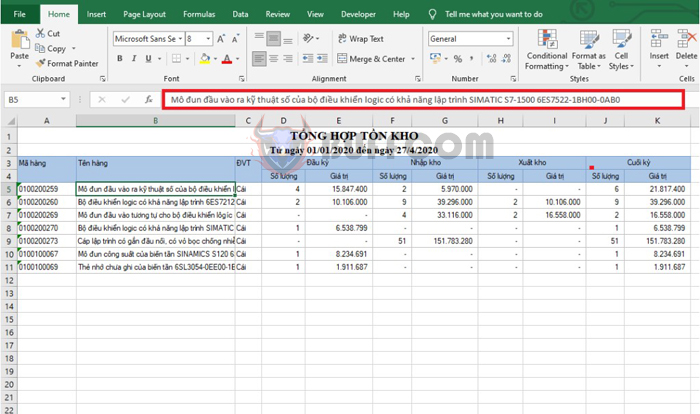
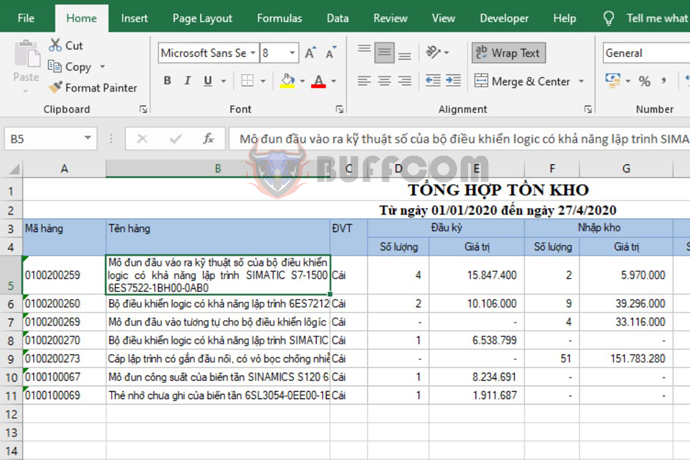
For example, we have a data table as shown below. You can see that the data in cell B5 is much longer than the width of the cell. Therefore, to make the data look more presentable, we need to wrap the text and then justify it on both sides. To do this, follow these steps:
How to justify text in Excel
Step 1
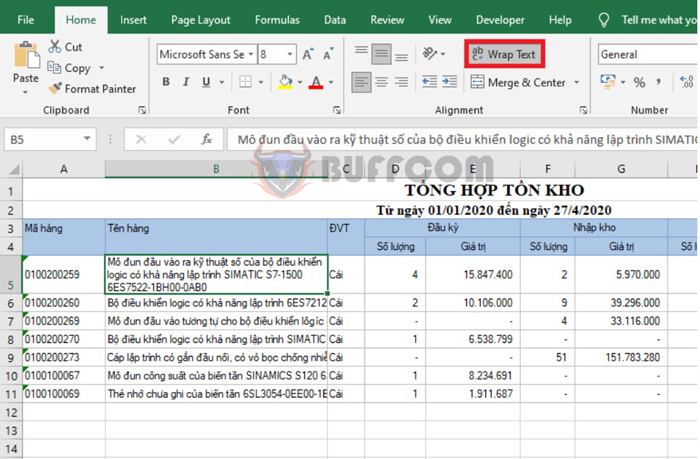
First, you need to wrap the text by clicking on the Wrap Text option in the Home tab. This will automatically wrap the text to the next line if it exceeds the cell width. You can see that the length of the data in cell B5 can fit into three lines as shown below.
How to justify text in Excel
Step 2
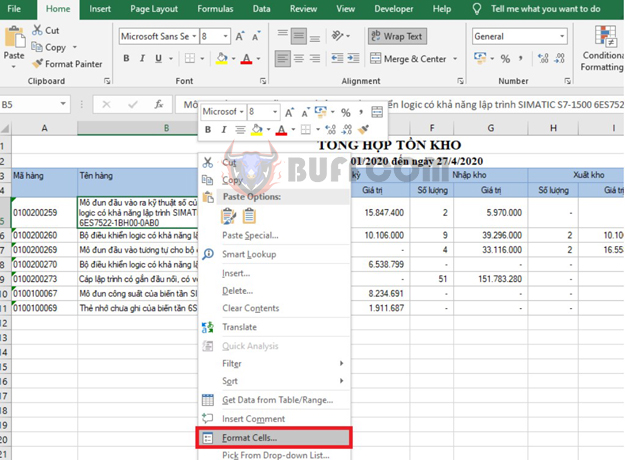
Next, right-click on cell B5 and select Format Cells from the scroll bar that appears.
How to justify text in Excel
Step 3
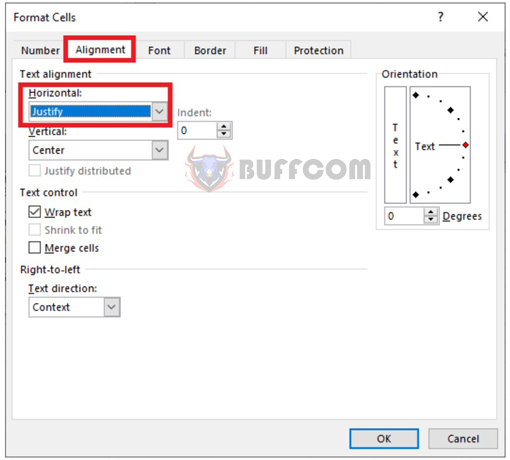
In the Format Cells window, select the Alignment tab. Under the Horizontal section, select Justify. Finally, click OK to complete.
How to justify text in Excel
That’s it, the text in the cell has now been justified on both sides quickly.
How to justify text in Excel
Step 4
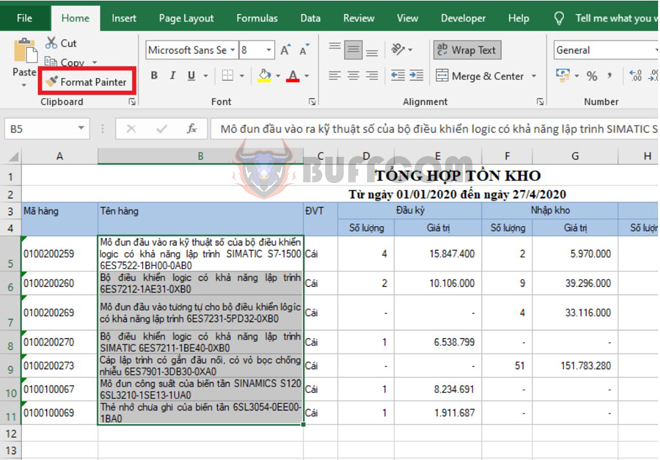
Finally, use the Format Painter tool to copy the format to the remaining cells in the column.
 In conclusion, justifying text on both sides in Excel is a great way to make data more presentable and professional. Although it is not an option in Excel by default, you can achieve this formatting by wrapping the text and using the Justify option. We hope this article has been helpful in showing you how to justify text on both sides in Excel.


