How to create Header and Footer in Microsoft Excel
How to create Header and Footer in Microsoft Excel: In this article, Buffcom.net will share with you how to create Header and Footer in Microsoft Excel very quickly.
Step 1
Firstly, you need to open the Excel file that you want to create a header and footer for. Then, select the Insert tab on the toolbar.
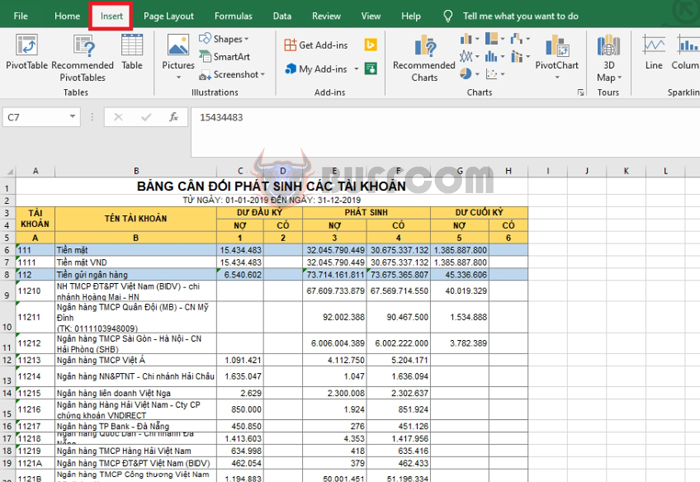
How to create Header and Footer in Microsoft Excel
Step 2
Next, click on the Text option. The scroll bar appears, and you choose Header & Footer.
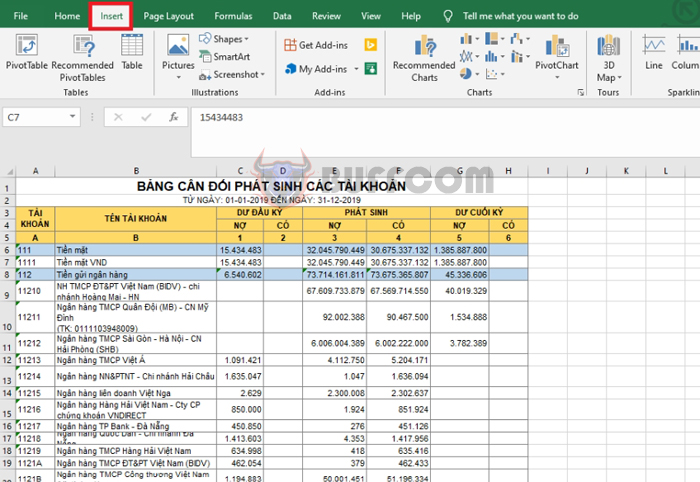
How to create Header and Footer in Microsoft Excel
Step 3
At this point, the Excel interface will switch to the print page view. At the top of each page, there are 3 boxes corresponding to 3 positions to create the Header. Click on the box corresponding to the header position and then enter the content you want to create.
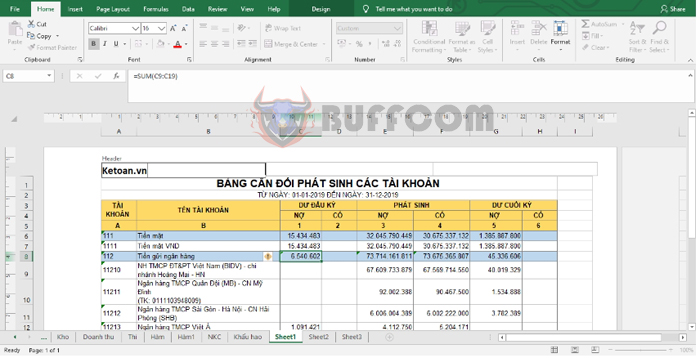
How to create Header and Footer in Microsoft Excel
Step 4
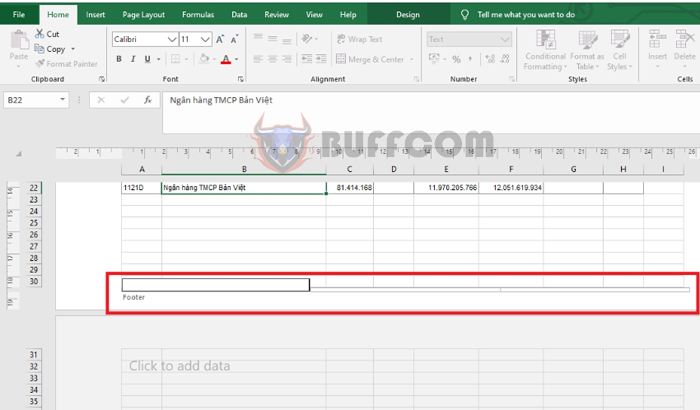
At the bottom of each page, there are 3 boxes corresponding to 3 positions to create the Footer. Click on the box corresponding to the footer position and then enter the content you want to create.
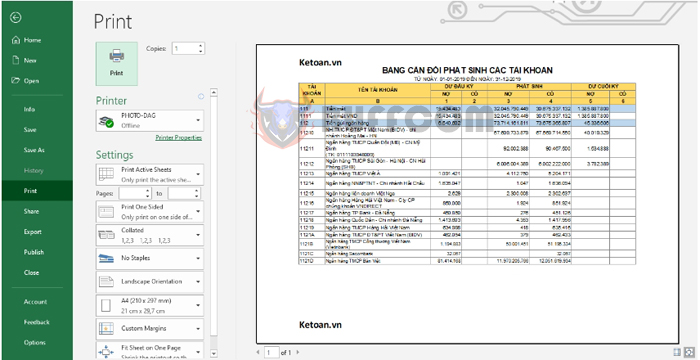
After you have finished creating the header and footer, you can preview how your product will look when printed by pressing the shortcut key Ctrl + P. The headers and footers will be created for all the print pages of this Excel sheet, so you can easily break the print pages as desired without having to recreate them.
 Thus, the above article has instructed you on how to create Header and Footer in Excel. Hopefully, this article will be useful for you in the process of work. Good luck!

