How to quickly insert rows (or columns) in Excel worksheet
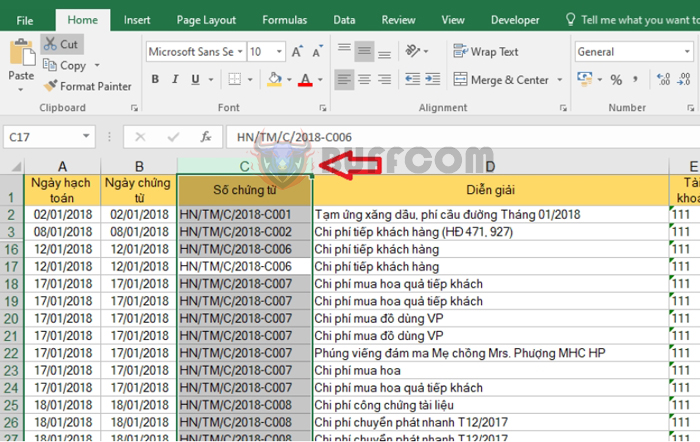
How to quickly insert rows (or columns) in Excel worksheet: Inserting rows (or columns) is a basic and frequently used operation when you want to add more data to an Excel worksheet. This is because when you add a row (or column) in Excel, your data table will have additional cells to enter data. The following article will guide you in detail on how to insert rows or columns in an Excel worksheet.
1. Inserting Rows in the worksheet
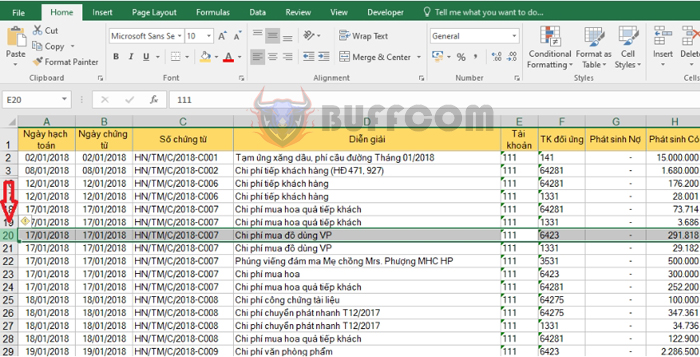
Step 1: Select the row right below where you want to insert a new row.
You can click on the row number on the left to select the entire row. Alternatively, you can also press the combination of Shift + Space to select the entire row.
How to quickly insert rows (or columns) in Excel worksheet
Step 2: After selecting the row, right-click and select Insert to add a row above the selected row.
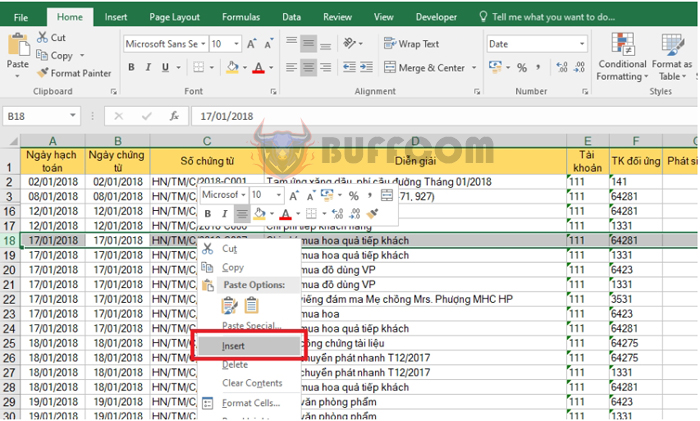 You can also use the shortcut key combination of Ctrl + Y or Ctrl + Shift + = to insert a row.
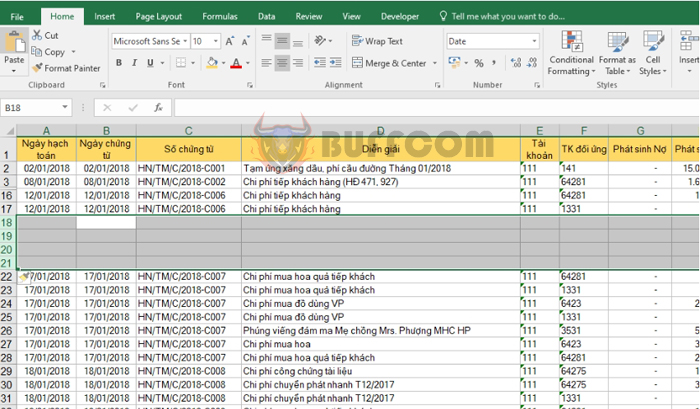
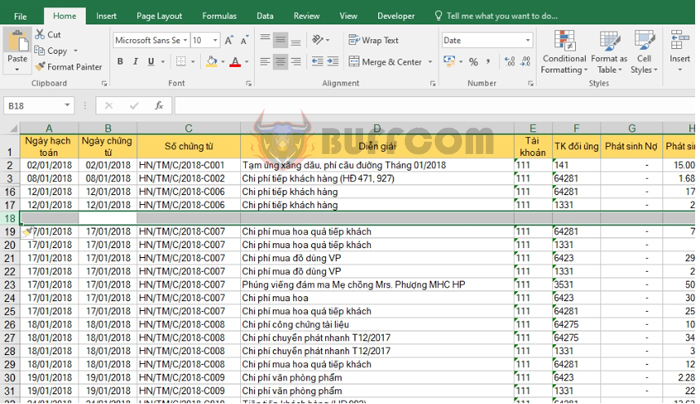 You can also add multiple rows at once by selecting multiple rows and then pressing Ctrl + Y or Ctrl + Shift + =. The number of rows added will be the same as the number of rows you initially selected.
 2. Inserting Columns in the worksheet
Step 1: Select the column immediately to the right of where you want to insert a new column.
You can click on the column letter at the top to select the entire column. Alternatively, you can also press the combination of Ctrl + Space to select the entire column.
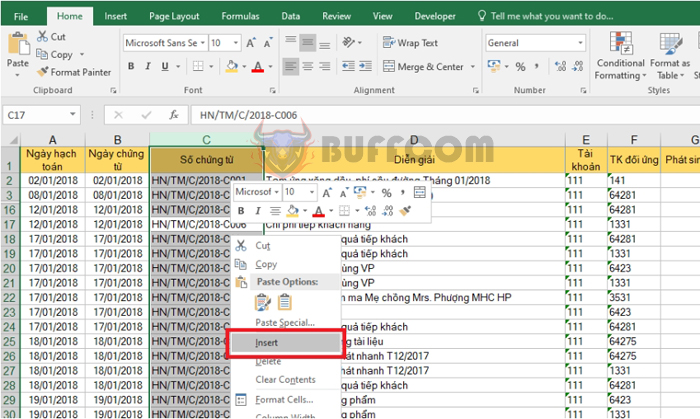
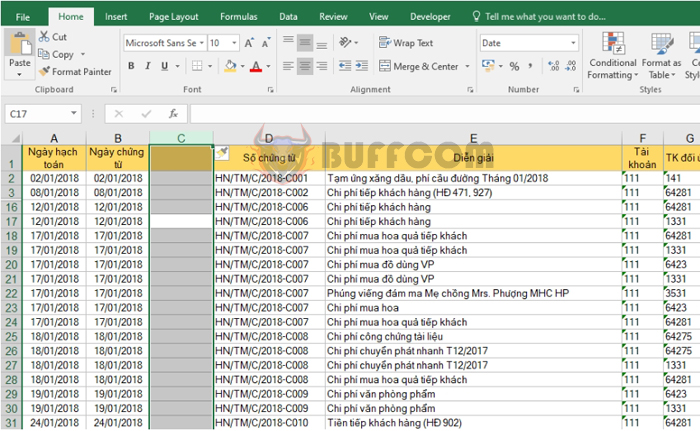
 Step 2: After selecting the column, right-click and select Insert to add a column to the left of the selected column.
You can also use the shortcut key combination of Ctrl + Y or Ctrl + Shift + = to insert a column.
 You can also add multiple columns at once by selecting multiple columns and then pressing Ctrl + Y or Ctrl + Shift + =. The number of columns added will be the same as the number of columns you initially selected.
 Therefore, this article has guided you on how to insert rows or columns in an Excel worksheet. Good luck!

