How To Create A Password-protected Directory On Windows
One can easily lock files on a computer without the need to use any software. This method is useful for those who do not want to purchase paid software to create a password for their folder. Today, I will share with you a simple way to create a password for a folder without using any software.
Follow these steps:
How To Create A Password-protected Directory On Windows
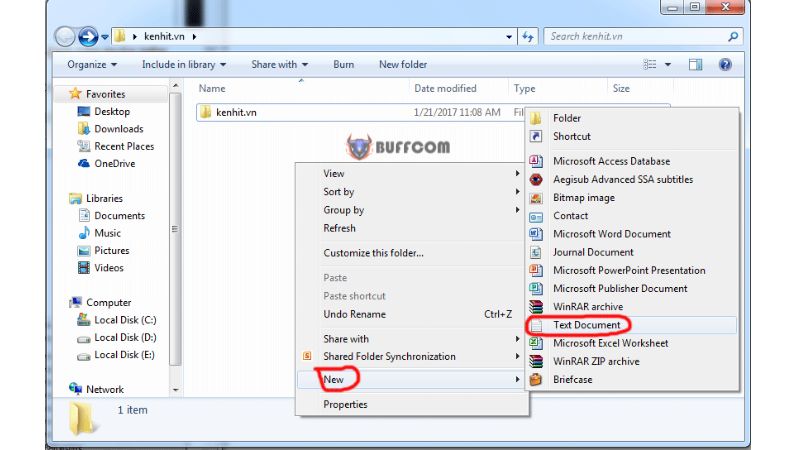
Step 1: Open the folder you want to password-protect and right-click on a blank space. Select “New” and choose “Text Document.”
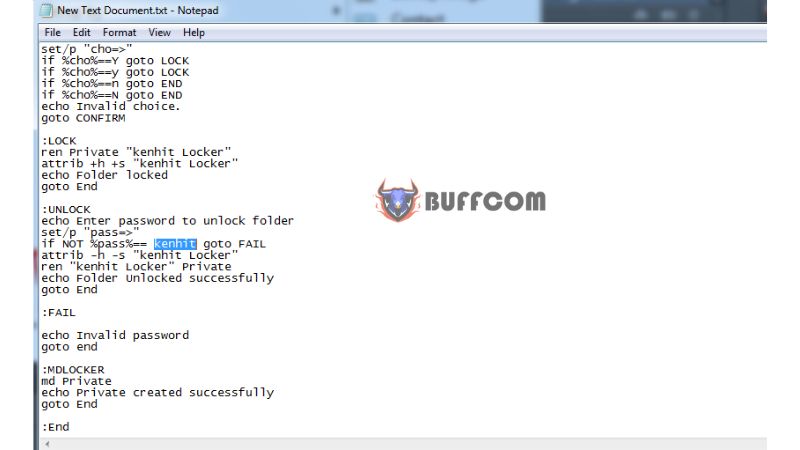
 Step 2: Copy and paste the code below into the text document. Then, change “password” to the password that you want.
 Step 3: Save the file and close the text document.
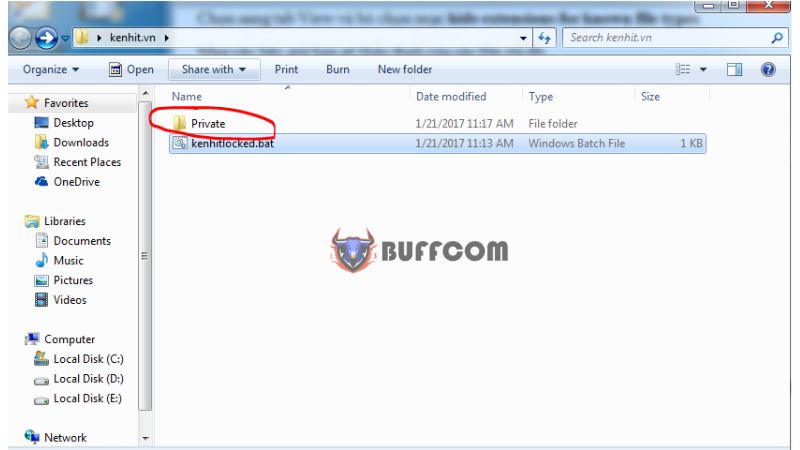
Step 4: Rename the file extension from “.txt” to “.bat” (i.e. kenhitlocked.bat).
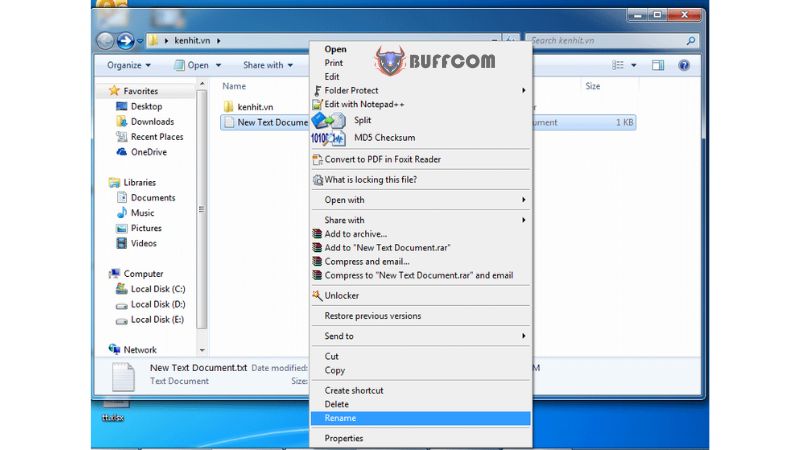
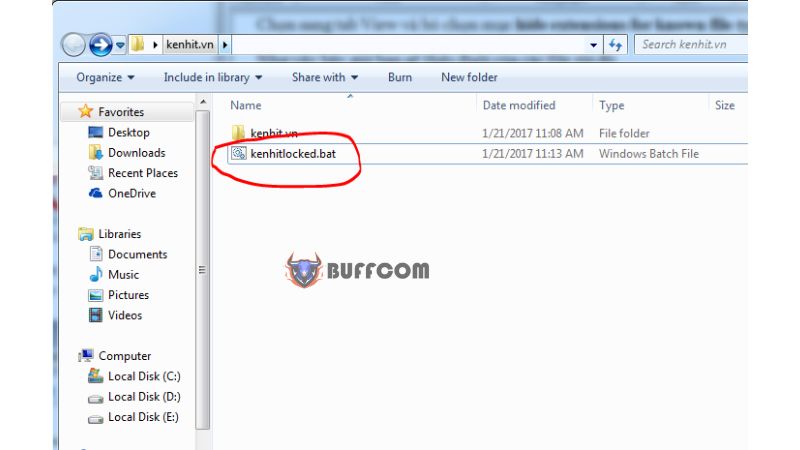
If you cannot see the file extension, go to “Organize” and select “Folder and Search Options.” Select the “View” tab and uncheck “Hide extensions for known file types.”
Step 5: Double-click on the “kenhitlocked.bat” file and select the “Private” option. Choose the folder or directory that you want to lock.
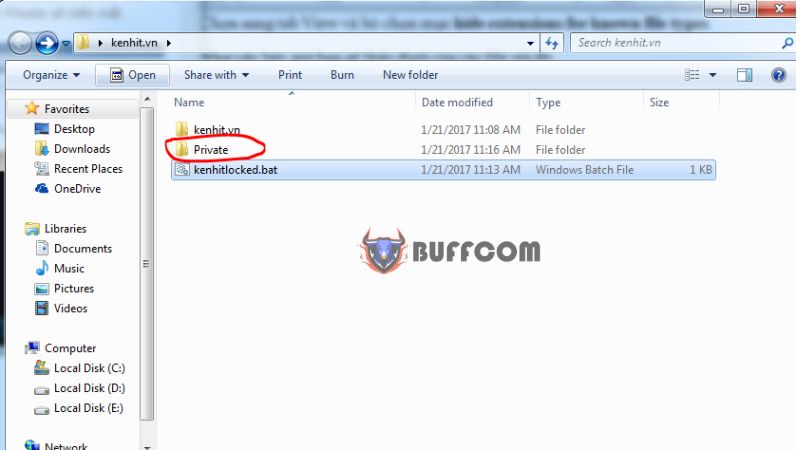 Step 6: Move your data to the “Private” folder.
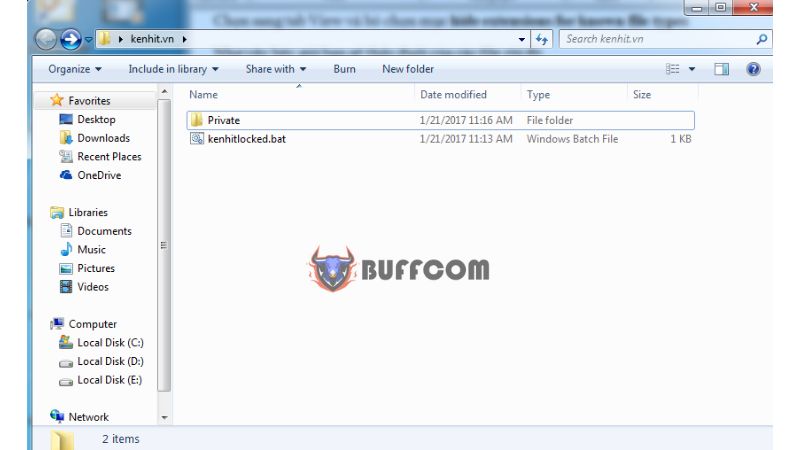
After placing all the folders into this directory, click on the file “kenhitlocked.bat” to lock it again. After clicking it, it will ask if you want to lock it, select “y” and press enter. You will see that the “private” folder has now been hidden.
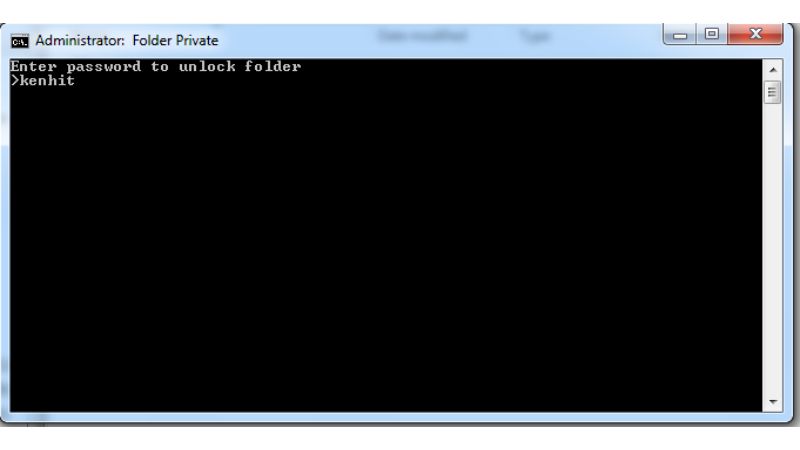
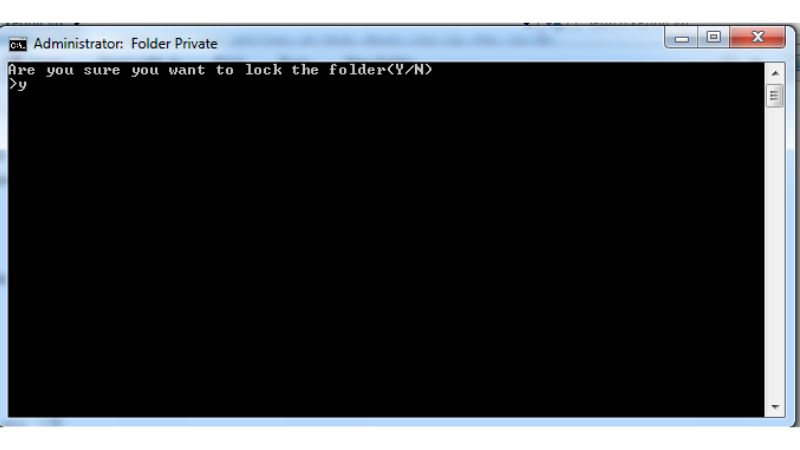 Step 7: To view the “Private” folder again, double-click on the “kenhitlocked.bat” file and enter the password you set earlier.
 That’s it! Now you have successfully created a simple password-protected folder without any software. If you are not comfortable with this method, you can always use software to create a password-protected folder. Good luck! Additionally, if you are interested in purchasing a Windows product key, please contact buffcom.net for support.


