Guide To Using Remote Desktop On Windows 10
Windows 10 features Remote Desktop, which allows you to control other Windows computers. With Remote Desktop, you can easily manage and control client computers in your network. In this article, Buffcom.net will guide you on how to use Remote Desktop on Windows 10.
Setting up Remote Desktop on the controlled computer
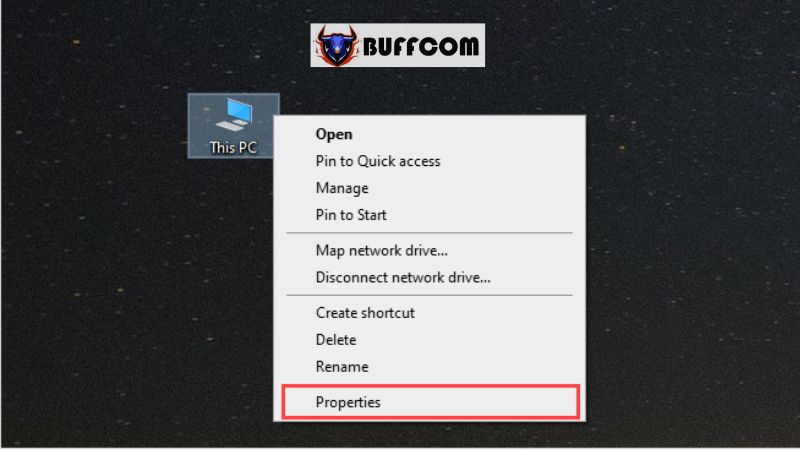
Step 1: Right-click on “This PC” and select “Properties.”
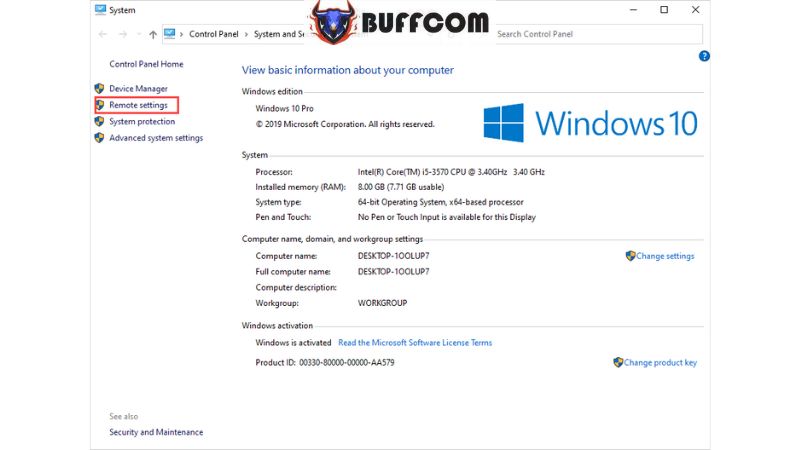
 Step 2: Choose “Remote settings” to configure computer control.
 Step 3: Next, select the “Remote” tab and check the following options:
- Allow remote connections to this computer
- Allow connections only from computers running Remote Desktop with Network Level Authentication (recommended)
- Select the “Remote” tab and check the “Allow remote connections to this computer” option.
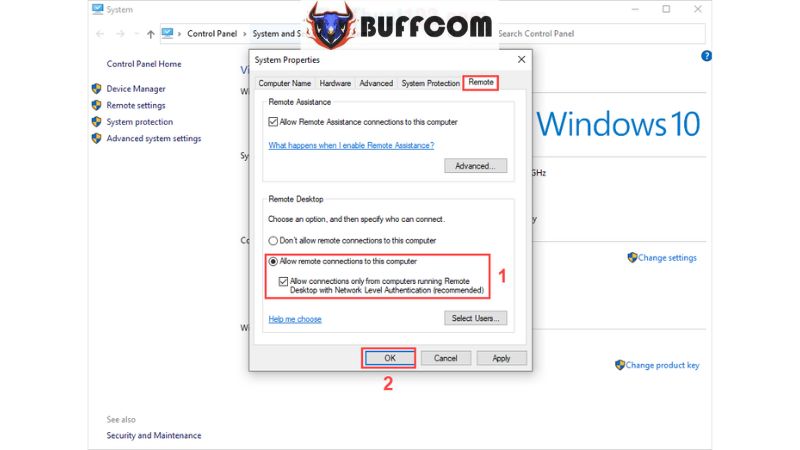 After completing the setup, click Apply -> OK to finish. Once you have enabled the remote control feature on the computer, you need to find the IP address to use when connecting.
Step 1: Open the Start Menu and type “Command Prompt” to open it.
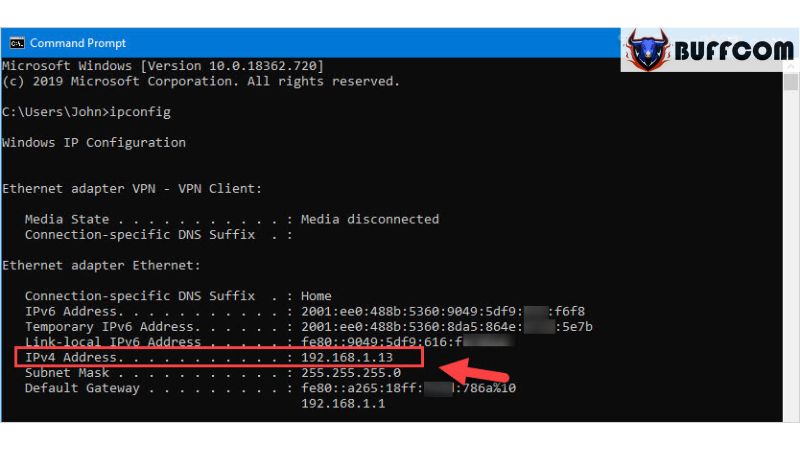
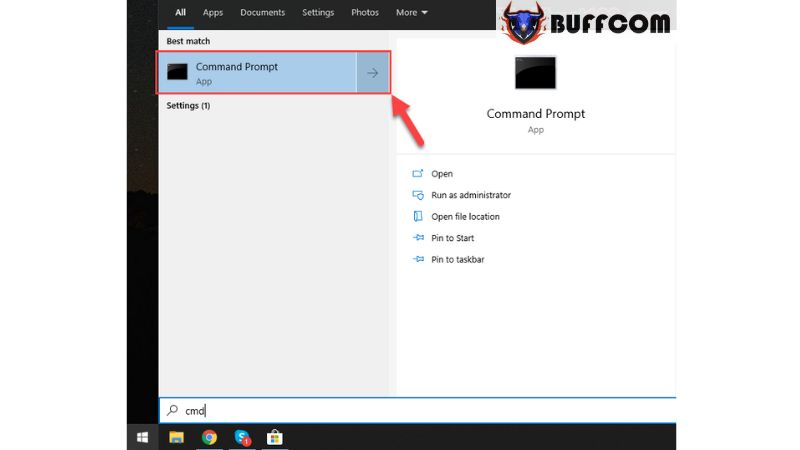 Step 2: Enter the command “ipconfig” and press Enter to check.
You only need to pay attention to the IP address in the Ipv4 Address section; disregard other IP addresses. Make sure to note down the Ipv4 Address for later use.
 Setting up Remote Desktop on the controlling server
After enabling Remote Desktop on the controlling server, you need to download a software called “Microsoft Remote Desktop” from the Microsoft Store for usage.
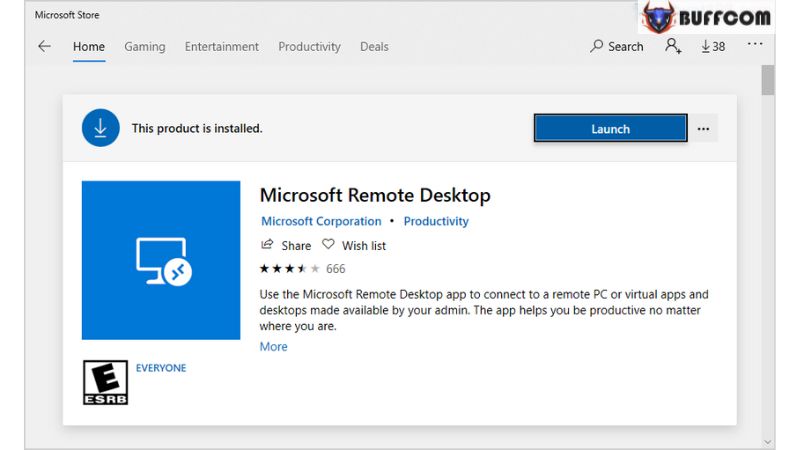
Once the installation is complete, launch the software and proceed with the following setup:
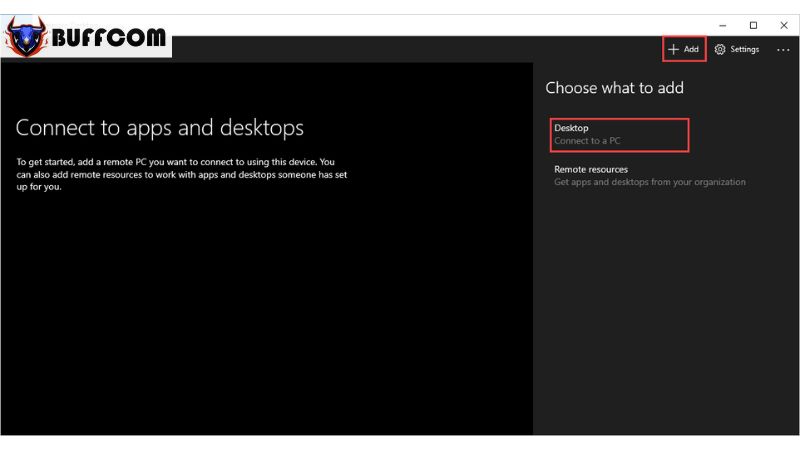
Step 1: Select “Add” and choose “Desktop” to connect to the controlled computer.
 Step 2: Enter the following information:
- PC Name: The IPv4 Address (from Step 2)
- User account: Ask every time to connect (according to your preference)
- Display Name: The display name of the controlled computer (for easy identification)
After completing, click Save to save the settings.
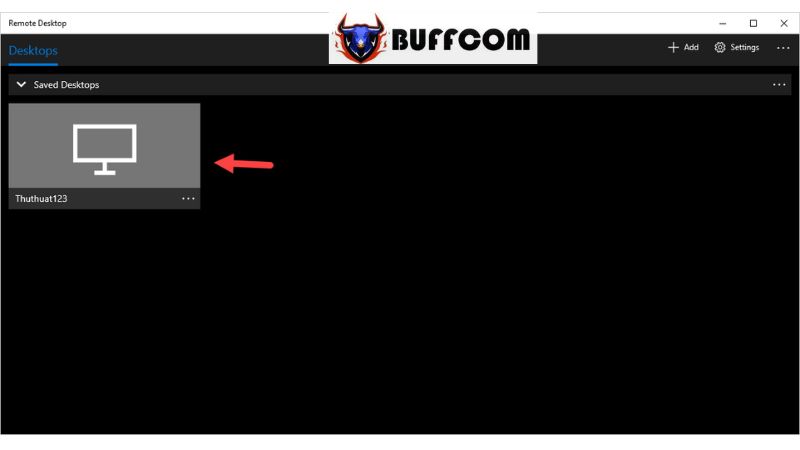
Step 3: Now, on the Remote Desktop screen, you will see the computer you just added. Click on it to establish the connection.
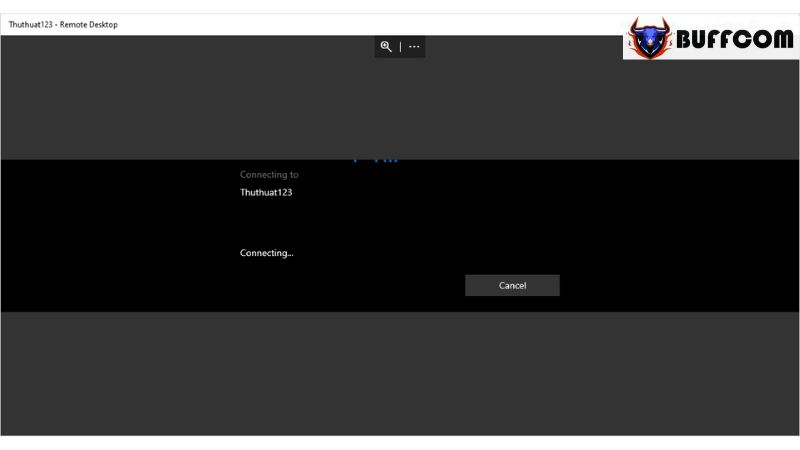
 The system will take some time to connect to the controlled computer.
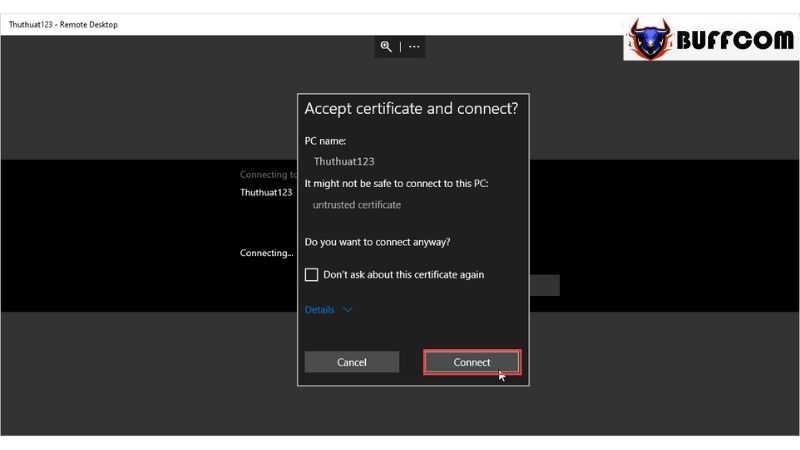
 Step 4: After finding the controlled computer, the system will prompt “Accept certificate and connect?“. Click Connect to establish the connection. If you want to avoid this prompt in future connections, check “Don’t ask about this certificate again.”
 Step 5: If the controlled computer has a password, enter the password to connect. If there is no password, you will be connected immediately.
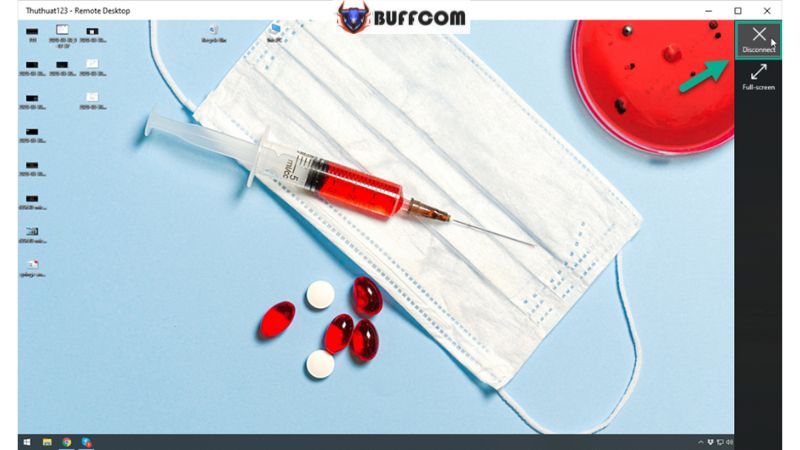
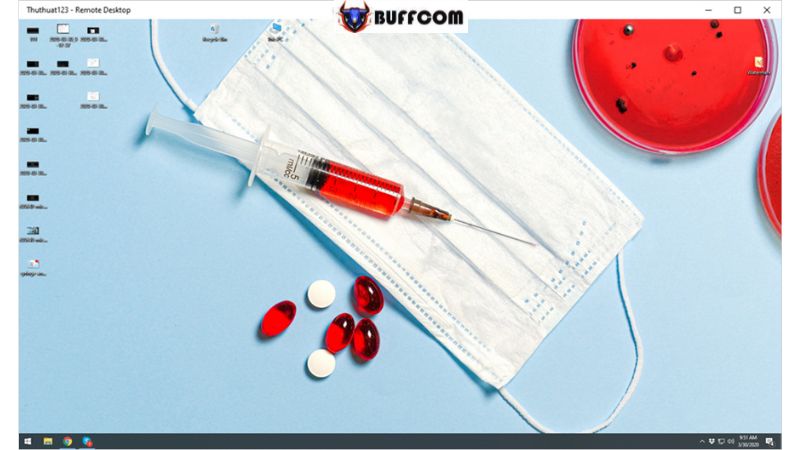 Step 6: To stop using Remote Desktop, move the mouse to the right edge to display the settings panel, and select “Disconnect.”
 In this article, Buffcom.net has provided a quick and effective guide on how to use Remote Desktop on Windows 10. We wish you success. If you are looking for genuine Windows keys, please contact Buffcom.net for support!


