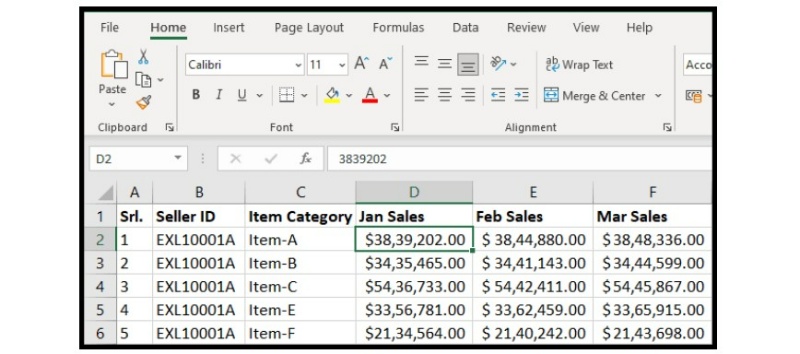
How to Insert a Column in Excel

When using Excel, it’s common to add or remove columns. There are several methods to insert or add columns in Excel spreadsheets, and the preferred method may vary from person to person.
How to Insert a Column in Excel
Here are the steps to insert a single column in Excel:
Method 1:
- Right-click on any cell in the column where you want to insert a new column.
- From the pop-up menu, select “Insert”.

- Another pop-up menu will appear. Select “Entire column” and click “OK”.

- The new column will be inserted to the left of your selected cell.

Tip: If you want to insert multiple columns, you can select the column header letters for the desired number of columns, right-click, and select “Insert” from the pop-up menu.
Method 2:
- Go to the “Home” tab on the Ribbon.

- Click on any cell in the column where you want to insert a new column.
- Within the “Cells” group, you will see the “Insert” icon. Click on it.

- From the drop-down menu, select “Insert Sheet Column”.

- The new column will be inserted to the left of your selected cell.

By following these steps, you can easily insert a single column in Excel using either the right-click menu or the Ribbon.
In conclusion, adding a single column in Excel is a simple and quick process that can be done in a few easy steps. With multiple options available, users can choose the method that suits them best. Whether it is using the right-click menu or the Ribbon, inserting a column is an essential task when working with Excel spreadsheets. By following the step-by-step guide, you can effortlessly add or insert a single column and keep your data organized and easy to read.


