How to reset Windows Terminal to default settings

Windows Terminal allows you to customize many different settings, which is one of its highly rated features. However, if you have made too many changes to Windows Terminal and want to revert back to the default settings, how do you do it? In this case, you can easily reset Windows Terminal to the default settings with a few simple steps.
How to restore Windows Terminal to its original settings:
Unlike many other applications on Windows 10, Windows Terminal does not have a dedicated option for you to reset the software’s settings. Instead, users will have to manually delete the previously added configuration files to bring the program back to its original default settings.
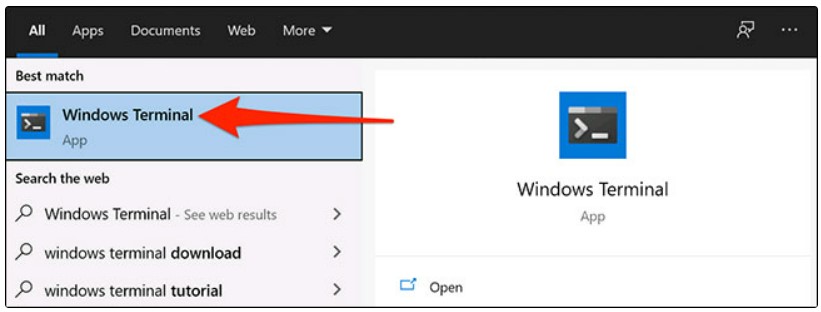
First, open the “Start” menu, search for the keyword “Windows Terminal”, and click on the corresponding application in the returned results.
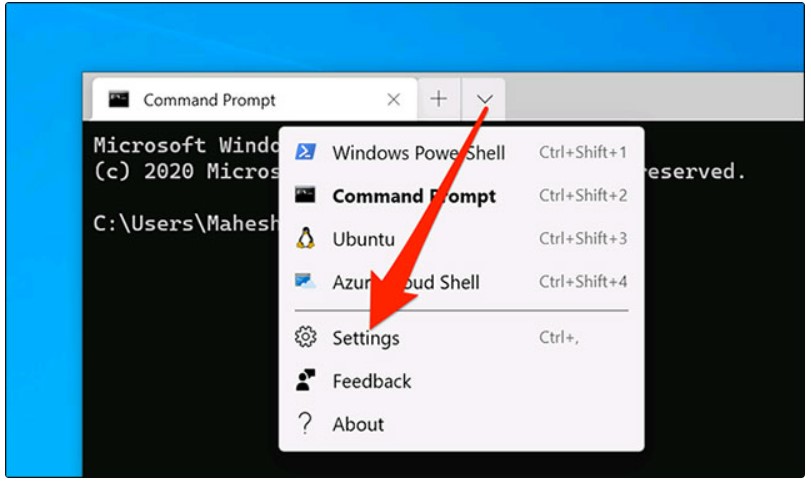
In the Windows Terminal window, click the down arrow icon and select “Settings.” 
When Windows Terminal asks you how you want to open the configuration file, choose “Notepad” from the list and click “OK.” 
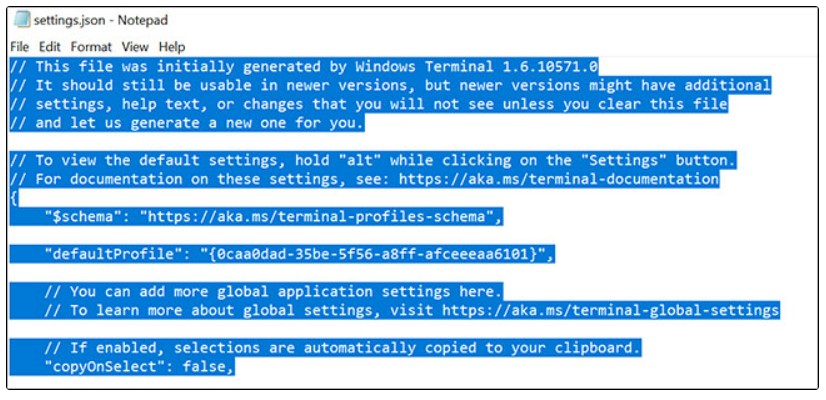
Once the configuration file is opened, press the Ctrl + A key combination to highlight all the content of the file. Then, press the Backspace key to delete all the content.
(Warning: If you want to keep your custom settings, make sure you have copied them to a new Notepad document before deleting them. This way, you can easily restore your settings later). 
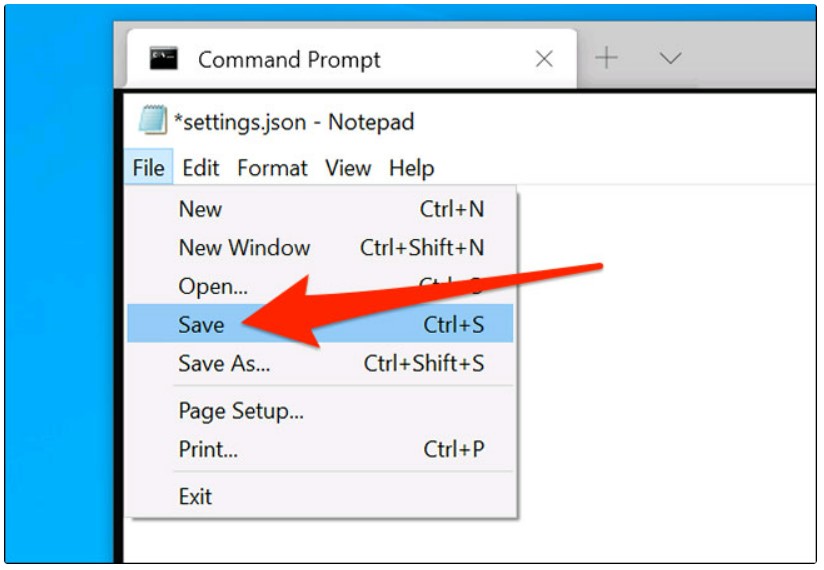
Your configuration file is now empty. Click on File > Save in Notepad to save this empty file. 
Exit Windows Terminal and reopen it. The application will notify you that your configuration file is empty and will automatically create a new configuration file with default values.
In conclusion, resetting Windows Terminal to its default settings can be done easily with a few simple steps. Although there is no dedicated option to reset the software’s installation status, users can manually delete the added configuration files to restore the program to its initial default settings.


