How To Trim A Video On Windows 10 Without Installing Additional Software

Usually, to trim a video, we need to use specialized software. However, these software programs are often complex, difficult to use, and have unnecessary features if the sole purpose is to trim a video. However, if you’re using Windows 10, you can easily trim a video without installing any additional software. This article will guide you on how to trim a video on Windows 10 without third-party software. Let’s get started.
Guide to Trimming a Video on Windows 10 without Third-Party Software
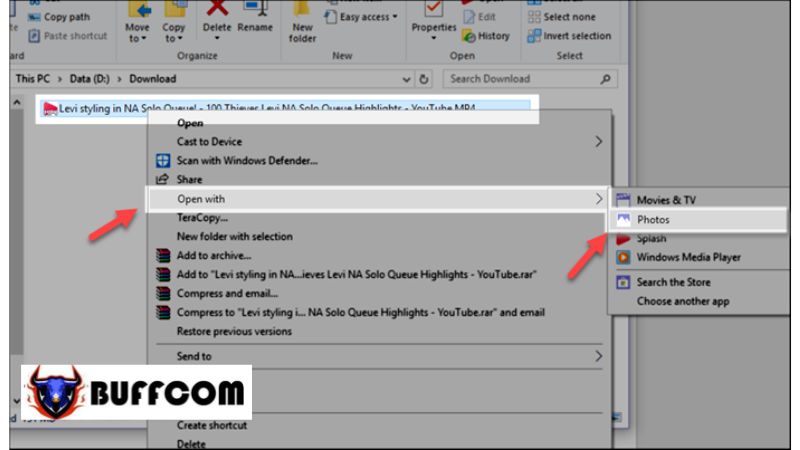
Step 1: Right-click on the video you want to trim, select “Open With,” and choose “Photos.”
 Step 2: Once the video is opened, click on the video and select “Edit & Create,” then choose “Trim.”
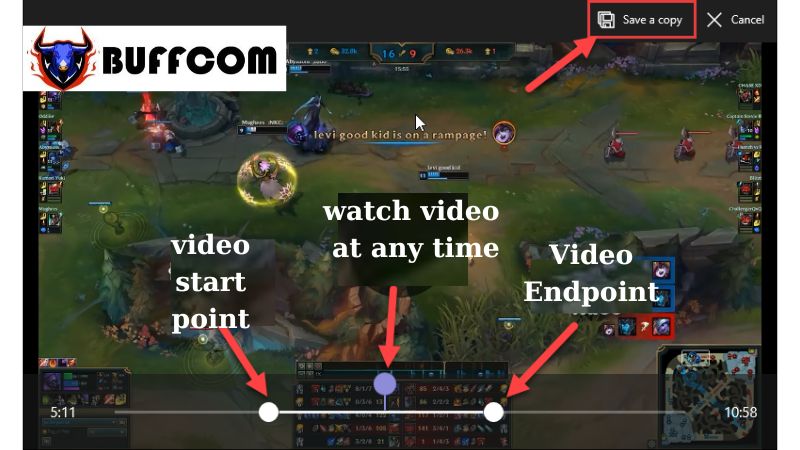
 Step 3: The video trimming tool will appear. Select the start and end points of the video segment you want to trim. If you’re satisfied, choose “Save a copy” to save the trimmed video.
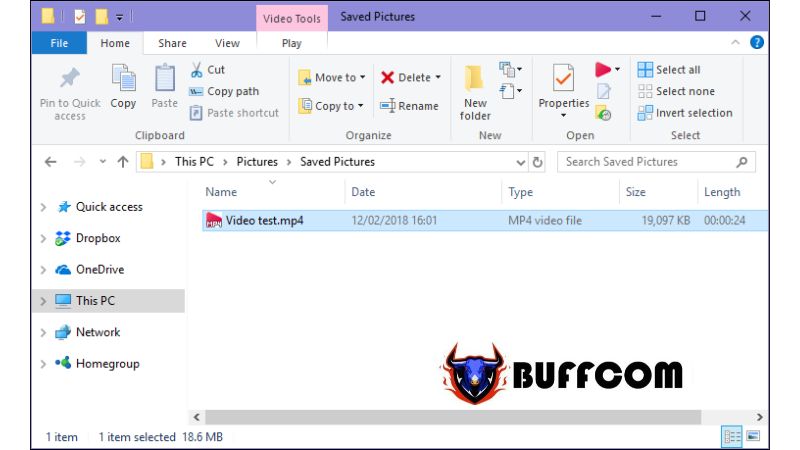
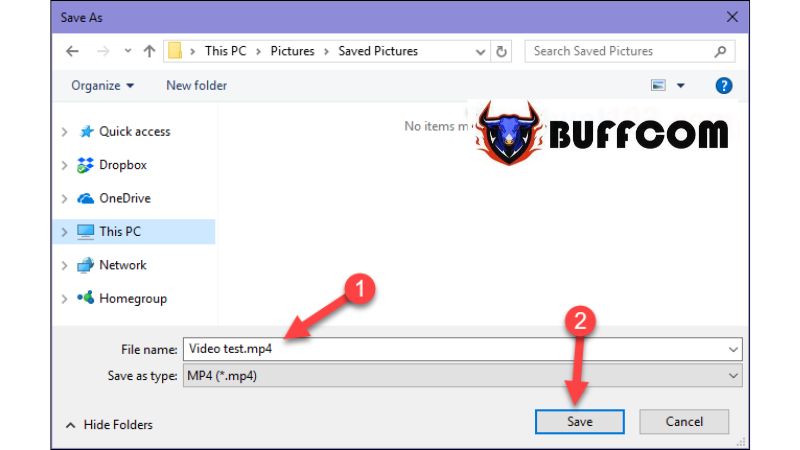
 Step 4: A new window will appear. Choose the folder to save the video, give it a name, and then click “Save.”
 Step 5: Wait for the trimming process to complete.
 And that’s it! Your video has been successfully trimmed.
 By following these simple steps, you can trim a video successfully on Windows 10 without installing any third-party software. We hope this article has been helpful to you. If you’re interested in genuine Windows keys, please contact Buffcom.net for further assistance!


