How to vertically type in Excel
Excel offers various options for typing vertically. Although each option works differently, they all yield the same result. You can choose the option that suits your needs best. 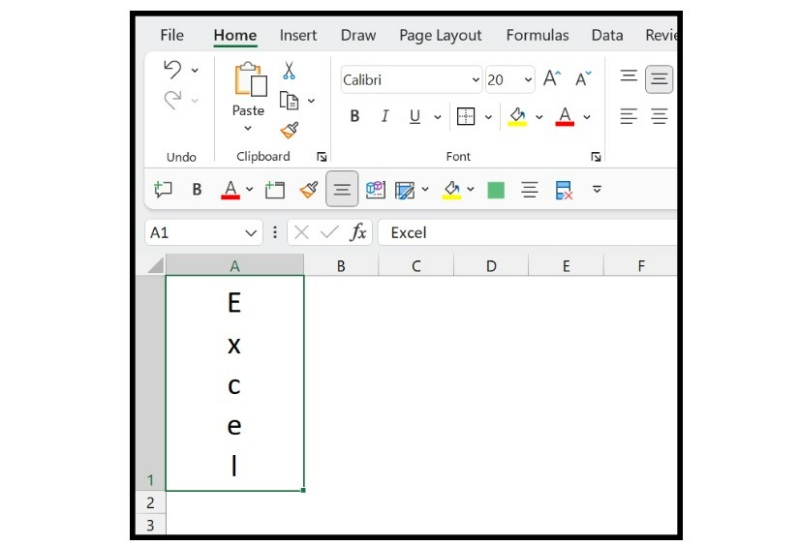
This tutorial will show you how to make text vertical in Excel and how to type it vertically.
How to Write (Type) Vertically in Excel
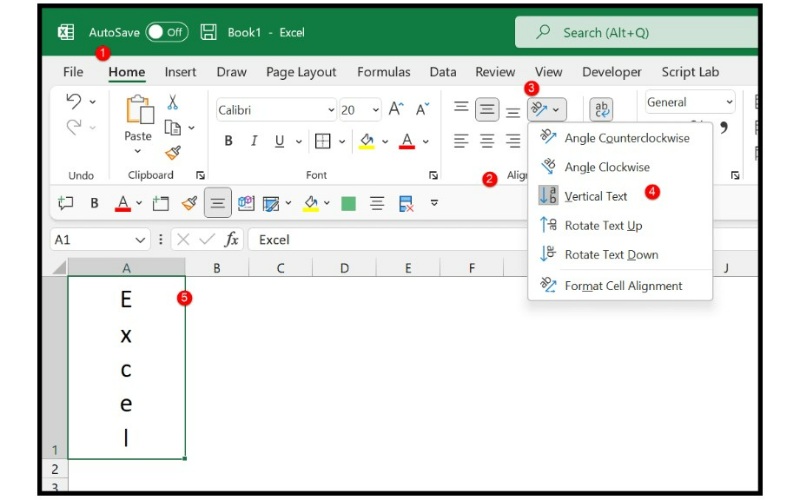 If you want to write vertically in Excel, there are several options you can choose from. Here is a step-by-step guide to help you get started:
- Select the cell where you want to write vertically.
- Go to the Home tab and find the Alignment group.
- Click on the Orientation drop-down option.
- Choose the “Vertical” option from the list.
- Enter the desired value in the selected cell.
After applying the vertical orientation, the value you write in the cell will appear vertically. Additionally, there are two more options you can use to rotate the text up or down.
By following these steps, you can easily write text vertically in Excel. 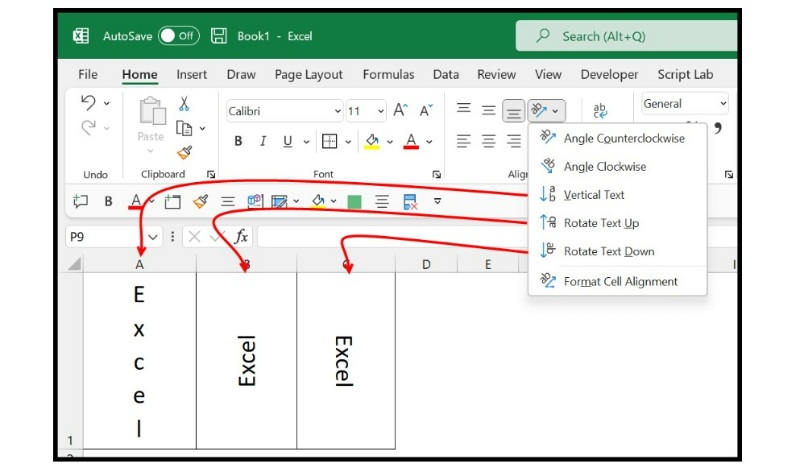
How to Type Vertically Inside a Cell in Excel
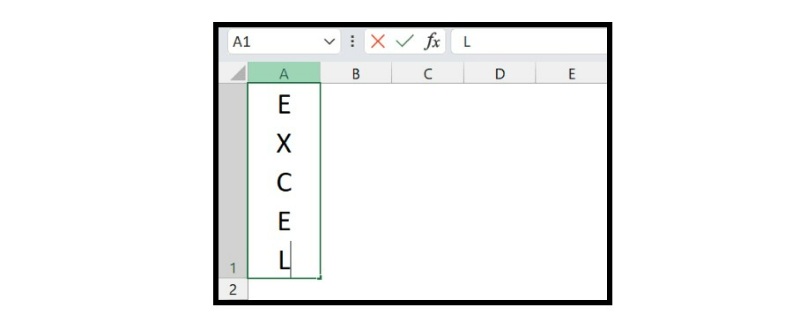
Aside from changing the cell orientation, you can also type vertically while entering a value in a cell. To do this, you’ll need to use a keyboard shortcut to add a line break while entering the value.
For example, let’s say you want to enter the word “Excel” in cell A1. To do this, edit the cell and enter the first letter of the word. Then, press the Alt + Enter shortcut key to shift the cursor to the next line. Repeat this process for each letter until you have entered the entire word vertically. 
How to Make Text Vertical with Wrap Text in Excel
Excel has a feature called “wrap text” that you can use to make your text appear vertically in a cell. Here’s a step-by-step guide to help you achieve this:
- Enter the desired value in the cell.
- Go to the Home tab and click on the “Wrap Text” button.
- Enter the remaining values in the cell.
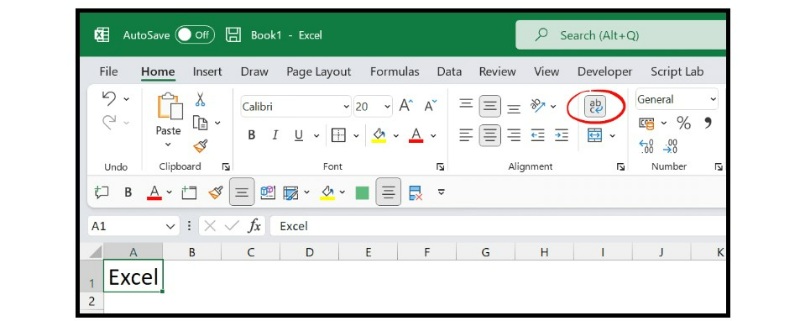
- Adjust the width of the column so that there is only one alphabet per line.
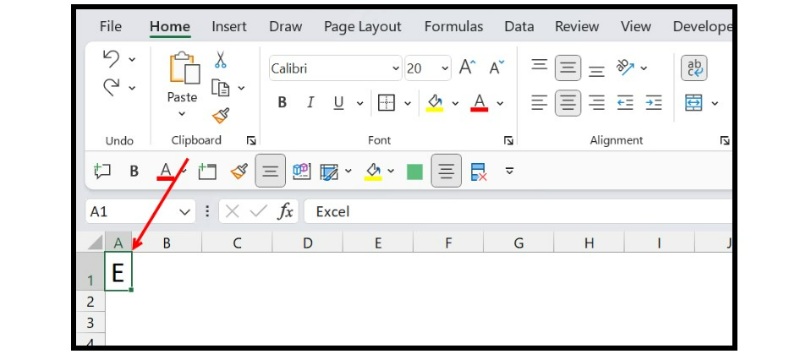
- Click between rows 1 and 2 to autofit row 1.
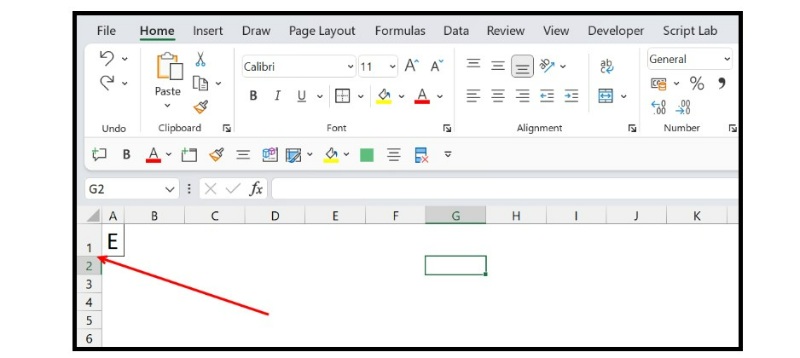
- Once you autofit the row, the entire value will appear in a vertical direction.
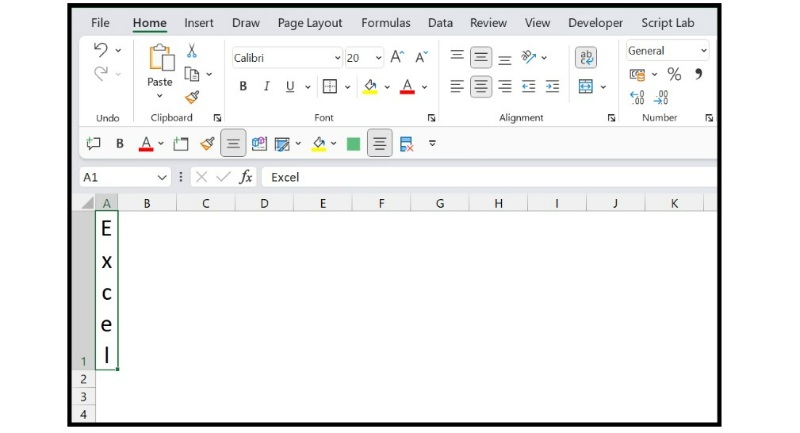
By following these steps, you can use the wrap text option in Excel to make your text appear vertically in a cell.
How to Add a Text Box and Type Vertically in Excel
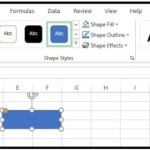
Aside from the previous methods, you can also insert a text box in a cell and change the text direction to vertical to type vertically in it. Here’s how:
- Insert a text box in the worksheet by going to Insert → Text → Text Box.

- Select the text box and right-click on it. Then, open the “Format Shape” dialog box, or you can press Control + 1.
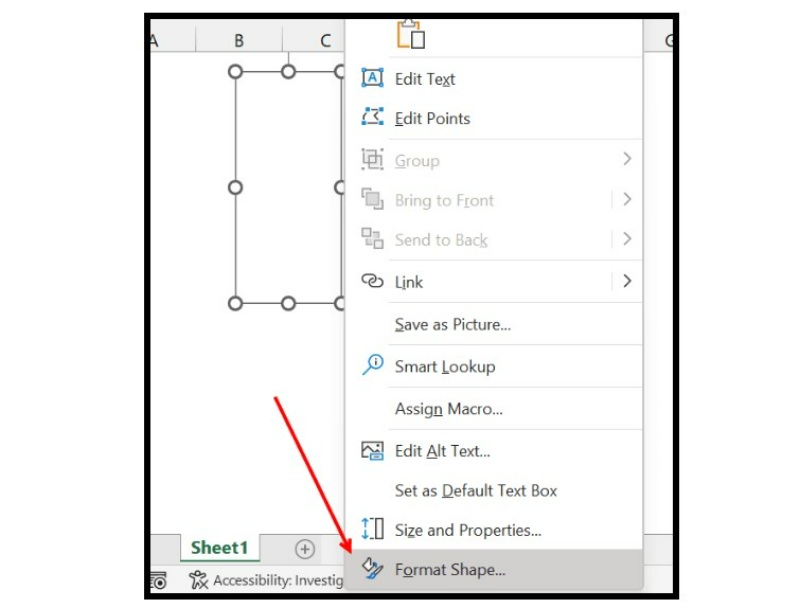
- In the “Format Shape” dialog box, go to “Text Options” and select “TextBox.”

- From the text direction option, select “Stacked.”
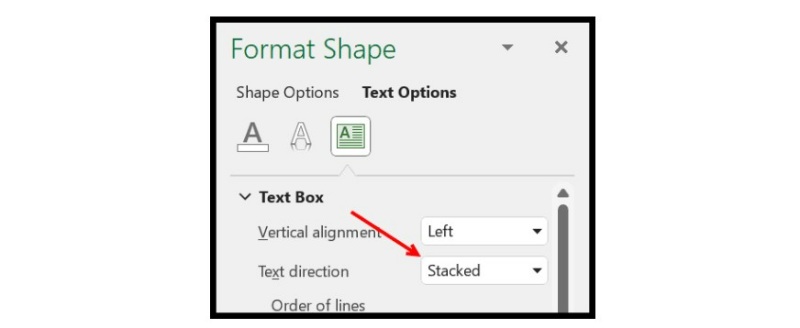
- Once you make this change, you can write vertically inside the text box.
- Similarly, you can make the same changes with Word Art and type vertically in it.
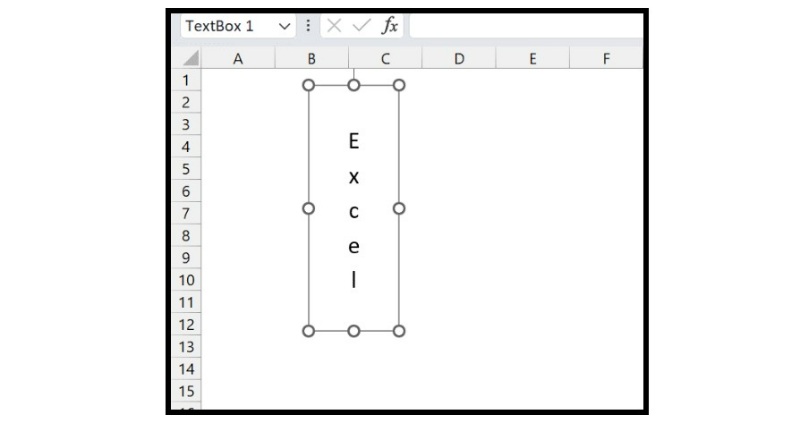
Out of all the options discussed in this tutorial, changing the text orientation is the most useful. However, you can use any of these methods according to your needs.


