Guide to Installing Windows 10 from a USB Drive
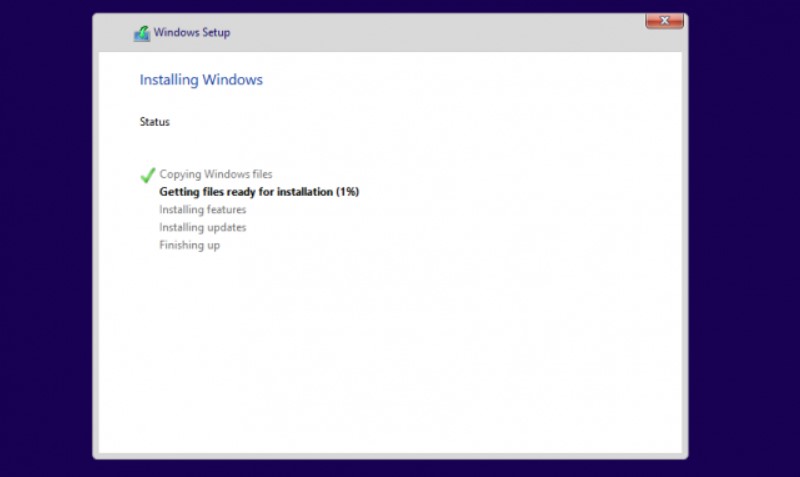
After creating an installation media, it is essential to understand how to boot from a Windows 10 from a USB Drive. This step is necessary to install Windows from the bootable USB.
The key is to modify your computer’s boot order. By doing so, the USB flash drive will be prioritized at the top of the boot order list. This arrangement ensures that your computer reads the files on the USB first, initiating the loading of the installation media rather than the already installed system.
To achieve this, access your computer’s BIOS and adjust the boot order settings to prioritize USB. Following this adjustment, during the next startup sequence, your system will boot from the USB, initiating the Windows installation process.
Installing Windows 10 using a Bootable USB
With the computer’s boot order successfully configured to prioritize USB, you can proceed to install Windows using the USB’s installation file.
Note: Before installation, ensure that you have backed up all your files to prevent any data loss.
Steps for Installing Windows 10 using Bootable USB:
Insert your USB device into the computer’s USB port and start the computer. You may be prompted to press a key to boot from the USB.
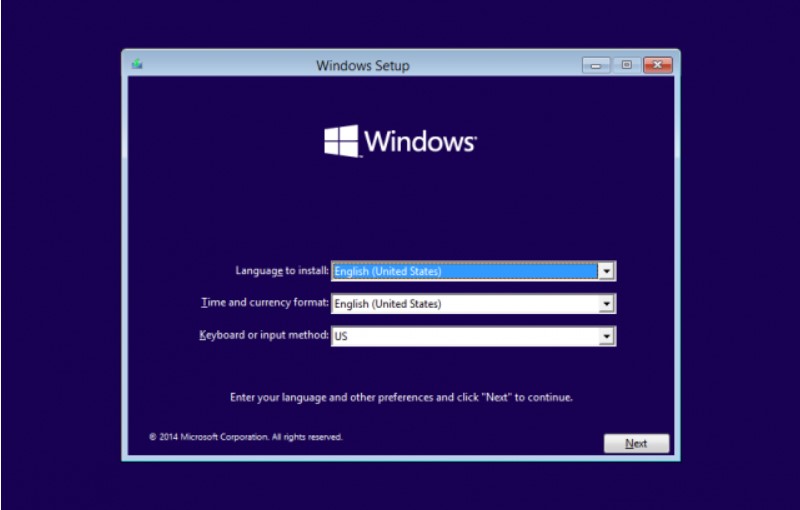
Select your preferred language, timezone, currency, and keyboard settings. After customizing these settings, click Next. (Note: Settings can be modified after the Windows 10 installation is complete.)
Guide to Installing Windows 10 from a USB Drive
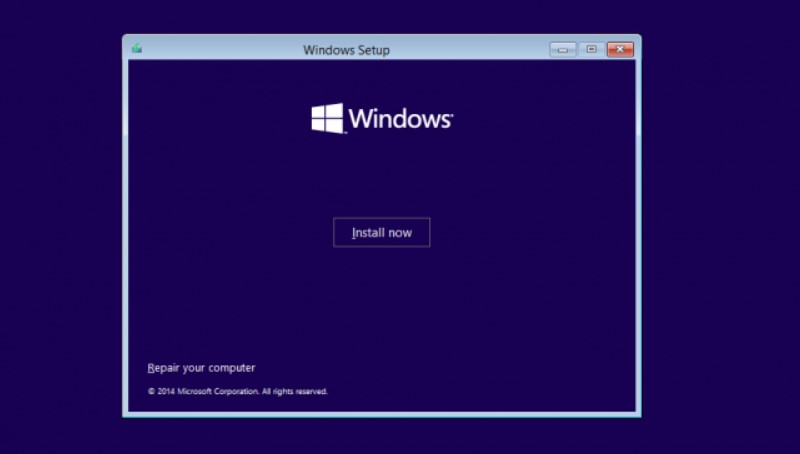
Click “Install Now” and choose the Windows 10 edition you purchased. Click Next to initiate the installation process.

Guide to Installing Windows 10 from a USB Drive
Choose your installation type: Upgrade to keep existing files, settings, and apps, or perform a fresh clean installation by selecting Custom.
Guide to Installing Windows 10 from a USB Drive
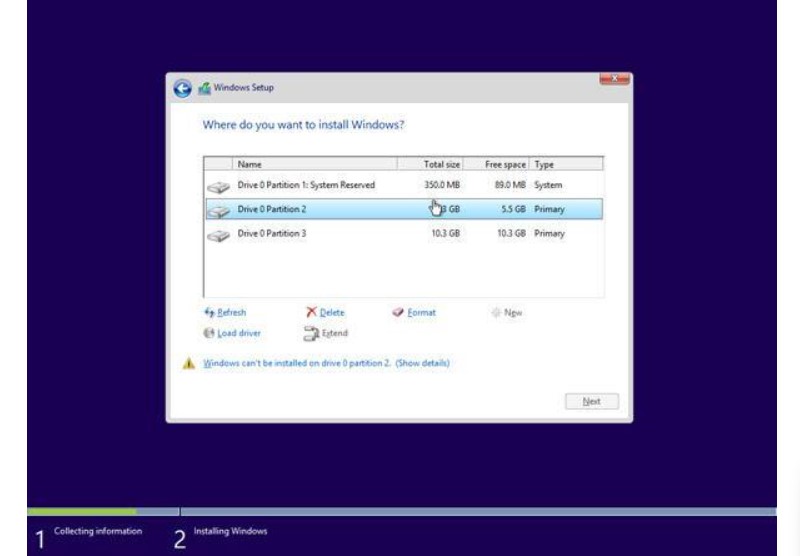
To install Windows, create a partition on your hard drive for system files (C: drive). You can use an existing partition by formatting it or delete existing partitions and create new ones.
To use an existing partition, select it and click Format.
Guide to Installing Windows 10 from a USB Drive
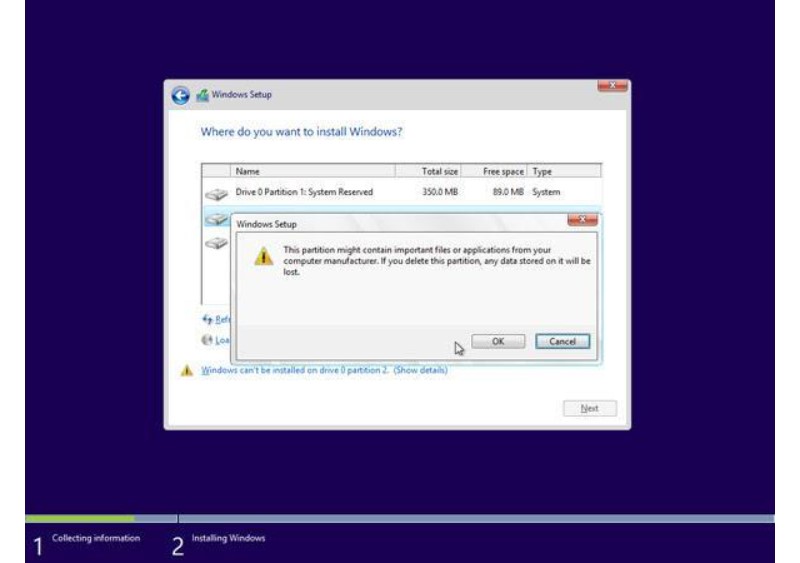
To delete existing partitions, select each one, click Delete, then OK.
Guide to Installing Windows 10 from a USB Drive
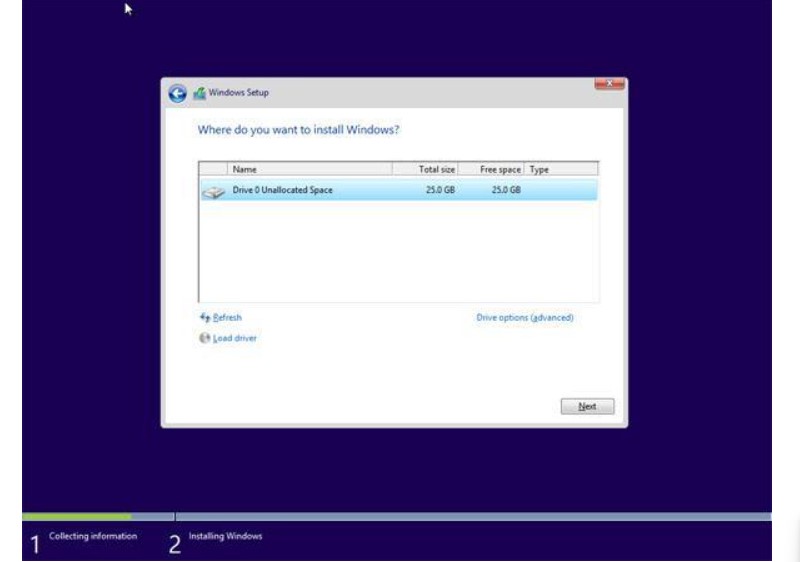
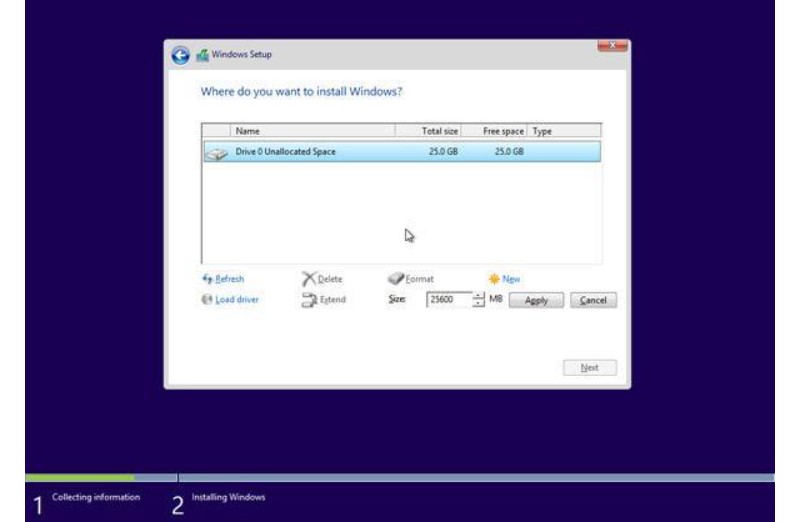
If you deleted all existing partitions, your hard drive space will be unallocated. Create new partitions by clicking “Drive options (advanced),” then click New, choose the size, and click Next.
Guide to Installing Windows 10 from a USB Drive
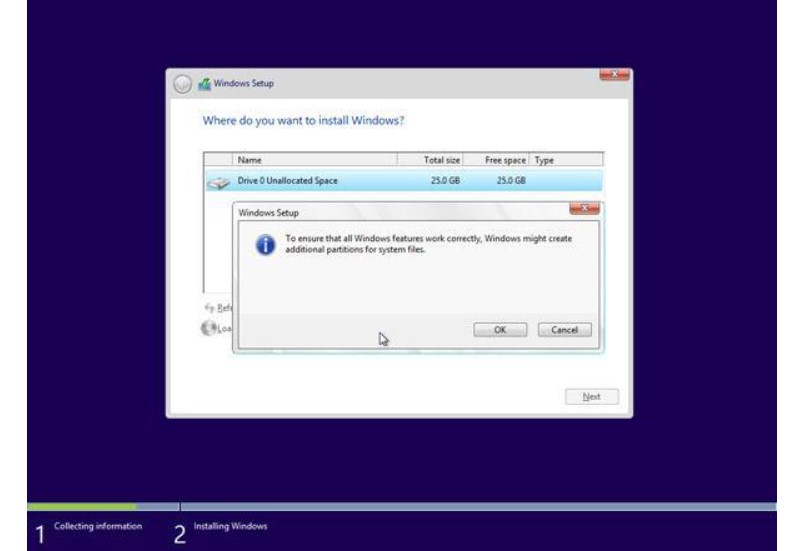
Windows will create new partitions. Click OK to accept. Repeat for additional partitions.
Guide to Installing Windows 10 from a USB Drive
Guide to Installing Windows 10 from a USB Drive
After creating partitions, format each one (except for the one intended for Windows system files). Select each partition, click Format, then OK when prompted.
Select the partition where you want to install Windows and click Next. The installation will commence, and your computer may reboot several times, which is normal.

Guide to Installing Windows 10 from a USB Drive
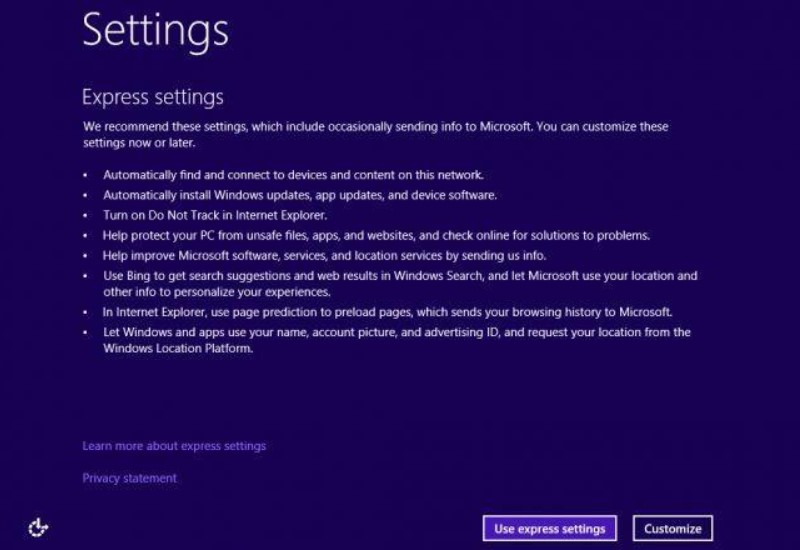
After installation, your computer will restart. During the first startup, configure settings or use express settings recommended by Microsoft.
Guide to Installing Windows 10 from a USB Drive
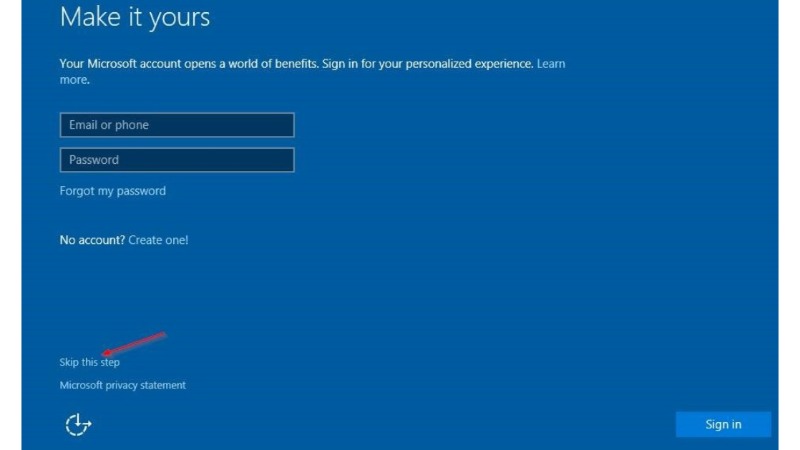
Finally, sign in to your Microsoft account to access Windows 10 features. If you prefer not to sign in, click “Skip this step” and follow instructions to create a local user account.
Guide to Installing Windows 10 from a USB Drive

