Tips for indenting text in Microsoft Excel
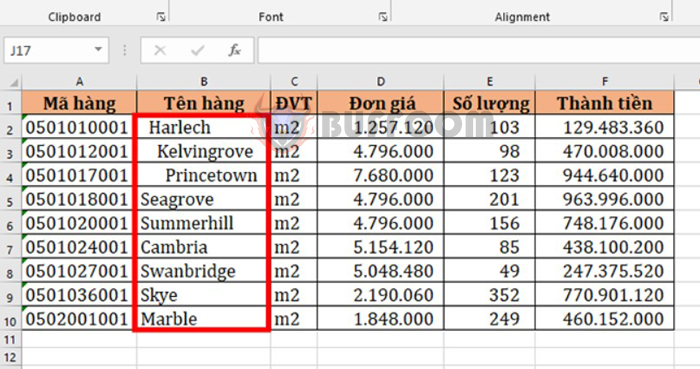
Tips for indenting text in Microsoft Excel: When presenting a data table, indenting text is necessary to create a neat and consistent worksheet. You can align the data using a ruler or simply adjust the indentation by indenting the first line, so that the content is not too close to the table gridlines in Excel cells. In this article, Buffcom.net will introduce you to three ways to indent text in Excel to make your data look better.
1. Indenting text using Excel tools
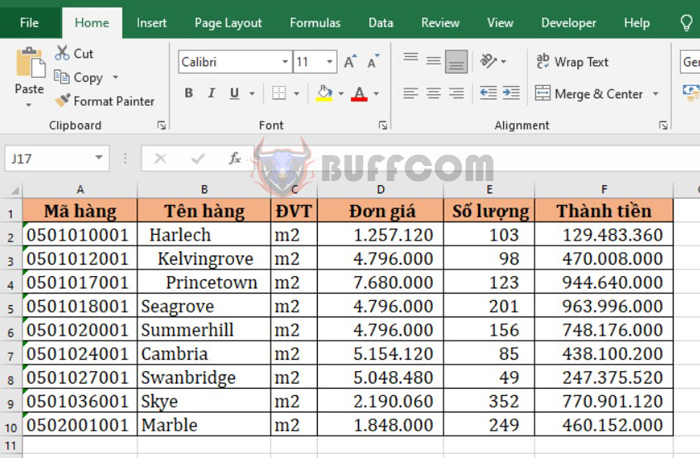
To indent text to the right, select the cells you want to indent and then click on the Home tab on the toolbar. Then click on Increase Indent under the Alignment section. This will indent the selected cells to the right.
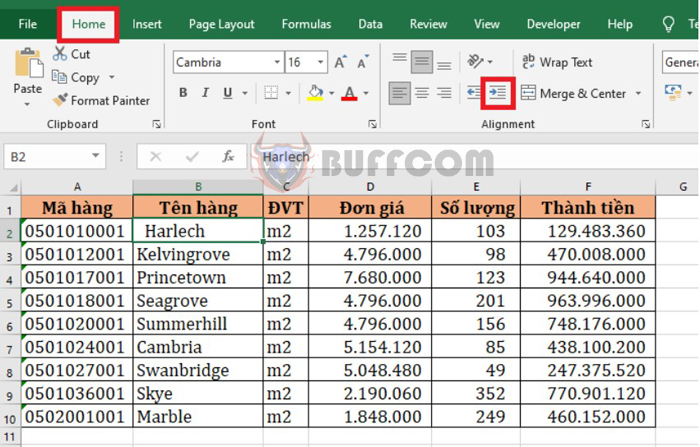
Tips for indenting text in Microsoft Excel
If you want to indent more, click Increase Indent multiple times.
Tips for indenting text in Microsoft Excel
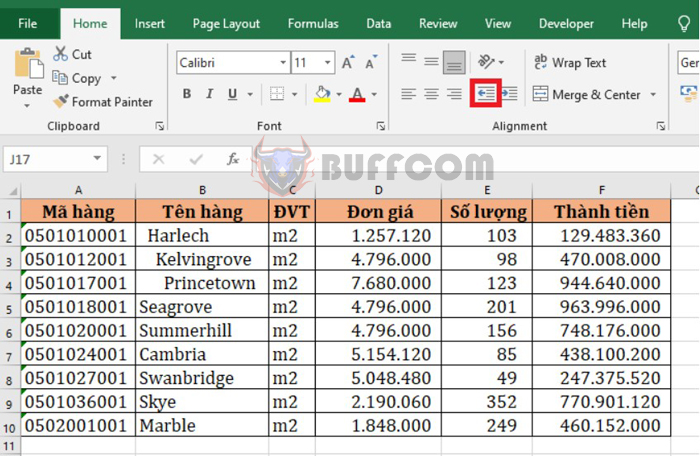
If you don’t want to indent anymore, click Decrease Indent to return the data to its original position.
Tips for indenting text in Microsoft Excel
2. Indenting text using keyboard shortcuts
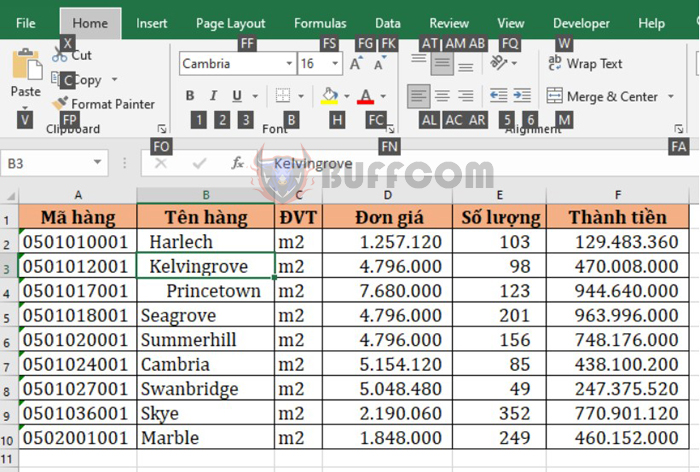
To use the keyboard shortcut to indent text, select the cells you want to indent. Then use the Alt + H + 6 shortcut. This will indent the data in those cells to the right. If you want to indent more to the right, press Alt + H + 6 multiple times.
To return the data to the left of the cell, press Alt + H + 5.
Tips for indenting text in Microsoft Excel
3. Use the Space key to indent text in a cell
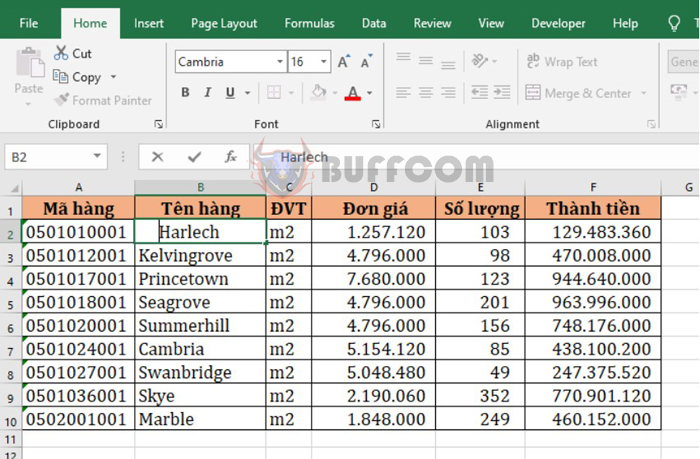
If you only need to indent text in one cell, the simplest way is to use the Space key. Double-click on the cell you want to indent. Then, place the cursor at the beginning of the cell and press the Space key several times until the data is indented to the desired position. Then press Enter to complete.
Tips for indenting text in Microsoft Excel
That’s it! This article has provided you with tips on how to indent text in Excel. We hope this article is helpful to you in your work. Good luck!

